How Can You Make Real Money from 3D Printing Small Batches?

How Can You Make Real Money from 3D Printing Small Batches?

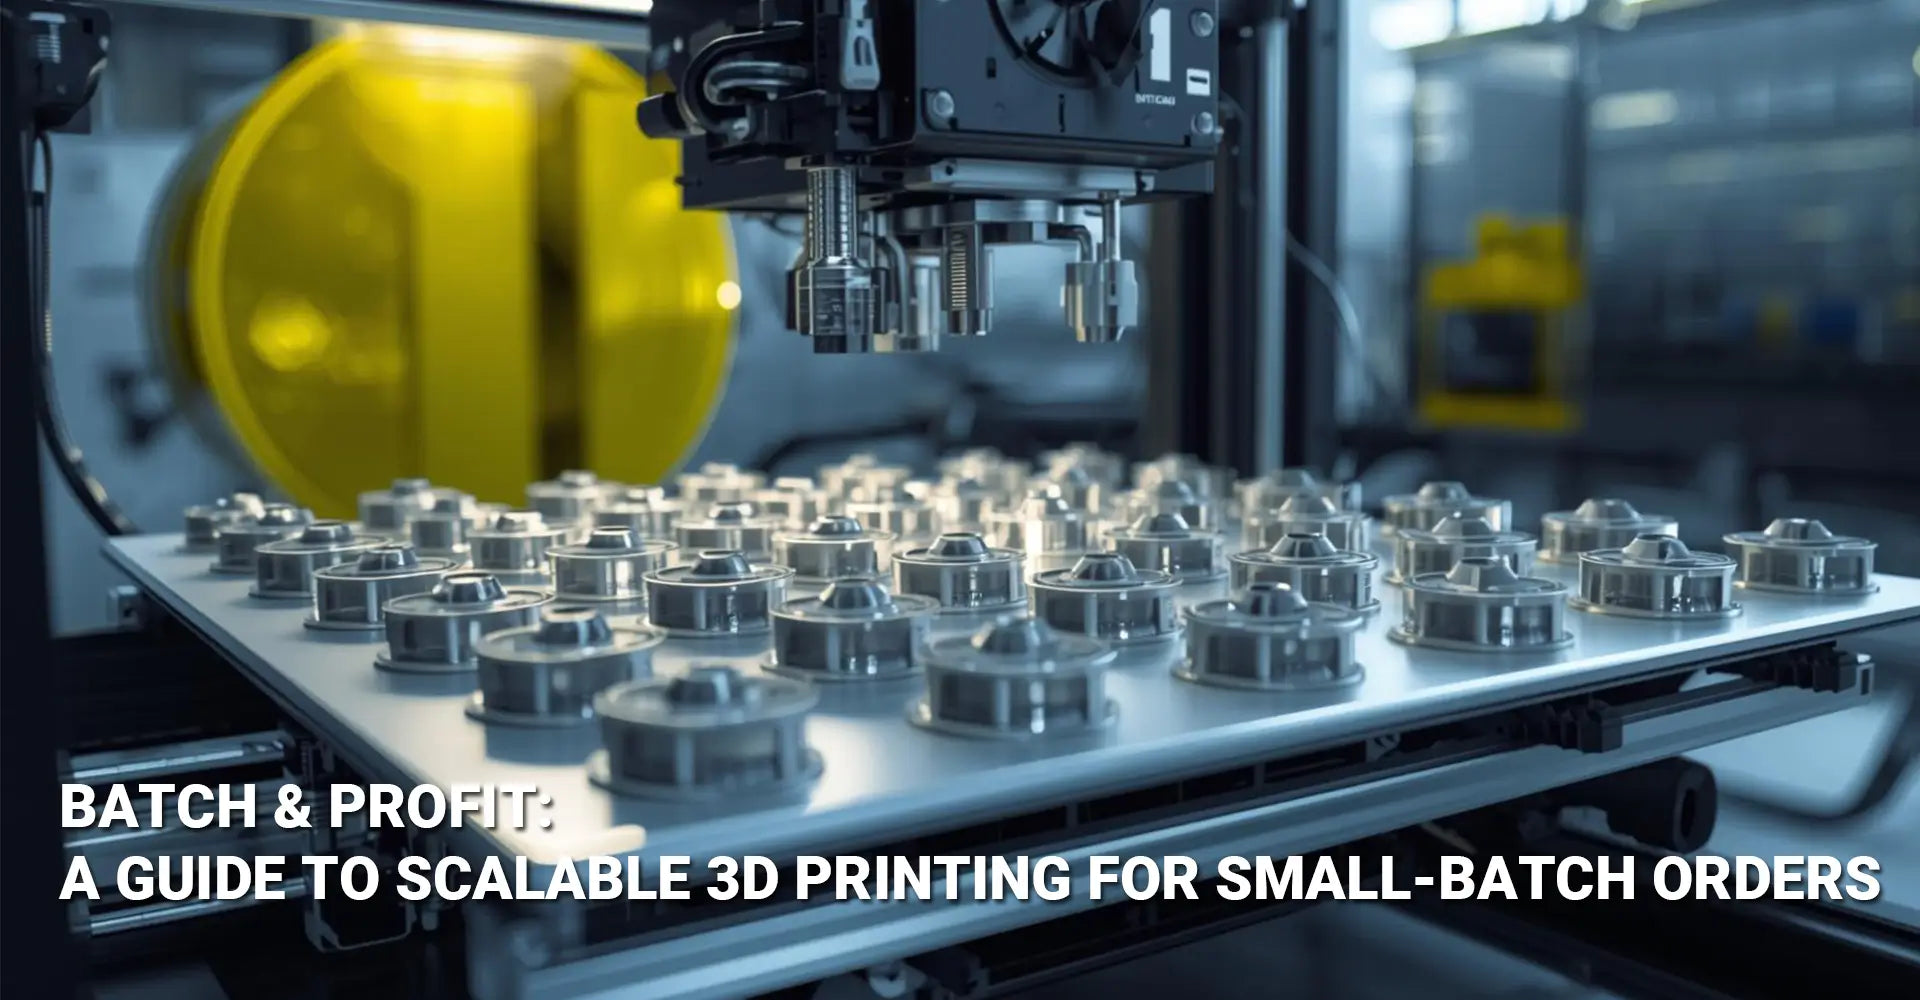
Making money with 3D printing sounds great in theory. However, many creators struggle because they focus on one-off custom orders that eat up time without delivering real profits. The secret to turning your 3D printer into a cash machine lies in understanding 3D printing batch production profit—the art of printing multiple items at once to dramatically slash your cost per piece. In this guide, you'll discover exactly how to set up a profitable batch production system, what products sell best, and how to calculate your real costs so every print job puts money in your pocket.
Quick Answer: Your Batch Printing Profit Snapshot
| What You Need to Know | The Numbers That Matter |
|---|---|
| Profit Margin Range | 30% to 70% for customized goods |
| Biggest Cost Saver | Automated nesting (packing multiple parts per print) |
| Best Product Types | Customizable accessories, gaming miniatures, replacement parts |
| Scaling Strategy | Multiple desktop printers beat one industrial machine |
| Break-Even Point | Typically 5-10 identical parts per batch |
| Time Savings | Up to 60% reduction in cost per part with proper batching |
Making the Shift
Most people start with 3D printing by taking random custom orders. While this approach seems like a good way to learn, it actually limits your earning potential because you're constantly switching between different designs and materials. By contrast, batch production lets you print the same item multiple times in one go, which means you spend less time babysitting your printer and more time growing your business. Additionally, when you master batching techniques, you'll find that your material waste drops significantly because you can plan your prints more carefully. Therefore, thinking in batches rather than individual pieces becomes the foundation of a sustainable 3D printing business model.
Table of Contents
- Why Does Batch Printing Actually Make Money?
- What Products Should You Print for Maximum Profit?
- How Do You Pack More Parts Without Losing Quality?
- Should You Buy Multiple Printers or One Big Machine?
- What's the Real Cost of Each Part You Make?
Why Does Batch Printing Actually Make Money?
Understanding the Economics
The magic of batch printing comes down to simple math. When you print just one item, you're using only a fraction of your printer's build volume while still paying for the full print time, electricity, and wear on your machine. However, if you fill that same build plate with ten identical items, you spread those fixed costs across all ten pieces.
The Profit Mechanics Explained
Small batch 3D printing works because it combines the best of both worlds: the low setup costs of additive manufacturing with the unit cost savings of traditional batch production. Here's what happens to your economics:
- Fixed costs get divided: Your printer runs for the same amount of time whether it's making one keychain or twenty keychains arranged on the build plate.
- Material waste drops: When you plan ahead for multiple items, you can arrange them to minimize support material and failed prints.
- Labor efficiency jumps: Instead of starting and stopping the printer ten times, you start it once and walk away.
- Pricing power increases: Customers pay a premium for customization, yet your per-unit cost stays low because you're batching similar items together.

Real Numbers from Real Shops
According to industry data, makers who switch to batch production typically see their profit margins jump from 15-20% on single items to 30-70% on batched runs. For example, a custom phone case that costs you $2.50 to print individually might drop to just $0.80 per unit when you print ten at once. Meanwhile, you can still charge $12-15 per case because the customer sees it as a custom product. That's the power of on-demand 3D manufacturing combined with smart batching strategies.
Furthermore, the time savings compound over weeks and months. Instead of spending fifteen minutes per day starting five separate prints, you spend that time once per day managing one large batch. This gives you more hours to focus on marketing, customer service, and product development.
What Products Should You Print for Maximum Profit?
Finding Your Sweet Spot
Not all products work equally well for batch production. The most profitable 3D printed products share three characteristics: they can be customized easily, they pack efficiently into your build volume, and they serve a specific need that people will pay for.
The Winners: Product Categories That Deliver
Let's break down the proven categories where batch printing makes real money:
| Product Category | Examples | Why It Works |
|---|---|---|
| Customizable Accessories | Phone cases, keychains, jewelry | Personalization justifies higher prices; customers order multiple variations |
| Gaming & Hobby Items | Tabletop miniatures, dice towers, cosplay props | Dedicated communities buy in sets; detail quality matters more than speed |
| Home Organization | Drawer dividers, cable clips, tool holders | High repeat purchase rate; designs nest perfectly for batching |
| Replacement Parts | Appliance knobs, vintage car clips, furniture parts | Solves urgent problems; low competition from mass manufacturers |

The Etsy Advantage
Batch printing for Etsy has become particularly profitable because the platform's audience actively seeks customized items. Sellers report that products like personalized name tags, wedding favors, and custom cookie cutters perform exceptionally well when offered with personalization options. Moreover, Etsy's search algorithm favors shops that can fulfill orders quickly, which is exactly what batch production enables.
For instance, if you're selling custom keychains with names, you can print a batch of twenty blank keychains in one go, then add personalized text elements in a second smaller batch print. This approach lets you maintain quick turnaround times while keeping costs low through batching the base components.
Product Selection Checklist
Before committing to a product line, ask yourself these questions:
- Can I fit at least 5-10 units on my build plate?
- Does the design allow for easy customization without complete redesigns?
- Is there consistent demand rather than one-time seasonal spikes?
- Can I source or create designs that don't violate intellectual property?
- Does the final product require minimal post-processing?
When you answer "yes" to most of these questions, you've likely found a product worth developing for batch production using advanced 3D printing plastics that deliver both quality and cost-effectiveness.
How Do You Pack More Parts Without Losing Quality?
The Nesting Game-Changer
Here's a truth that separates profitable 3D printing businesses from struggling hobbyists: automated 3D printing farm operations succeed because they master the art of nesting. Nesting means strategically arranging multiple parts on your build plate to maximize space while maintaining print quality.
Manual vs. Automated Nesting
When you first start batching, you'll probably arrange parts manually in your slicing software. This works fine for simple shapes, but it becomes tedious and error-prone as your batches grow. Therefore, investing time in learning automated nesting tools pays off quickly.
Most modern slicing software includes basic nesting features. For example:
- Cura offers a plugin called "Auto-Arrange" that spaces parts with optimal gaps
- PrusaSlicer includes intelligent arrangement algorithms that consider print time
- Simplify3D provides advanced packing tools that optimize for material usage
However, the real magic happens when you understand the principles behind good nesting rather than just clicking the auto-arrange button.
Five Rules for Better Packing
Following these guidelines will help you fit more parts without sacrificing quality:
-
Leave breathing room: Parts need at least 3-5mm of space between them to allow for slight print variations and easy removal.
-
Group by height: Arrange similar-height items together to avoid the printer wasting time traveling across vastly different Z-heights.
-
Orient for strength: Just because a part fits better sideways doesn't mean it should be printed that way; layer orientation affects durability.
-
Consider failure zones: Place less critical or smaller parts near the edges where print failures are more likely due to adhesion issues.
-
Plan for support removal: If your parts need supports, ensure you can access them after printing without damaging neighboring pieces.
The Cost Impact of Smart Packing
Let's look at real numbers. Suppose you're printing custom drawer organizers that measure 80mm x 60mm x 30mm. On a standard 220mm x 220mm build plate:
- Poor packing: 4 parts per batch, 8-hour print time, $3.20 total material = $0.80 per part
- Optimized packing: 6 parts per batch, 9-hour print time, $4.50 total material = $0.75 per part
That 12.5% improvement in cost per part 3D printing might seem small, but across hundreds of prints per month, it adds up to significant profit gains. Additionally, you're completing 50% more orders in roughly the same timeframe.
Should You Buy Multiple Printers or One Big Machine?
The Scaling Question
As your batch production grows, you'll face a critical decision: should you invest in one expensive industrial printer or build a farm of affordable desktop machines? This choice fundamentally shapes your approach to scaling 3D printing business operations.
The Desktop Farm Advantage
Most successful small-batch producers choose the multi-printer route for good reasons. Here's why a farm of reliable desktop printers often beats a single industrial machine:
Flexibility in Action
- You can dedicate specific printers to specific materials (PLA, PETG, resin) without constant reconfiguration
- Different products can run simultaneously without batching conflicts
- Material changeovers happen on one machine while others keep producing
Risk Management
- When one printer goes down, you lose 20% of capacity instead of 100%
- Maintenance happens in rotation without stopping all production
- You can test new products or materials on one machine while maintaining steady output on others
Financial Scaling
- Initial investment of $200-500 per desktop printer versus $10,000+ for industrial machines
- You can grow capacity incrementally as demand increases rather than making huge upfront bets
- Selling one printer to upgrade is easier than offloading an industrial machine
When Industrial Makes Sense
However, industrial printers do have their place. Consider this path if you're producing:
- Very large parts that exceed desktop build volumes
- Extremely high volumes of identical items where speed per unit matters most
- Products requiring certified materials for medical or aerospace applications
For most Etsy sellers, small businesses, or makers doing custom work through rapid prototyping services, the desktop farm model wins. In fact, many successful operations start with 3-5 Prusa, Bambu Lab, or Creality machines and scale from there.
Building Your Farm: Practical Steps
If you're ready to scale up, follow this proven approach:
- Start with proven reliability: Buy 2-3 units of the same printer model you've already mastered.
- Standardize your workflow: Create templates for slicing settings, batch sizes, and post-processing steps.
- Invest in monitoring: Use webcams or print monitoring services to check on multiple machines remotely.
- Schedule maintenance: Keep detailed logs for each printer to prevent simultaneous breakdowns.
- Create a parts inventory: Stock common replacement parts like nozzles, belts, and bed surfaces.
When you run multiple machines, organization becomes critical. Many successful farm operators use scheduling software to track which printer is running what job, when it started, and when it needs attention. This level of management transforms your operation from a hobby into a real production business, especially when integrating with electronics manufacturing workflows for complete product assembly.
What's the Real Cost of Each Part You Make?
Beyond Material and Time
Here's where most 3D printing businesses fail: they calculate costs by simply adding material cost plus an hourly rate for print time. This approach leaves money on the table because it ignores hidden expenses that eat into your profits.
The Complete Cost Formula
To achieve true profitability through mass customization 3D printing, you need to track every expense that goes into each part. Here's the comprehensive breakdown:
Direct Material Costs
- Filament or resin consumed per part (measured in grams)
- Support material that gets thrown away
- Failed prints (typically 5-10% of total material usage)
- Adhesion aids like glue stick or painter's tape
Machine Operating Costs
- Depreciation: Divide your printer's purchase price by its expected lifespan in print hours
- Electricity: Measure actual consumption during printing (typically 50-150W per hour)
- Maintenance: Nozzles, belts, bed surfaces, and lubrication
- Unexpected repairs: Budget 10% of operating costs for breakdowns
Labor Costs
- File preparation and slicing time
- Loading filament and starting prints
- Monitoring print progress
- Post-processing: support removal, sanding, painting
- Quality inspection
- Packaging and shipping preparation
Overhead Allocation
- Workspace rent or mortgage portion
- Software subscriptions (CAD, slicing, design tools)
- Marketing and platform fees (Etsy, Shopify, etc.)
- Insurance and business licenses
Calculate Your True Break-Even
Let's work through a real example with custom keychains:
Scenario: Batch of 20 personalized keychains
| Cost Category | Calculation | Amount |
|---|---|---|
| Material | 200g filament @ $0.02/g | $4.00 |
| Machine time | 6 hours @ $0.50/hour | $3.00 |
| Labor | 1 hour prep + 0.5 hour post-processing @ $20/hour | $30.00 |
| Overhead | 20 units × $0.75/unit | $15.00 |
| Total Cost | $52.00 | |
| Cost per keychain | $52.00 ÷ 20 | $2.60 |
If you sell these keychains for $8 each, your gross profit is $5.40 per unit, or a 67.5% margin. However, if you had only calculated material and machine time ($7.00 total), you might have priced them at $4.50 each, thinking you were making a decent profit while actually losing money once labor and overhead got factored in.
Pricing Strategy for Profit
Once you know your true cost per part, use this formula for pricing:
Minimum price = Cost per part × 2.5 Target price = Cost per part × 3.5 to 4 Premium price = Cost per part × 5+ (for highly customized or complex items)
These multipliers ensure you cover unexpected costs, reinvest in equipment, and actually take home profit. Moreover, don't be afraid to charge premium prices for customization—customers pay for the value they receive, not just your material costs.
Tracking Tools That Work
To maintain profitability, implement these tracking methods:
- Spreadsheet templates: Create a master spreadsheet with formulas that calculate cost per part based on weight, time, and batch size
- Time tracking apps: Use tools like Toggl or Harvest to accurately measure how much time you spend on each order
- Material tracking: Weigh your filament spools before and after each batch to get precise material usage
- Monthly reviews: Analyze your top-selling products every month to spot margin erosion or opportunities
When you track these numbers consistently, you'll quickly identify which products truly drive profit and which ones waste your time despite seeming popular.
Conclusion
Making real money from 3D printing doesn't come from taking every custom order that crosses your path. Instead, it comes from understanding how to leverage batch production to slash your costs while maintaining the customization that customers pay premium prices for. Throughout this guide, you've learned the five pillars of profitable batch printing: understanding why batching works economically, choosing products that pack efficiently and sell consistently, mastering nesting techniques to maximize every build plate, scaling smartly with multiple printers rather than one expensive machine, and calculating your true costs to price for profit.
Now it's time to take action. Start by choosing one product category that fits your equipment and interests. Create a simple spreadsheet to track your real costs per part. Print your first deliberate batch of 10-20 items using the nesting principles you've learned here. Then, as you refine your process and prove your margins, gradually add more printers to your operation. Remember, every successful 3D printing business started with a single batch—the difference is they understood the economics from day one and built their operations around profit rather than just passion.
The opportunity in small-batch production is growing as more consumers seek customized products that mass manufacturers can't efficiently produce. By positioning yourself as the go-to source for specific product categories and maintaining tight control over your costs, you're building a sustainable business that grows with your ambition.
Recommended Resources
[3D printing batch production profit][^1]
[Small batch 3D printing][^2]
[Scaling 3D printing business][^3]
[Cost per part 3D printing][^4]
[Mass customization 3D printing][^5]
[Profitable 3D printed products][^6]
---
[^1]: Explore this link to understand how 3D printing can enhance profitability in batch production, optimizing costs and efficiency.
[^2]: Discover the unique benefits of small batch 3D printing, including customization and reduced waste, which can significantly impact your production strategy.
[^3]: Explore effective strategies to grow your 3D printing business and increase profitability.
[^4]: Learn how to accurately calculate costs to optimize pricing and improve your profit margins.
[^5]: Explore this link to understand how mass customization in 3D printing can revolutionize production and meet unique customer needs.
[^6]: Discover insights on the most lucrative 3D printed products to tap into the growing market and maximize your profits.


