What K-Factor Values Actually Work for Your Sheet Metal Projects?
What K-Factor Values Actually Work for Your Sheet Metal Projects?

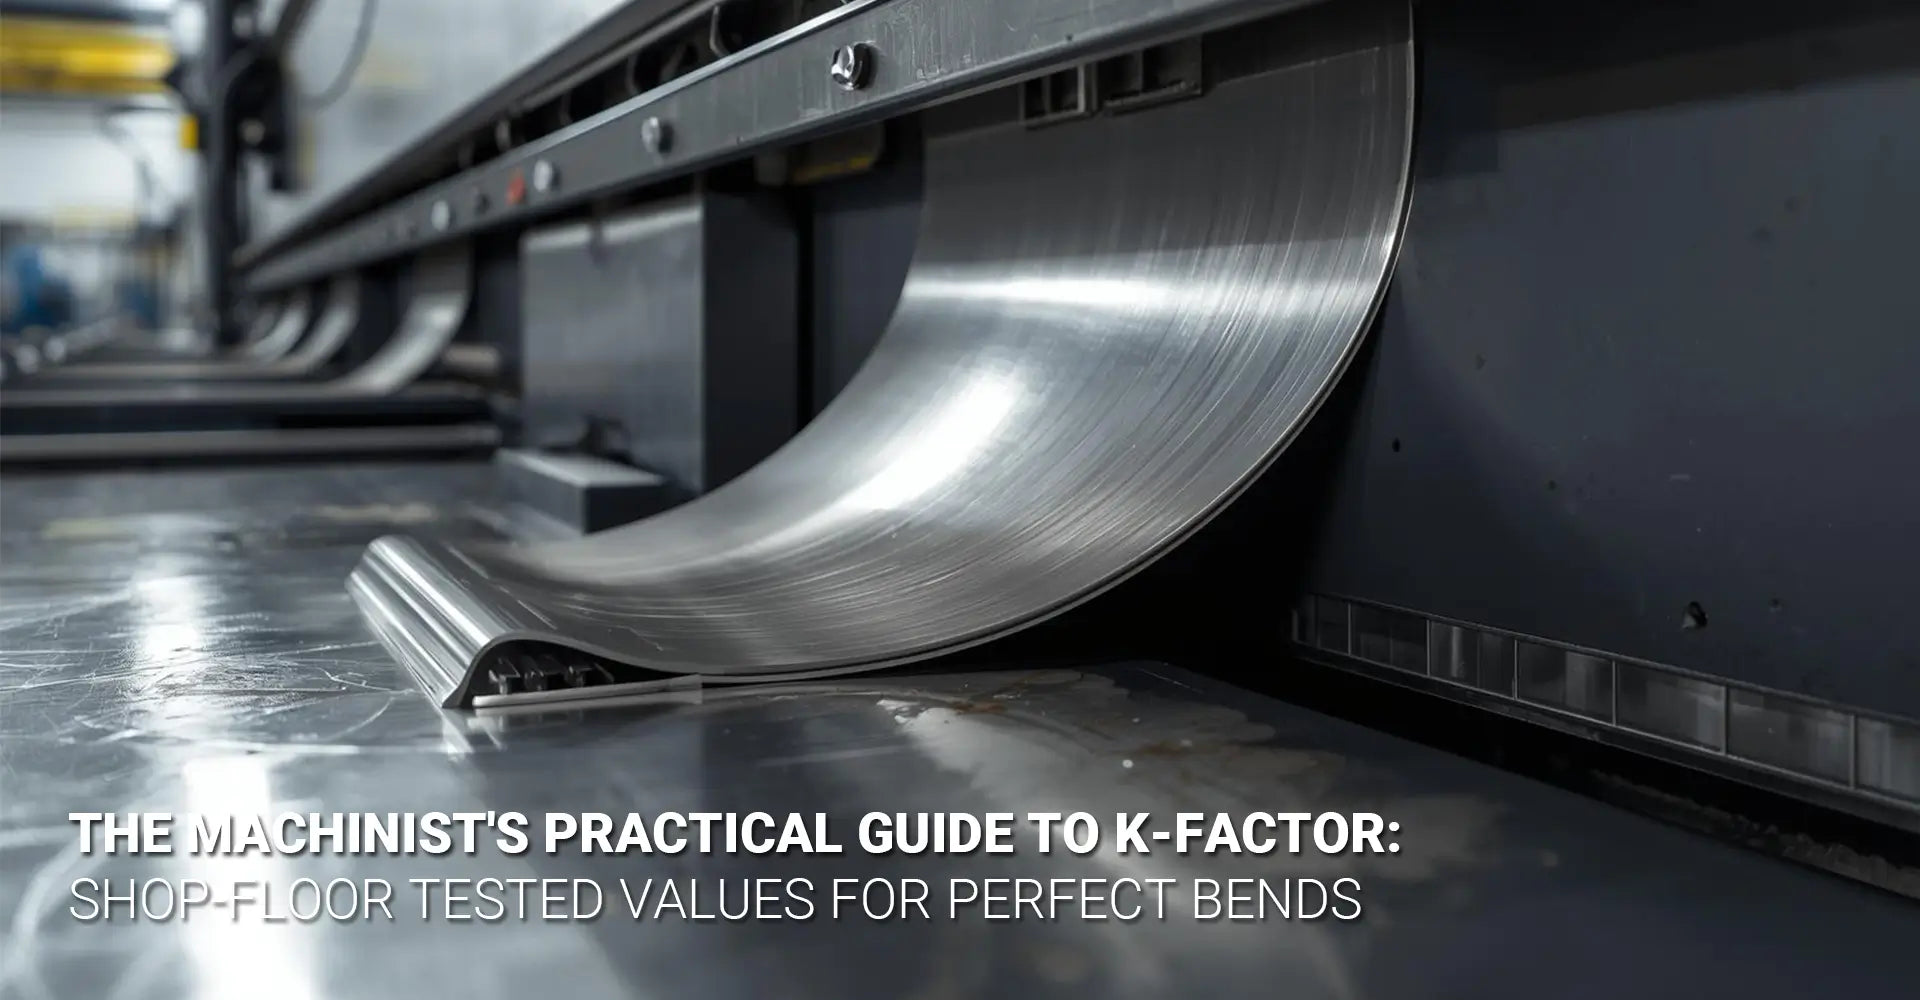
You've calculated the flat pattern, cut the material, and set up the press brake. But after bending, the part measures 0.060" too long. Sound familiar? This common headache costs shops thousands in wasted material and rework time every month. The culprit is usually an incorrect K-Factor value in your calculations. Whether you're working on automotive components or industrial machinery, getting the right K-Factor means the difference between first-time accuracy and costly trial-and-error.
Quick Reference: K-Factor Values That Work
| Material Type | Thickness Range | K-Factor Value | V-Die Opening |
|---|---|---|---|
| Mild Steel | 18ga - 1/4" | 0.44 - 0.46 | 8x thickness |
| Stainless 304/316 | 18ga - 1/4" | 0.43 - 0.45 | 8x thickness |
| Aluminum 5052 | 18ga - 1/4" | 0.38 - 0.41 | 10x thickness |
| Aluminum 6061 | 18ga - 1/4" | 0.40 - 0.42 | 10x thickness |
| Cold Rolled Steel | 18ga - 1/4" | 0.42 - 0.44 | 8x thickness |
Use these values as your starting point, then fine-tune based on your specific equipment and material batch.
Understanding K-Factor isn't about memorizing complex physics formulas. Instead, it's about knowing which numbers to plug into your calculations so your parts come out right the first time. This guide walks you through everything you need, from basic concepts to the exact formulas you'll use on the shop floor. By the end, you'll have a printable reference chart and the confidence to tackle any bending project with precision.
Table of Contents
- What Does K-Factor Mean When You're Standing at the Press Brake?
- Which K-Factor Values Should You Use for Common Materials?
- How Does Your V-Die Opening Change the K-Factor You Need?
- What's the Step-by-Step Math for Calculating Flat Patterns?
What Does K-Factor Mean When You're Standing at the Press Brake?
Every machinist has faced this problem: you bend a part, measure it, and the dimensions don't match your flat pattern calculations. Moreover, the frustration multiplies when you're working with expensive materials or tight deadlines. K-Factor solves this problem by accounting for what happens inside the metal during bending.
The Simple Truth About K-Factor
K-Factor is a number between 0.3 and 0.5 that identifies where the neutral axis sits in your bent metal. Think of the neutral axis as an imaginary line running through the thickness of your material that neither stretches nor compresses during the bend. Everything above this line (toward the outside of the bend) stretches. Everything below it (toward the inside) compresses. Consequently, knowing where this line sits lets you calculate accurate flat patterns.
Why This Matters for Your Parts
When you bend sheet metal, the outside surface stretches to accommodate the curve while the inside surface compresses. However, somewhere between these two surfaces exists a layer that maintains its original length. Therefore, if you calculate your flat pattern based on this neutral axis location, your finished part will hit the target dimensions.
The K-Factor tells you exactly where that neutral axis lives. Specifically, it expresses this location as a fraction of the material thickness. For example, a K-Factor of 0.45 means the neutral axis sits at 45% of the thickness from the inside bend surface. Similarly, a K-Factor of 0.33 places it at one-third of the way through the material.
How K-Factor Differs from Other Methods
Many shops use different methods to calculate flat patterns, which can create confusion. In fact, you might hear terms like "bend allowance," "bend deduction," or "Y-factor" thrown around. Here's how they relate:
Bend Allowance is the actual arc length of the neutral axis through the bend. You calculate it using the K-Factor, and it gets added to your flange lengths. Meanwhile, Bend Deduction is a single value you subtract from the total of both flanges to get your flat length. Additionally, some software uses Y-Factor, which is simply K-Factor multiplied by the material thickness.
All these methods arrive at the same answer. Nevertheless, most modern CAD software and press brake controllers use K-Factor internally because it adapts easily across different material thicknesses and bend radii.
Common Mistakes That Cost You Material
The biggest error shops make is using a single K-Factor for all materials and situations. This approach might work for rough prototypes, but precision work demands accuracy. Furthermore, assuming that published tables give you the exact value for your specific setup leads to disappointment.
Another frequent mistake involves ignoring the relationship between material thickness and bend radius. As a result, operators use K-Factors meant for thick materials on thin stock, or vice versa. This mismatch creates dimensional errors that accumulate across multiple bends.
Finally, many machinists forget that K-Factor changes with the bending method. Specifically, air bending produces different results than bottoming or coining. Each technique affects where the neutral axis settles within the material thickness.
Which K-Factor Values Should You Use for Common Materials?
Walking up to your material rack, you need to know which K-Factor to use before you start calculating. Different metals behave differently under bending stress, which means you can't treat them all the same. In addition, the specific alloy and temper within each material family creates further variation.
Your Material-Specific Reference Guide
The chart below provides proven K factor values for steel aluminum and other common shop materials. These numbers come from real-world testing across thousands of bends in production environments:
Mild Steel (A36, Hot Rolled)
- 16 gauge (0.060"): K = 0.44
- 14 gauge (0.075"): K = 0.45
- 11 gauge (0.120"): K = 0.45
- 1/4" (0.250"): K = 0.46
Stainless Steel (304/316)
- 16 gauge (0.060"): K = 0.43
- 14 gauge (0.075"): K = 0.44
- 11 gauge (0.120"): K = 0.44
- 1/4" (0.250"): K = 0.45
Aluminum 5052 (Soft)
- 16 gauge (0.064"): K = 0.38
- 14 gauge (0.080"): K = 0.39
- 11 gauge (0.125"): K = 0.40
- 1/4" (0.250"): K = 0.41
Aluminum 6061-T6 (Hard)
- 16 gauge (0.064"): K = 0.40
- 14 gauge (0.080"): K = 0.41
- 11 gauge (0.125"): K = 0.41
- 1/4" (0.250"): K = 0.42
Cold Rolled Steel
- 16 gauge (0.060"): K = 0.42
- 14 gauge (0.075"): K = 0.43
- 11 gauge (0.120"): K = 0.43
- 1/4" (0.250"): K = 0.44
Why Softer Materials Use Lower Values
Looking at the numbers, you'll notice that aluminum generally requires lower K-Factor values than steel. This pattern exists because softer materials stretch more easily during bending. Consequently, the neutral axis shifts closer to the inside radius of the bend.
Think about it this way: when metal bends, the outer surface must stretch to accommodate the curve. Softer materials like aluminum put up less resistance to this stretching. Therefore, more of the material thickness participates in the stretching action, which pushes the neutral axis inward toward the compression zone.
Harder materials like stainless steel resist deformation more stubbornly. As a result, less material thickness gets involved in the stretching process, and the neutral axis stays closer to the center of the material thickness.
How Grain Direction Affects Your Numbers
Sheet metal fabrication professionals know that material isn't uniform in all directions. The rolling process creates a grain direction in the metal, similar to wood grain. Bending parallel to this grain (with the grain) produces slightly different results than bending perpendicular to it (across the grain).
When you bend across the grain, the material typically exhibits slightly more springback. In practice, this might require a K-Factor adjustment of 0.01 to 0.02 lower than the published value. However, bending with the grain usually lets you use the standard value from the table.
Material Condition Adjustments
The condition of your material batch matters more than many operators realize. For instance, material that's been sitting in inventory for months may have different working properties than fresh stock. Likewise, material exposed to temperature variations or moisture can behave unpredictably.
Heat-treated materials demand special attention. If you're working with hardened steel or heat-treated aluminum, the K-Factor can shift by 0.03 to 0.05 from the annealed state. Furthermore, any surface treatments like galvanizing or powder coating can affect bending behavior, though usually to a lesser degree.
The best practice involves running test bends with each new material batch. Measure the results carefully, then adjust your K-Factor in 0.01 increments until you achieve perfect dimensional accuracy. This small investment of time saves material and prevents costly rework down the line.
How Does Your V-Die Opening Change the K-Factor You Need?
Many shops focus exclusively on material properties while overlooking a critical variable: the tooling itself. Your V-die opening directly influences the bend radius, which in turn affects where the neutral axis settles. Therefore, understanding this relationship helps you achieve consistent results across different setups.
The 8x to 10x Rule Explained
Professional press brake operators follow a general guideline: the V-die opening should measure 8 to 10 times the material thickness. For example, bending 14-gauge steel (0.075" thick) calls for a V-die opening around 0.600" to 0.750". This ratio creates a predictable bend radius and allows the material to flow naturally during forming.
Using a die opening within this range means the K-Factor values from standard tables will work reliably. However, straying too far from this ratio forces you to make adjustments. A narrower die creates a sharper bend and typically requires a slightly lower K-Factor. Meanwhile, a wider die produces a gentler bend and may need a higher K-Factor value.

Sharp Bends vs. Gentle Curves
When you use a narrow V-die opening (less than 8x material thickness), you force the material into a tighter bend radius. This situation increases the stretching on the outside surface and the compression on the inside. Consequently, the neutral axis shifts slightly toward the inside of the bend, which means you need a lower K-Factor value.
Specifically, if your die opening drops to 6x the material thickness, reduce your K-Factor by approximately 0.02 from the table value. For even sharper bends at 4x thickness, you might need to drop the K-Factor by 0.03 to 0.04.
Conversely, wider die openings (greater than 10x thickness) create gentler bends with larger radii. In this scenario, the neutral axis moves slightly toward the outside of the material. Therefore, you should increase your K-Factor by about 0.02 for die openings around 12x thickness.
Air Bending, Bottoming, and Coining
The forming method you choose dramatically impacts your results. Air bending represents the most common technique in modern shops because it offers flexibility and requires less tonnage. With air bending, the punch doesn't contact the bottom of the V-die, which means the final bend angle depends on punch penetration depth.
This method produces consistent results when you maintain proper die width ratios. The K-Factor values in standard tables assume air bending with appropriate die selection. Nevertheless, you need to account for springback, which varies by material type and thickness.
Bottoming pushes the material firmly into the die, creating a more defined bend. This technique reduces springback and produces tighter tolerances. However, it requires more tonnage and typically needs a K-Factor about 0.01 to 0.02 higher than air bending because the extra pressure affects the neutral axis position.
Coining applies even more pressure, actually compressing the material into the punch and die profiles. This method delivers the tightest tolerances and virtually eliminates springback. Because of the extreme pressure, the neutral axis shifts closer to the center of the material thickness, which usually means adding 0.02 to 0.03 to your K-Factor value.
When You Can't Use the Ideal Die
Real-world shop conditions sometimes force compromises. Maybe you don't have the perfect die width for your material thickness, or perhaps your tooling selection is limited. In these situations, you need to adapt.
First, always test bend a scrap piece before running production parts. Measure the actual bend radius you achieve with your available tooling. Then, you can either adjust your K-Factor to compensate or modify your flat pattern calculations to account for the actual radius.
Second, consider that working outside the ideal die width ratio affects more than just dimensional accuracy. It also increases the risk of marking the material surface, cracking on the outside of the bend, or requiring excessive tonnage. Sometimes, the better solution involves ordering the proper tooling rather than trying to force unsuitable dies to work.
What's the Step-by-Step Math for Calculating Flat Patterns?
Now that you understand K-Factor and how different variables affect it, let's walk through the actual calculations you'll use daily. These sheet metal bending formulas take you from finished part dimensions to accurate flat pattern lengths that account for material behavior during forming.
The Core Formula You Need
Every flat pattern calculation starts with this fundamental relationship:
Flat Pattern Length = L1 + L2 + BA
Where:
- L1 = Length of first flange (from edge to bend line)
- L2 = Length of second flange (from bend line to edge)
- BA = Bend Allowance (the arc length of the neutral axis through the bend)
The Bend Allowance calculation uses this formula:
BA = (π/180) × A × (R + K × T)
Where:
- π = 3.14159
- A = Bend angle in degrees
- R = Inside bend radius
- K = K-Factor for your material
- T = Material thickness
This bend allowance calculator approach gives you the most accurate results because it accounts for the actual neutral axis position. Moreover, it adapts automatically to different bend angles and radii.
Working Through a Real Example
Let's calculate the flat pattern for a common shop scenario. You need to bend a bracket from 14-gauge mild steel (0.075" thick) with these specifications:
- First flange length (L1): 3.000"
- Second flange length (L2): 2.000"
- Bend angle: 90°
- Inside bend radius: 0.125"
- K-Factor for mild steel: 0.45
Step 1: Calculate the Bend Allowance
BA = (3.14159/180) × 90 × (0.125 + 0.45 × 0.075)
BA = 0.01745 × 90 × (0.125 + 0.03375)
BA = 1.5708 × 0.15875
BA = 0.2493"
Step 2: Calculate Flat Pattern Length
Flat Length = 3.000 + 2.000 + 0.2493
Flat Length = 5.2493"
Round this to 5.250" for practical shop use.
Measuring Your Actual Bend Radius
Theoretical calculations assume a specific inside bend radius, but your actual radius depends on your tooling and material. Therefore, measuring the real radius from test bends improves accuracy significantly.
Use a radius gauge to check the inside bend radius after forming. Press the gauge leaves against the inside corner until you find the one that matches perfectly. This measurement gives you the actual R value to use in your calculations.
Alternatively, you can measure the radius mathematically. Bend a test piece, measure the inside dimension, outside dimension, and material thickness. Then use geometry to calculate the radius. This method works well when you don't have a complete set of radius gauges.
Converting Between Different Methods
Some older reference materials or software might use Bend Deduction instead of Bend Allowance. The relationship between these methods follows this formula:
Bend Deduction = (2 × (R + T)) × tan(A/2) - BA
For the example above: BD = (2 × (0.125 + 0.075)) × tan(45°) - 0.2493
BD = (2 × 0.200) × 1.0 - 0.2493
BD = 0.400 - 0.2493
BD = 0.1507"
When using Bend Deduction, the flat pattern formula becomes:
Flat Length = L1 + L2 - BD
Both methods produce the same result. Choose whichever your software or controller uses.
Programming Your CAD Software
Most modern CAD programs include sheet metal fabrication formulas in their sheet metal design modules. However, they need accurate K-Factor values to work correctly. Here's how to set them up:
SolidWorks: Go to the Sheet Metal Parameters and enter your K-Factor in the Bend Allowance table. You can create custom tables for different materials and thicknesses.
Inventor: Access the Style and Standard Editor, then modify the Sheet Metal Rule to include your verified K-Factor values for each material type.
Fusion 360: In the Sheet Metal workspace, edit the Sheet Metal Rule and input your K-Factor values organized by material and thickness.
AutoCAD: While AutoCAD doesn't have built-in sheet metal features, you can create custom formulas using the Calculator function and save them as scripts.
The key is building a library of verified values specific to your shop's equipment and materials. Start with the standard table values, then update them based on actual test results from your press brake.
Testing Before Production
Never run production quantities without testing your calculations first. Cut one flat pattern, bend it, and measure all critical dimensions carefully. Check the leg lengths, overall dimensions, and bend angles with precision measuring tools.
If the test part measures off by more than your tolerance allows, adjust your K-Factor incrementally. For parts measuring too long, increase the K-Factor by 0.01. For parts measuring too short, decrease it by 0.01. Make another test bend and measure again.
Document your findings in a shop reference book. Note the material type, thickness, die used, and the K-Factor that produced perfect results. Over time, you'll build a custom K factor sheet metal chart that reflects your specific equipment and produces first-time accuracy on every job.
This systematic approach transforms K-Factor from a mysterious concept into a practical tool that saves time and material. Furthermore, it gives you the confidence to quote jobs accurately and deliver parts that meet specification without rework.
Conclusion
Getting your flat patterns right the first time isn't about luck or years of trial-and-error experience. Instead, it comes down to understanding K-Factor and applying the right values for your specific combination of material, thickness, and tooling. The tables and formulas in this guide give you a solid starting point based on proven shop-floor data.
Remember that published values serve as your baseline, not your final answer. Every press brake behaves slightly differently, and material batches vary. Therefore, always test bend critical parts before running production quantities. Measure your results, adjust your K-Factor in small increments, and document what works for your specific setup.
Your sheet metal K factor table should be a living document that grows with your experience. Start with the values provided here, then refine them through careful testing and measurement. This approach transforms K-Factor from an abstract concept into a practical tool that consistently delivers accurate parts.
Whether you're producing components for automotive applications or industrial machinery, precision bending depends on accurate flat pattern calculations. Take the time to understand your materials, verify your K-Factors, and build a reference library specific to your equipment. The investment pays off immediately through reduced scrap, faster setup times, and parts that meet specification on the first bend.
External Resources
[K factor sheet metal chart][^1]
[Bend allowance calculator][^2]
[Press brake bending guide][^3]
[Sheet metal fabrication formulas][^4]
---
[^1]: Understanding the K factor is crucial for accurate sheet metal bending calculations, making this resource invaluable for fabricators.
[^2]: A bend allowance calculator helps ensure precise measurements in metalworking, enhancing the quality of your projects.
[^3]: Explore this link to understand the essential techniques and tips for effective press brake bending.
[^4]: Discover these formulas to enhance your sheet metal fabrication skills and improve accuracy in your projects.


