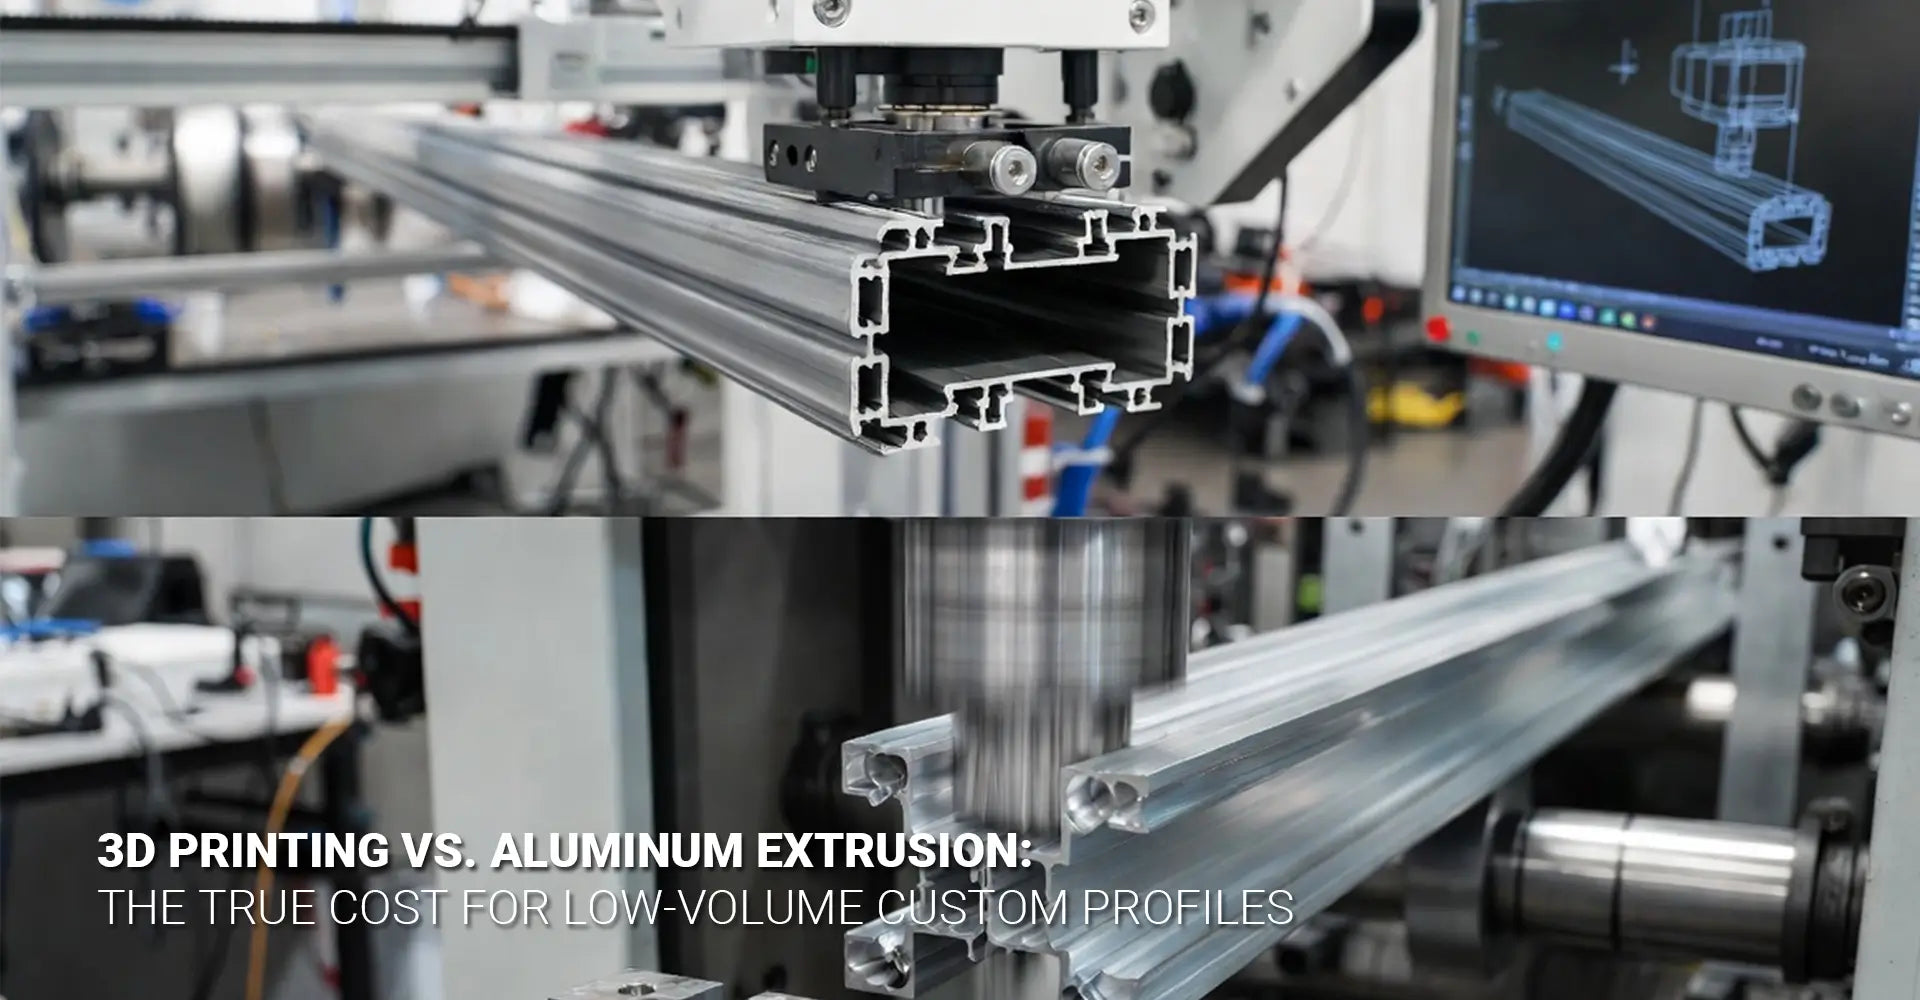
3D Printing vs. Aluminum Extrusion: Which Costs Less for Your Custom Profile Project?
3D Printing vs. Aluminum Extrusion: Which Costs Less for Your Custom Profile Project?

You're standing at a manufacturing crossroads. Your product needs custom rails or housings, but the quote for an aluminum extrusion die just landed on your desk—and it's eye-watering. Meanwhile, you've heard whispers about 3D printing as an alternative, but you're not sure if it can handle your project's demands. Therefore, this decision isn't just about manufacturing methods. It's about your budget, timeline, and whether you'll launch your product this quarter or next year.
Quick Answer: Which Method Saves You Money?
At a Glance: The Cost Breakdown
| Factor | 3D Printing | Aluminum Extrusion |
|---|---|---|
| Upfront Tooling Cost | $0 | $1,500 - $10,000+ |
| Best for Quantities | 1-200 parts | 500+ parts |
| Lead Time to Production | 2-5 days | 8-12 weeks |
| Design Flexibility | Variable cross-sections, integrated features | Fixed cross-section only |
| Break-Even Point | N/A | Typically 100-200 units |
| Material Options | High-performance polymers | Aluminum alloys |
Bottom Line: For production runs under 200 parts, 3D printing typically delivers lower total costs because you skip the expensive die investment entirely. However, once you're manufacturing hundreds or thousands of units, extrusion's low per-part cost eventually wins out.
Why This Comparison Matters for Your Project
Engineers and product designers face this dilemma constantly. On one hand, aluminum extrusion promises durability and a proven track record. On the other hand, the upfront investment can kill a project before it starts. Additionally, market demands have shifted. Customers want customization, and businesses need to test products without betting the farm on tooling. Consequently, understanding when each method makes financial sense isn't just helpful—it's critical for your project's survival.
Table of Contents
- What Makes Aluminum Extrusion So Expensive for Small Batches?
- How Does 3D Printing Change the Cost Equation for Custom Profiles?
- Where Is the Break-Even Point Between These Two Methods?
- Can 3D Printed Polymers Match Aluminum's Performance for Rails and Housings?
- Conclusion
What Makes Aluminum Extrusion So Expensive for Small Batches?
The Fixed Cost Trap
Aluminum extrusion works brilliantly for high-volume production, but it carries a hefty price tag upfront. Moreover, this cost structure creates a significant barrier for small businesses and startups. The culprit? Custom extrusion dies that must be manufactured before you can produce even a single part.
The Real Numbers Behind Extrusion Dies
When exploring aluminum in CNC machining and extrusion, you'll quickly discover the tooling cost for extrusion die dominates your budget:
- Simple profiles: $1,500 to $3,000 per die
- Complex profiles: $10,000 or more per die
- Lead time: 8 to 12 weeks for fabrication
- Minimum orders: Often 500 to 1,000 meters required
Furthermore, these dies aren't disposable. They're precision tools machined from hardened steel, designed to withstand the extreme pressures of forcing hot aluminum through a shaped opening thousands of times.
Why Dies Cost So Much (And Why You Can't Avoid It)
The manufacturing process for extrusion dies explains the price tag. First, engineers must design the die to account for how aluminum flows and cools. Then, skilled machinists cut the profile shape into a solid steel block using CNC machining services. After that, the die undergoes heat treatment to harden it for production use.
Each die is essentially a custom tool built specifically for your profile. Unlike injection molding, where family molds can produce multiple parts, an extrusion die creates only one cross-sectional shape. Therefore, any design change means starting over with a new die. This lack of flexibility makes low volume extrusion cost prohibitively expensive for prototyping or small production runs.
Additionally, extruders often require minimum order quantities because setting up the extrusion line takes time and labor. Even if your die only costs $2,000, you might be forced to order far more material than you actually need. As a result, you're paying for inventory that sits in your warehouse while you test the market.
How Does 3D Printing Change the Cost Equation for Custom Profiles?
The Zero-Tooling Advantage
Custom profile 3D printing flips the traditional manufacturing model on its head. Instead of investing thousands in tooling before producing your first part, you simply send a digital file and start printing. Consequently, this eliminates the biggest financial barrier to entry for small-batch manufacturing.
Understanding the Linear Cost Model
The economics of 3D printing are refreshingly straightforward:
- Tooling investment: $0
- Cost formula: (Price per part) × (Quantity needed)
- Design changes: Free between parts
- Production timeline: 2 to 5 days from design to finished parts
- Minimum order: Often just 1 part
Unlike extrusion's high fixed cost plus low variable cost model, additive manufacturing delivers a consistent per-part price regardless of volume. Therefore, your first part costs the same as your hundredth part. This predictability makes budgeting simpler and eliminates the risk of over-ordering.
Design Freedom That Extrusion Can't Match
Beyond cost, 3D printing unlocks capabilities that traditional extrusion simply cannot achieve. For instance, you can create:
Variable cross-sections: The profile changes shape along its length, something physically impossible with a fixed die.
Integrated features: Mounting bosses, snap-fits, internal channels, and complex lattices print as a single piece. This eliminates assembly steps and reduces part count.
True geometric complexity: Undercuts, re-entrant angles, and fully enclosed hollow sections are standard in additive manufacturing but impossible to pull through an extrusion die.
Instant iteration: Need to adjust a dimension or add a feature? Simply modify your CAD file and print again. No new tooling required.
This flexibility proves invaluable for on-demand rail and housing applications in electronics manufacturing and industrial machinery, where custom fits and rapid design changes are common. Moreover, companies can test multiple design variations simultaneously without multiplying their tooling investment.
Additionally, short run manufacturing becomes economically viable. Whether you need 5 parts for a prototype or 150 units for a limited market test, the cost structure remains favorable. Therefore, businesses can validate designs and market fit before committing to expensive production tooling.
Where Is the Break-Even Point Between These Two Methods?
Setting Up the Comparison
Choosing between 3D printing vs aluminum extrusion requires a cost per part analysis that accounts for both fixed and variable costs. Fortunately, the math isn't complicated once you understand the key variables. However, the break-even point shifts based on several factors specific to your project.
The Break-Even Formula Explained
To find where extrusion becomes cheaper, use this simple calculation:
Break-even quantity = Die cost ÷ (3D printing cost per part - Extrusion cost per part)
For example, imagine your project has these costs:
- Extrusion die: $5,000
- 3D printed part: $30 each
- Extruded part: $5 each (after die is paid)
Break-even = $5,000 ÷ ($30 - $5) = 200 parts
This means you'd need to produce more than 200 units before extrusion becomes the cheaper option.
Real-World Cost Scenarios
Let's examine how quantities affect total project costs across different scenarios:
Scenario 1: Simple Rail Profile (50 units needed)
- 3D printing total: 50 × $25 = $1,250
- Extrusion total: $2,000 (die) + (50 × $4) = $2,200
- Winner: 3D printing saves $950
Scenario 2: Complex Housing Profile (200 units needed)
- 3D printing total: 200 × $35 = $7,000
- Extrusion total: $8,000 (die) + (200 × $6) = $9,200
- Winner: 3D printing saves $2,200
Scenario 3: Standard Guide Rail (500 units needed)
- 3D printing total: 500 × $30 = $15,000
- Extrusion total: $3,000 (die) + (500 × $5) = $5,500
- Winner: Extrusion saves $9,500
Scenario 4: Mass Production (2,000 units needed)
- 3D printing total: 2,000 × $28 = $56,000
- Extrusion total: $4,000 (die) + (2,000 × $4) = $12,000
- Winner: Extrusion saves $44,000
Factors That Shift the Break-Even Point
Several variables can move the crossover quantity up or down:
Part complexity: Intricate profiles with internal features favor 3D printing because die costs escalate rapidly for complex geometries. Conversely, simple solid shapes break even faster with extrusion.
Material requirements: High-performance polymer profiles cost more per part than standard printing materials. However, specialized aluminum alloys also increase extrusion costs.
Profile dimensions: Larger cross-sections consume more printing material, raising the per-part cost. Meanwhile, bigger profiles require larger, more expensive extrusion dies.
Design changes: If you anticipate iterations, 3D printing's zero retooling cost becomes even more valuable. Each extrusion design change means buying another die.
Timeline pressure: When speed matters, 3D printing's 3-day turnaround might justify higher per-part costs compared to waiting 10 weeks for die fabrication.
Quick Decision Guide by Quantity
Based on typical industrial projects, here's a rough guide:
- 1-50 units: 3D printing almost always wins
- 51-150 units: 3D printing usually wins (depends on complexity)
- 151-300 units: Analyze carefully; either method could be optimal
- 301-500 units: Extrusion often becomes competitive
- 500+ units: Extrusion typically delivers better economics
Remember, these ranges shift based on your specific profile and requirements. Therefore, always calculate your exact costs before committing.
Can 3D Printed Polymers Match Aluminum's Performance for Rails and Housings?
The Honest Performance Assessment
Material performance is where aluminum traditionally dominates. After all, metal has been the go-to choice for structural components for good reason. However, modern high-performance polymers have closed the gap considerably, and design flexibility can sometimes compensate for material limitations.
Material Properties Head-to-Head
Let's compare key mechanical properties that matter for rails and housings:
Aluminum 6061-T6:
- Tensile strength: 310 MPa
- Modulus (stiffness): 69 GPa
- Density: 2.7 g/cm³
- Temperature resistance: 150°C continuous
Nylon (PA12) - Standard:
- Tensile strength: 45-55 MPa
- Modulus: 1.5-1.8 GPa
- Density: 1.01 g/cm³
- Temperature resistance: 80-100°C continuous
Carbon Fiber Reinforced PEKK:
- Tensile strength: 150-200 MPa
- Modulus: 12-15 GPa
- Density: 1.3-1.4 g/cm³
- Temperature resistance: 200°C continuous
When Polymers Work Well (And When They Don't)
High-performance polymer profiles excel in specific applications:
Good applications for 3D printed polymers:
- Guide rails with moderate loads
- Protective housings and enclosures
- Cable management systems
- Mounting brackets and fixtures
- Jigs and fixtures for assembly
- Weight-sensitive applications
- Electrically insulating components
- Corrosion-prone environments
Applications requiring aluminum:
- High-load structural members
- Components experiencing impacts
- High-temperature environments (above 150°C)
- Applications requiring maximum stiffness
- Parts needing excellent thermal conductivity
- Components exposed to UV and outdoor weathering
Design Strategies to Compensate
Smart design can bridge performance gaps. For instance, 3D printing enables topology design that places material only where stress demands it. This approach creates lightweight structures that meet strength requirements while using less material.
Additionally, printed parts can incorporate ribbing, gussets, and internal honeycomb structures that aluminum extrusions cannot achieve. These features dramatically increase stiffness-to-weight ratios without adding significant cost or print time.
Moreover, multi-material printing allows combining rigid and flexible polymers in a single part. Therefore, you can create assemblies that would require multiple aluminum components and fasteners, reducing assembly time and potential failure points.
Real-World Application Examples
Several industries have successfully deployed 3D printed profiles:
Electronics manufacturing: Custom cable management rails that route wiring through internal channels impossible to extrude. The integrated design eliminates clips and fasteners.
Industrial machinery: Equipment housings with snap-fit assembly features that reduce installation time by 70% compared to traditional fastened aluminum enclosures.
Medical devices: Lightweight guide rails for patient positioning systems where weight reduction improves usability and aluminum's electrical conductivity would interfere with imaging equipment.
Automotive prototyping: Interior trim profiles for concept vehicles where rapid design iteration matters more than ultimate material properties during the validation phase.
Conclusion
The choice between 3D printing and aluminum extrusion isn't about which method is "better" in absolute terms. Instead, it's about matching the manufacturing approach to your specific project requirements. Each method has clear strengths that shine in different scenarios.
For production runs under 200 units, 3D printing typically delivers lower total costs, faster turnaround, and greater design flexibility. You avoid the expensive die investment entirely while gaining the ability to iterate designs without penalty. This makes additive manufacturing ideal for prototyping, market testing, and custom one-off projects.
Conversely, once you're producing 500 or more units and your design is finalized, aluminum extrusion's economics become compelling. The initial die investment gets spread across many parts, driving per-unit costs down significantly. Moreover, aluminum's superior strength and thermal properties make it the right choice for demanding structural applications.
The Smart Hybrid Strategy
Many successful companies use a staged approach:
Stage 1 (Prototype & Validation): Use 3D printing to design, test, and refine your profile. Manufacture your first 50-200 units for real-world testing and initial customer feedback. This validates both the design and market demand without tooling risk.
Stage 2 (Growing Demand): As orders increase to several hundred units, continue with 3D printing or explore bridge tooling options like prototype extrusion dies that cost less but have shorter lifespans.
Stage 3 (Production Scale): Once your design is frozen and you're producing thousands of units, invest in the final hardened production die. Your 3D printed parts served as perfect functional prototypes, reducing the risk of expensive die modifications.
This approach minimizes financial risk while maximizing learning and flexibility. You only commit to expensive tooling after proving your design works and customers want it.
Making Your Decision
Ask yourself these five questions:
- Quantity: How many parts do I need in the next 12 months?
- Design certainty: Is my design finalized, or might it change?
- Timeline: Can I wait 10-12 weeks for tooling, or do I need parts next week?
- Performance requirements: Do I truly need aluminum's properties, or will advanced polymers suffice?
- Budget: Can I afford the upfront die investment, or do I need to preserve cash flow?
Your answers will point you toward the right manufacturing method for your situation.
Recommended Resources
[3D Printed Polymer Profiles][^1]
[Custom Aluminum Profiles][^2]
[Low volume extrusion cost][^3]
[On-demand rail and housing][^4]
[Tooling cost for extrusion die][^5]
[Additive Manufacturing vs. Extrusion][^6]
---
[^1]: Explore this link to understand how 3D printed polymer profiles can enhance design flexibility and reduce production costs.
[^2]: Discover the manufacturing process of custom aluminum profiles to appreciate their versatility and applications in various industries.
[^3]: Understanding low volume extrusion costs can help you make informed decisions about manufacturing and budgeting.
[^4]: Exploring on-demand rail and housing can provide insights into innovative transportation and housing solutions that meet modern needs.
[^5]: Understanding tooling costs is crucial for budgeting in manufacturing processes, especially for extrusion.
[^6]: Exploring this comparison can help you choose the right manufacturing method for your project.


Custom-made children’s furniture custom kitchen cabinets Florida