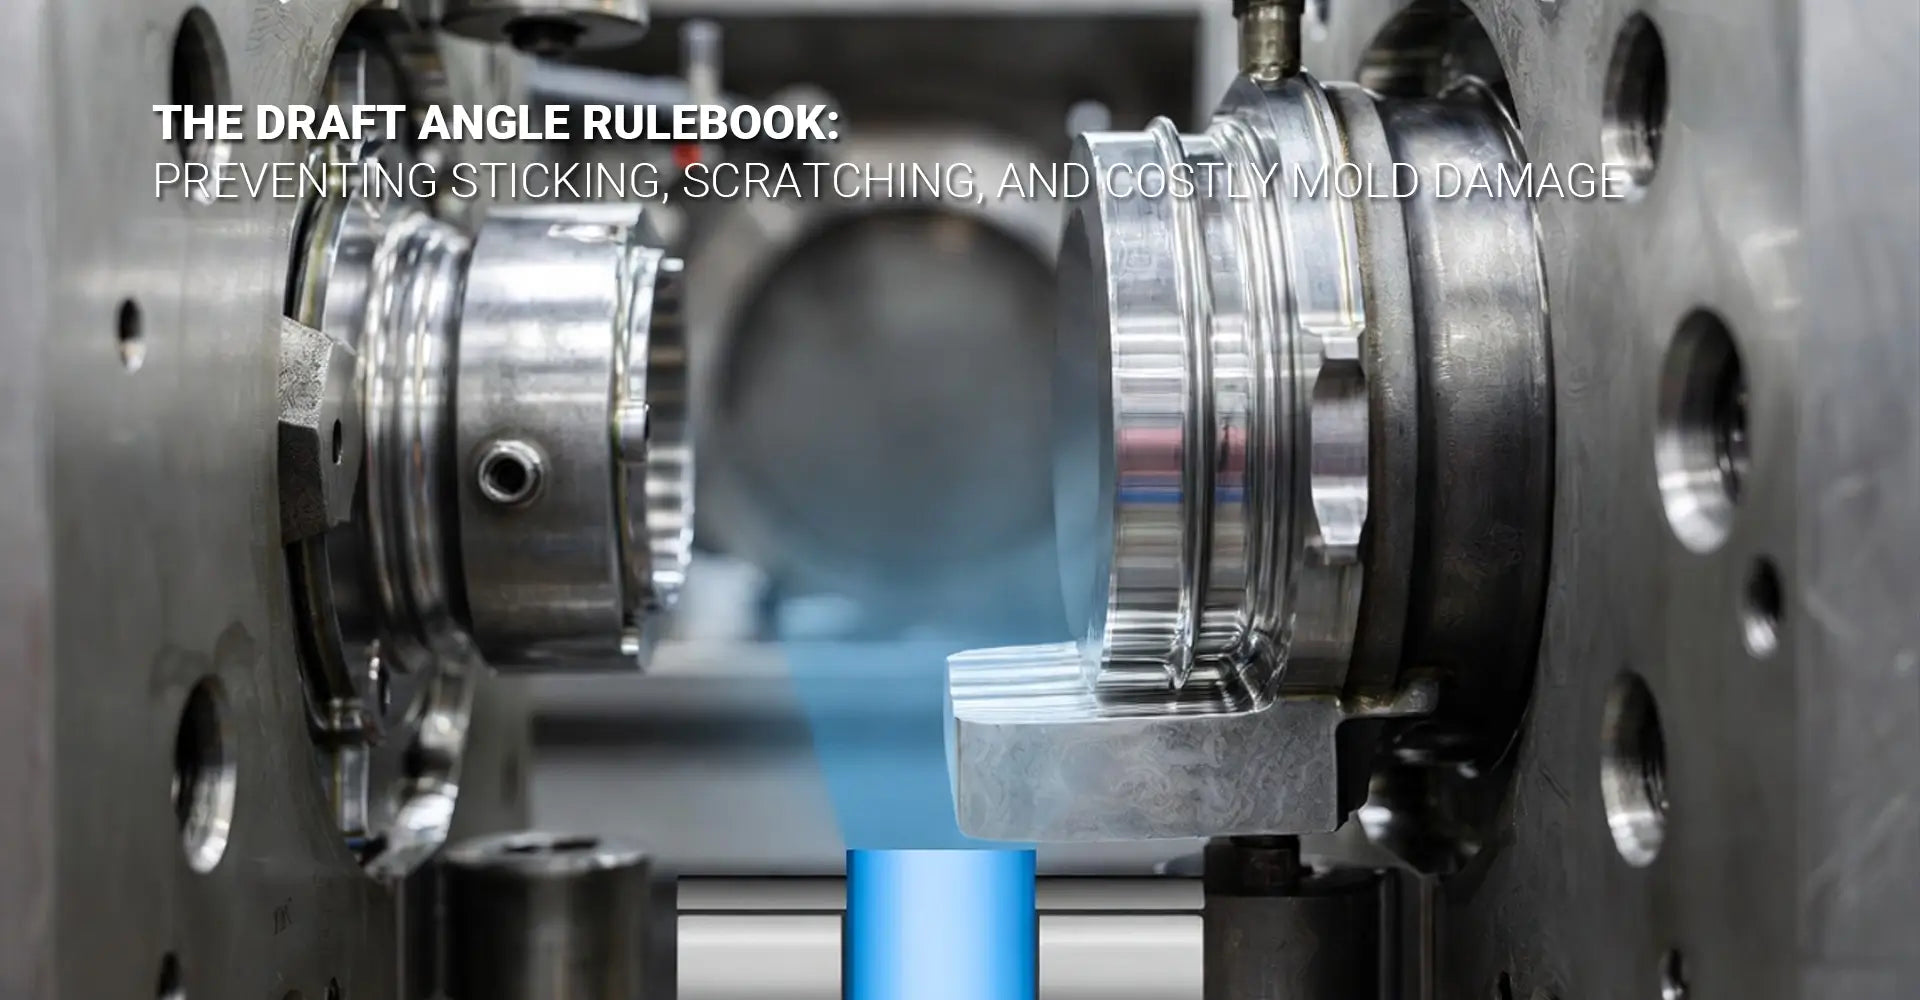
How Much Draft Angle Does Your Die Cast Part Really Need to Release Without Damage?

How Much Draft Angle Does Your Die Cast Part Really Need to Release Without Damage?
Every die casting engineer has faced this problem: a part that won't release cleanly from the mold. Moreover, the damage can range from minor surface scratches to complete production shutdowns. The culprit is almost always the same—insufficient draft angle on vertical walls and features. Understanding exactly how much draft angle for die casting your specific design requires isn't just good practice; it's the difference between profitable production and expensive mold repairs. Whether you're designing components for automotive applications, industrial machinery, or kitchen appliances, proper draft angles ensure consistent quality.
Quick Answer: The minimum safe draft angle for die casting ranges from 1.5° to 3° depending on several factors. External smooth walls typically need 1.5-2°, while internal cores require 2-3°. However, textured surfaces demand significantly more—sometimes adding 2-3° to these baseline numbers. Deep features also increase draft requirements proportionally to their depth.
While these baseline numbers provide a starting point, the reality is more nuanced. Different surface finishes, feature depths, and part orientations all dramatically affect the minimum draft your design needs. Furthermore, ignoring these requirements leads to predictable and expensive problems during production. Let's explore the physics behind draft angles and then dive into specific requirements for various design scenarios.
Table of Contents
- Why Does Draft Angle Matter for Mold Release?
- What Are the Standard Minimum Draft Angles for Smooth Surfaces?
- How Do Textured Finishes Change Draft Requirements?
- When Does Feature Depth Require Additional Draft?
- What Problems Occur When Draft Is Insufficient?
Why Does Draft Angle Matter for Mold Release?
Draft angle isn't merely a suggestion from your mold maker—it's a physical necessity. When molten metal solidifies inside a die cavity, it shrinks as it cools. External walls shrink away from the mold, making them easier to release. Internal features, however, shrink onto cores, creating a tight mechanical grip. Without adequate taper (draft), the part literally cannot slide out of the mold without resistance.
The physics is simple: A vertical wall creates maximum friction against the mold surface during ejection from mold. Consequently, even a slight angle (as little as 1-2 degrees) creates a progressive gap that breaks the seal and allows the part to release smoothly. Think of it like removing a wedge versus pulling out a nail—the taper makes all the difference.
The shrinkage behavior differs significantly between aluminum and zinc alloys. Aluminum typically shrinks 0.5-0.7%, while zinc alloys shrink less at 0.3-0.4%. This means aluminum parts grip cores more tightly and generally require slightly more draft than zinc parts. Additionally, the ejection system applies force through ejector pins, which can leave marks or even pierce thin walls if the part resists release. The friction coefficient between the solidified metal and the tool steel also plays a role—polished molds reduce this friction, which is why highly polished surfaces can sometimes operate with slightly less draft. However, relying on mold polish alone is risky because polish degrades over production cycles. Understanding proper mold release design principles prevents costly production delays and ensures your components meet quality standards across industries from automotive to consumer products.
What Are the Standard Minimum Draft Angles for Smooth Surfaces?
Industry standards provide baseline draft requirements that work for most typical die casting applications. These numbers represent the minimum safe angles that prevent ejection problems under normal production conditions. However, they assume smooth, polished mold surfaces without texture or special finishes. Following established die casting design rules ensures your parts release consistently.
Standard minimums for smooth surfaces:
- External walls: 1.5° to 2.0° minimum
- Internal walls and cores: 2.0° to 3.0° minimum
- Very shallow features (under 5mm deep): Sometimes 1.0° is acceptable externally
- Deep pockets or ribs: Add 0.5° to 1.0° for every 25mm of depth
The difference between internal and external requirements stems directly from shrinkage behavior. External surfaces benefit from the part pulling away from the mold cavity as it cools. In contrast, internal cores experience the opposite effect—the part clamps down on them. This creates significantly higher ejection forces and friction. Some manufacturers successfully use 1° draft on external walls when the mold receives exceptional polish (mirror finish) and the part has generous radii. Nevertheless, this approach carries risk because any degradation in mold condition immediately causes ejection issues. For production parts, especially those with long production runs, using 1.5-2° external and 2-3° internal provides a safety margin that pays off through reduced maintenance and consistent quality. These angles work well across various applications including components for industrial machinery and precision parts.
How Do Textured Finishes Change Draft Requirements?
Surface texture creates a completely different ejection scenario. Each texture peak acts as a microscopic undercut that mechanically interlocks with the part surface. Therefore, textured surfaces require substantially more draft than their smooth counterparts—often doubling or tripling the minimum angle requirements. Understanding VDI texture draft requirements is critical for parts requiring specific surface finishes.
VDI texture draft additions:
- VDI 12-18 (light texture): Add 1.0° to 1.5° to base draft
- VDI 21-27 (medium texture): Add 1.5° to 2.5° to base draft
- VDI 30-36 (heavy texture): Add 2.5° to 3.5° to base draft
- VDI 39-45 (very heavy): Add 3.5° to 5.0° or more to base draft

The VDI scale measures texture depth in micrometers, and this depth directly determines how much the texture "bites" into the cast metal surface. A VDI 24 texture, commonly used for grip surfaces on kitchen appliances and handheld tools, has peaks approximately 6-10 microns deep. When you multiply this microscopic depth across thousands of texture peaks over a large surface area, the cumulative holding force becomes enormous. Simply put, the part wants to rip the texture off the mold rather than slide past it. This is why you'll see recommendations for a 3-4° draft on a textured internal core that would only need 2° if smooth. Failure to account for texture is one of the most common drafting mistakes. Parts may release initially when the mold is new, but as the mold cycles and the texture edges sharpen through thermal cycling, ejection forces increase dramatically until parts begin sticking or showing drag marks—classic examples of die cast surface finish defects.
When Does Feature Depth Require Additional Draft?
Shallow features release easily with minimal draft because the part travels only a short distance against the mold surface. Deep features, however, multiply the friction exponentially. As depth increases, so must your draft angle to maintain that critical gap throughout the entire ejection stroke. This relationship is documented in every comprehensive minimum draft angle table.
Depth-based draft adjustments:
- Under 12mm deep: Use standard minimum angles
- 12-25mm deep: Add 0.5° to standard minimums
- 25-50mm deep: Add 1.0° to 1.5° to standard minimums
- Over 50mm deep: Add 2.0° or consider mechanical solutions like slides
The relationship between depth and draft is essentially about total friction area. A core that's 10mm deep contacts the part over 10mm of travel during ejection. A core that's 50mm deep contacts the part over five times that distance, generating roughly five times the friction force. This is why tall bosses and deep ribs cause ejection problems even when draft appears adequate on paper. The ejection pins must overcome all that accumulated friction simultaneously, and the stress concentrates at the top of the feature where it meets the part wall. Additionally, deep slender cores can flex under ejection loads, which causes galling (metal-to-metal welding) even with adequate draft. For cores deeper than 50mm, many designers specify 4-5° draft or switch to slide-operated features that pull horizontally before main ejection begins. The initial cost of a slide mechanism often proves cheaper than repeatedly repairing a damaged core, especially for high-volume automotive production components.
What Problems Occur When Draft Is Insufficient?
Inadequate draft doesn't just slow production—it destroys parts and damages expensive tooling. The problems escalate from cosmetic issues to complete production shutdowns. Recognizing these failure patterns helps you understand why draft angle specifications exist and why they cannot be compromised. Part sticking in die represents one of the most immediate and costly consequences.
Common draft-related failures:
- Drag marks: Visible scratches along the direction of draw
- Part sticking: Complete failure to eject from mold
- Surface tearing: Metal shearing away from part surface
- Mold galling: Permanent damage to tool steel surfaces
- Dimensional distortion: Parts warping from excessive ejection force

Drag marks typically appear first as production continues. These appear as fine parallel lines running vertically along the ejection direction. Initially, they may be barely visible and easily polished out. However, they indicate that the part is sliding against the mold with too much friction. If ignored, the marks deepen with each cycle until they become permanent cosmetic defects. Part sticking represents the next failure stage. The part refuses to release, and press operators must manually extract it—halting production and risking injury. Surface tearing occurs when ejection force literally rips metal off the part because the mechanical interlock exceeds the material's strength. This is especially common with textured surfaces that lack sufficient draft. The most expensive failure is mold galling, where friction generates enough heat and pressure to cold-weld the part to the tool steel. Repairing galled mold surfaces requires disassembly, machining, re-polishing, and sometimes complete core replacement—costs that can reach tens of thousands of dollars per incident. All of these problems are completely preventable through proper draft angle specification during the design phase, whether you're producing components for consumer electronics, industrial equipment, or precision machinery.
Conclusion
Draft angle isn't optional in die casting design—it's fundamental physics. Your parts must release cleanly from the mold without damaging either the casting or the expensive tooling. The baseline minimums of 1.5-2° external and 2-3° internal work for smooth, shallow features. However, real-world parts require careful analysis of texture, depth, and part orientation to determine actual requirements. Textured surfaces can demand 5° or more total draft, while deep features need proportional increases. The cost of insufficient draft far exceeds the minor dimensional changes needed to accommodate proper angles.
Quick Reference Table: Minimum Draft Angle Requirements
| Feature Type | Surface Finish | Depth | Minimum Draft |
|---|---|---|---|
| External Wall | Smooth/Polished | Under 25mm | 1.5° - 2.0° |
| External Wall | VDI 21-27 | Under 25mm | 3.0° - 4.0° |
| Internal Core | Smooth/Polished | Under 25mm | 2.0° - 3.0° |
| Internal Core | VDI 21-27 | Under 25mm | 4.0° - 5.5° |
| Deep Pocket | Smooth/Polished | 25-50mm | 3.0° - 4.0° |
| Deep Core | VDI 30+ | Over 50mm | 6.0°+ or use slides |
When your design cannot accommodate the required draft, discuss alternatives with your die caster early in the development process. Slides, actions, and collapsing cores add cost but may be the only way to achieve your design intent. Alternatively, redesigning the part geometry to work with standard draft requirements typically proves most economical for high-volume production.
External Links & Resources
[Draft angle for die casting][^1]
[Mold Release Design][^2]
[Minimum draft angle table][^3]
[VDI texture draft requirements][^4]
[Ejection from mold][^5]
[Die cast surface finish defects][^6]
---
[^1]: Understanding draft angles is crucial for efficient die casting, ensuring easy part removal and reducing wear on molds.
[^2]: Exploring mold release design can enhance your die casting process, improving part quality and reducing defects.
[^3]: Understanding minimum draft angles is crucial for efficient manufacturing and mold design, ensuring quality and reducing production issues.
[^4]: Exploring VDI texture draft requirements can enhance your knowledge of surface finishes and improve product quality in injection molding.
[^5]: Understanding the causes of ejection from mold can help improve production efficiency and reduce defects.
[^6]: Exploring prevention methods for die cast surface finish defects can enhance product quality and customer satisfaction.


