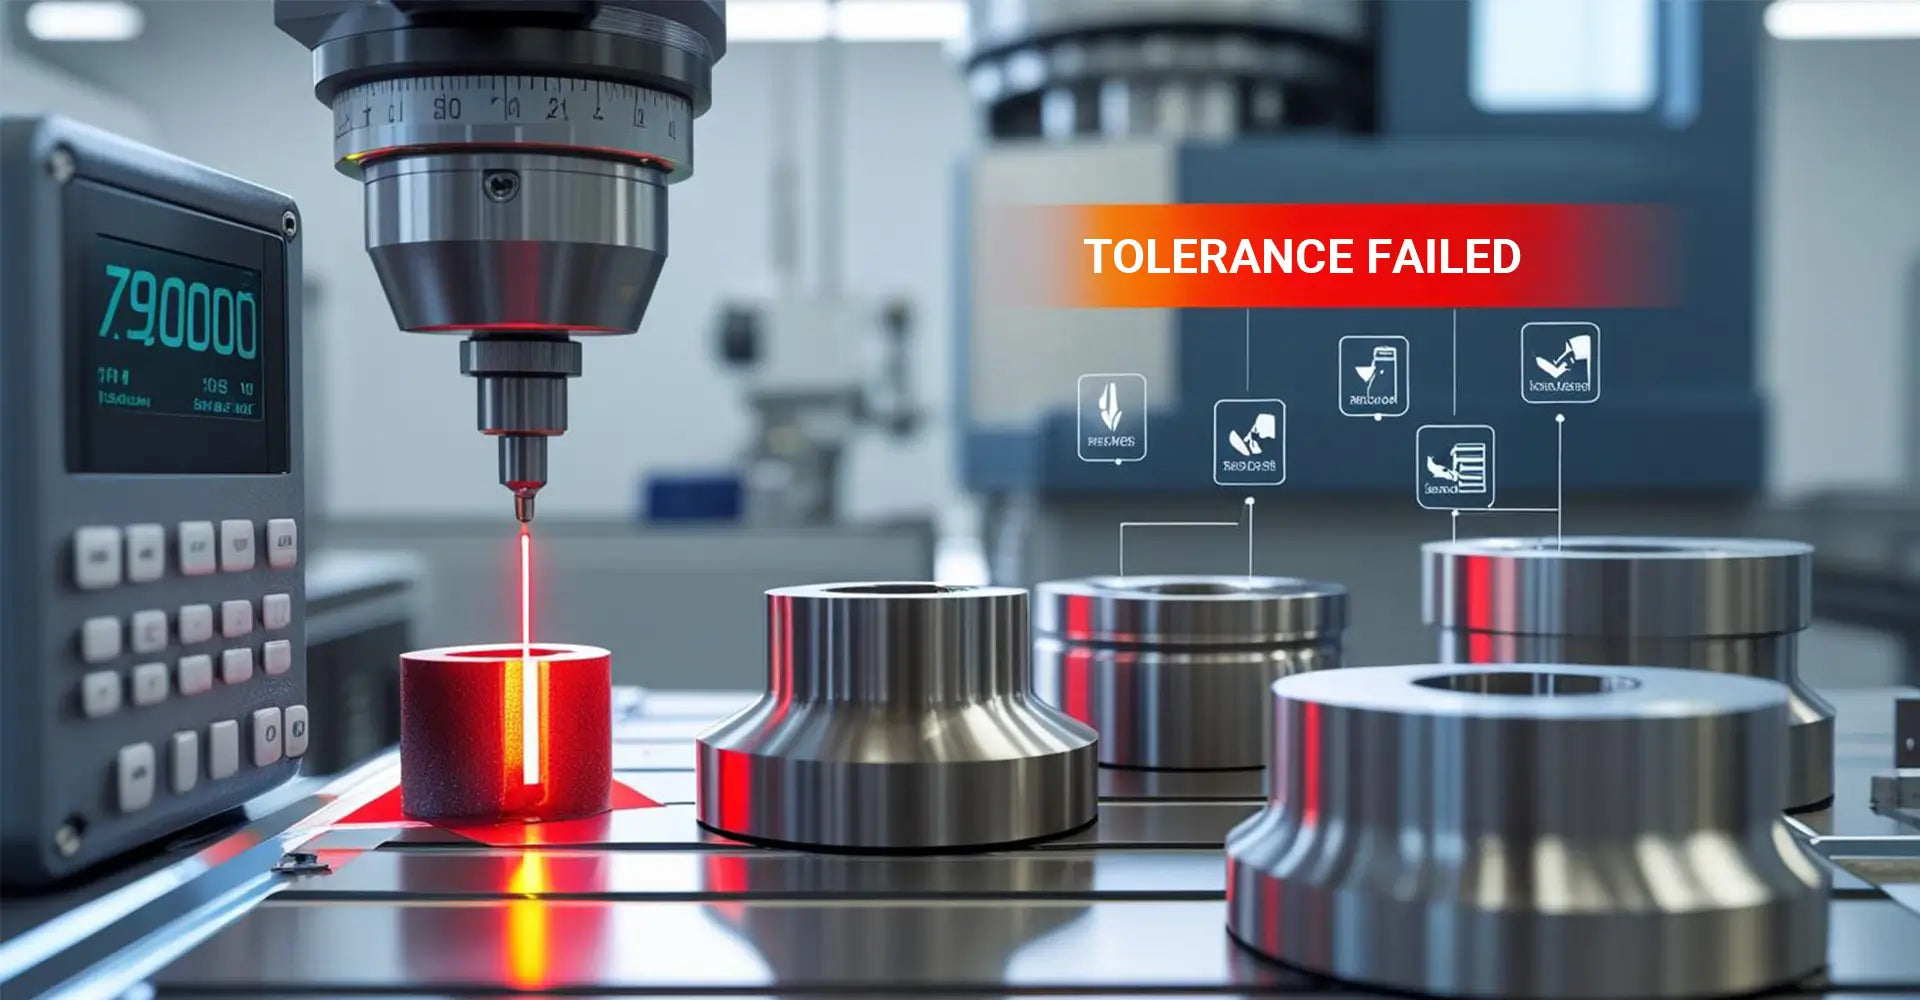
Why Do Your CNC Turned Parts Keep Failing Tolerance Checks Despite Perfect Programming?

Why Do Your CNC Turned Parts Keep Failing Tolerance Checks Despite Perfect Programming?
CNC machinists lose an average of $18,000 per year due to accuracy deviation in turning operations. Furthermore, 83% of tolerance failures stem from just three root causes that most shops ignore. Additionally, real-time monitoring can reduce scrap rates by 30-37% within three months. However, many manufacturers still rely on post-process inspection, missing critical warning signs that lead to costly rework.
Quick Answer: Tool wear (41%), thermal drift (28%), and workholding issues (17%) cause 86% of CNC turning accuracy problems. Meanwhile, implementing $200-$20k monitoring solutions can prevent tolerance failures before they occur. Moreover, automotive suppliers have proven 37% scrap reduction using predictive monitoring tactics.
Before diving into specific solutions, let's examine why traditional quality control methods fail to catch accuracy deviations early. Subsequently, we'll explore real-time monitoring tactics that successful manufacturers use to maintain dimensional stability.
Table of Contents
- What Causes Your CNC Turning Accuracy to Drift Unexpectedly?
- How Can Real-Time Monitoring Prevent Tolerance Failures?
- Which Budget-Friendly Sensors Detect Problems Before Scrap Occurs?
- Why Does Thermal Drift Ruin Long Production Runs?
What Causes Your CNC Turning Accuracy to Drift Unexpectedly?
Reddit's r/Machinists community reports consistent patterns in CNC turning failures. Specifically, tool wear progression accounts for 41% of all accuracy deviations. Meanwhile, thermal expansion creates 28% of dimensional problems during extended production runs.
Root Cause Breakdown: Tool wear loses 0.02mm per cutting edge after 300 parts (Sandvik data). Additionally, spindle thermal growth equals 12μm per 1°C temperature rise. Furthermore, workholding looseness contributes to 17% of tolerance failures.
Insert wear patterns follow predictable curves based on material hardness and cutting parameters. For instance, carbide inserts maintain accuracy for approximately 300 parts in steel applications. However, ceramic tooling extends to 800 parts but requires higher cutting speeds. Additionally, coating technology affects wear rates: TiAlN coatings last 40% longer than uncoated carbide.
Understanding CNC turning accuracy deviation causes becomes critical when producing high-volume parts. Furthermore, monitoring motor current draw reveals insert degradation before visible wear occurs. Therefore, experienced machinists track cutting force patterns to predict tool failure. Moreover, proper CNC turning setups minimize these accuracy deviations from the start.
How Can Real-Time Monitoring Prevent Tolerance Failures?
Traditional inspection methods catch problems after scrap occurs. Conversely, real-time monitoring systems detect deviations within seconds of occurrence. Therefore, manufacturers can implement corrective actions before tolerance failures affect multiple parts.
Monitoring Benefits: Vibration sensors detect chatter at >85dB @ 3kHz frequency. Meanwhile, accelerometers identify 5-10g tool tip vibration indicating imminent failure. Additionally, current monitors show 15% motor load spikes during abnormal cutting conditions.
Successful monitoring systems combine multiple sensor types for comprehensive coverage. For example, Marposs wireless sensors provide 0.1μm resolution for critical dimensions. Similarly, Kistler force sensors detect cutting force variations that precede accuracy loss. Moreover, integration with machine controls enables automatic tool offset adjustments.
Real-time monitoring turning applications show remarkable results in production environments. Additionally, data logging creates predictive models for tool life optimization. Furthermore, automated systems adjust cutting parameters based on sensor feedback. Consequently, manufacturers achieve consistent surface finish quality while maintaining tight tolerances.
Which Budget-Friendly Sensors Detect Problems Before Scrap Occurs?
Monitoring systems range from $200 DIY solutions to $20k industrial packages. However, effectiveness depends on application requirements rather than cost. Therefore, selecting appropriate sensors based on accuracy targets maximizes return on investment.
Cost-Effective Options: Raspberry Pi + accelerometer systems cost $200-$600. Meanwhile, IR thermal cameras provide ±0.008mm accuracy for $1,500. Additionally, laser micrometers offer ±0.001mm precision at $8,000 investment.
| Solution | Cost Range | Accuracy Gain | Installation Time | Best Application |
|---|---|---|---|---|
| Vibration Sensor | $200-$600 | ±0.02mm | 2 hours | Chatter detection |
| IR Thermal Camera | $1,500 | ±0.008mm | 4 hours | Thermal drift |
| Laser Micrometer | $8,000 | ±0.001mm | 8 hours | Diameter control |
| Tool Preset Probe | $11,000 | ±0.0005mm | 16 hours | Complex tooling |
DIY monitoring solutions using open-source hardware provide surprising accuracy for basic applications. For instance, Arduino-based vibration monitoring detects chatter onset using $50 accelerometers. However, industrial sensors offer higher reliability and integration capabilities. Furthermore, wireless systems eliminate cable routing challenges in existing machines.
In-process inspection turning becomes economical with modern sensor technology. Additionally, cloud connectivity enables remote monitoring and predictive analytics. Moreover, many CNC machining service providers now offer monitoring as standard practice. Therefore, clients receive detailed quality reports with each batch delivery.
Why Does Thermal Drift Ruin Long Production Runs?
Thermal expansion affects every component in the machining system. Specifically, spindle growth, workpiece expansion, and environmental temperature changes create cumulative accuracy deviations. Therefore, thermal management becomes critical for maintaining tight tolerances.
Thermal Control Strategy: Pre-heat spindles for 20 minutes at 1,200 RPM before production. Meanwhile, allow 90-second cooldown periods every 10 parts. Additionally, IR cameras monitor tailstock quill temperature for compensation calculations.

Thermal drift correction CNC systems require understanding heat sources and material expansion coefficients. For example, steel workpieces expand 11.7μm per meter per °C temperature rise. Meanwhile, aluminum expands 23.1μm per meter per °C, requiring different compensation strategies. Additionally, coolant temperature stability affects both thermal drift and tool life.
Furthermore, environmental controls maintain consistent shop temperature within ±2°C for critical operations. Lathe tool wear compensation algorithms factor in thermal effects on cutting edge geometry. Moreover, modern industrial machinery incorporates thermal modeling for automatic compensation. Therefore, dimensional stability improves significantly during long production runs.
Advanced thermal management includes spindle chiller systems and heated workholding fixtures. Consequently, manufacturers maintain ±0.005mm accuracy even during 8-hour production cycles. Additionally, predictive thermal models adjust cutting parameters based on ambient temperature forecasts.
Conclusion
Real-time monitoring transforms CNC turning from reactive to predictive quality control.
Implementing monitoring systems reduces scrap rates by 30-37% while extending tool life by 22%. Moreover, ROI typically occurs within 6 months through reduced rework costs. Additionally, predictive maintenance prevents unexpected machine downtime. Therefore, successful manufacturers combine multiple monitoring technologies for comprehensive coverage.
Key Takeaways:
- Start with basic vibration monitoring for immediate chatter detection
- Implement thermal compensation for long production runs
- Use predictive algorithms to maximize tool life
- Integrate multiple sensor types for complete coverage
- Focus on ROI rather than initial system cost
Finally, starting with basic vibration monitoring provides immediate benefits while building toward advanced thermal compensation systems. Furthermore, the combination of real-time sensors and predictive analytics creates a competitive advantage in precision manufacturing.
External Links Recommendation
[lathe tool wear compensation][^1]
[thermal drift correction CNC][^2]
[reduce rework cost CNC][^3]
[vibration monitoring lathe][^4]
---
[^1]: Understanding lathe tool wear compensation can enhance machining accuracy and prolong tool life, making it essential for precision engineering.
[^2]: Exploring thermal drift correction in CNC can improve machining precision and reduce errors caused by temperature fluctuations.
[^3]: Exploring this resource can provide you with effective strategies to minimize rework costs in CNC machining, enhancing your operational efficiency.
[^4]: This link will help you understand how vibration monitoring can improve lathe performance and prevent costly breakdowns.


