How Can You Cut CNC Turning Costs by 30% Without Buying New Equipment?
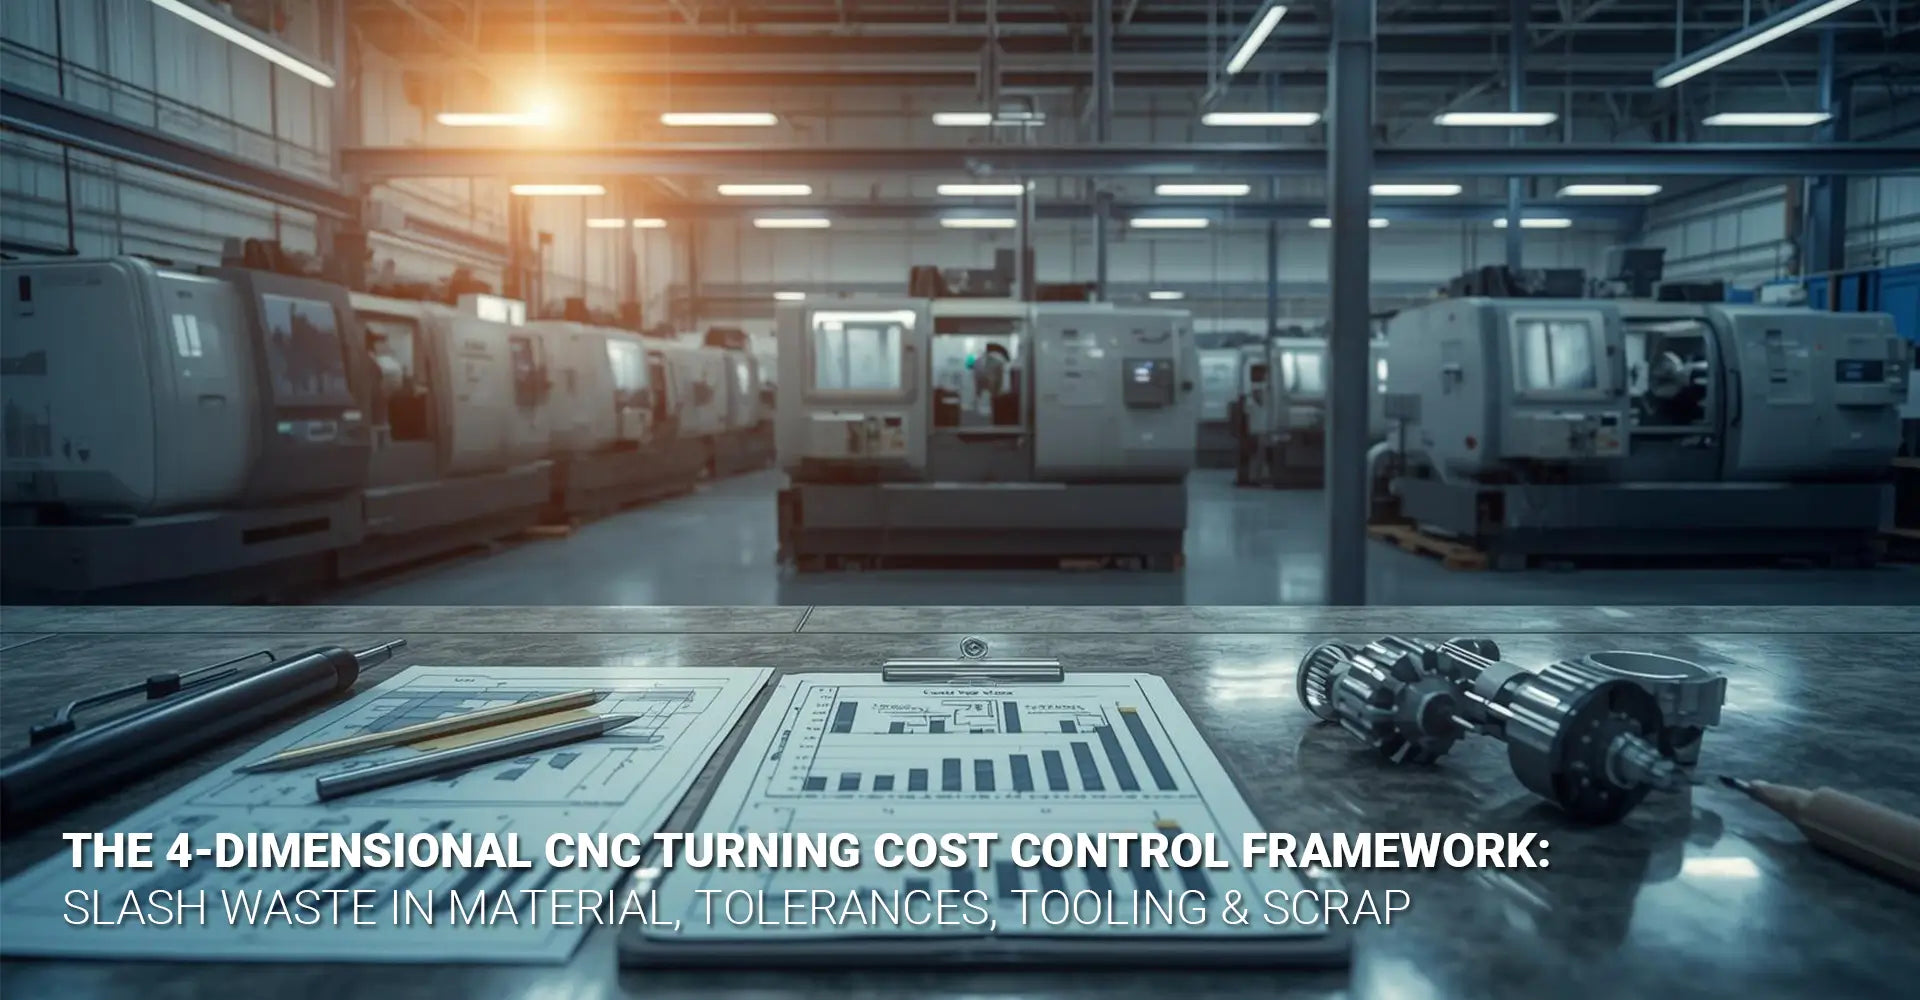
How Can You Cut CNC Turning Costs by 30% Without Buying New Equipment?

Rising material prices and tighter margins are squeezing profit out of every turned part. However, most machine shops are sitting on 30% savings potential that requires zero capital investment. Instead of buying new equipment, smart manufacturers are finding money hiding in four overlooked areas: material waste, unnecessary tolerances, poor tooling decisions, and hidden scrap costs. This guide shows you exactly where your profits are disappearing and how to recover them starting today.
Quick Reference: Where Your CNC Turning Money Goes
| Cost Category | Typical % of Total Cost | Waste Potential | Quick Fix Impact |
|---|---|---|---|
| Material | 40-50% | 15-30% loss | High - Right-size stock immediately |
| Labor/Machine Time | 25-35% | 10-20% inefficiency | Medium - Optimize cutting parameters |
| Tooling | 10-15% | 20-40% mismanagement | High - Track cost per part, not per insert |
| Scrap/Rework | 5-10% | Often unmeasured | Very High - Hidden multiplier effect |
Key Takeaway: Material and scrap represent your biggest opportunities because they compound across every part you make. A 20% reduction in material waste alone can boost profit margins by 8-10% without changing anything else.
Why These Four Areas Matter Most
Most shops track machine hours and labor costs religiously. Meanwhile, they're losing twice as much money to material oversizing, over-specified tolerances, and untracked scrap rates. The reason is simple: these costs are harder to measure, so they stay invisible. Yet when you add up 25% material waste, 15% excess machining time from tight tolerances, and the true cost of scrapped parts, you're often looking at 30-40% of your total expenses that could be trimmed.
Therefore, this article breaks down each cost category with specific calculations, real-world examples, and immediate action steps.
Table of Contents
- What Are the Real Cost Killers in Your CNC Turning Shop?
- How Can You Stop Throwing Away 30% of Your Material Budget?
- Is Tighter Tolerance Costing You Double on Every Part?
- Are You Choosing Cutting Tools by Price or by Performance?
- What Is Scrap Really Costing You Beyond the Material Price?
What Are the Real Cost Killers in Your CNC Turning Shop?
The Industry Reality Check
Most manufacturers can tell you their hourly machine rate down to the penny. However, only 20% of shops actively track material utilization rates or calculate the true cost of scrapped parts. This gap creates a blind spot where profits leak away invisibly. According to industry surveys, shops that implement comprehensive CNC turning cost control strategies report average savings of 28% within the first year.
The Four Hidden Cost Categories
Material waste happens when you start with oversized bar stock and machine away 30-40% as chips. For example, starting with 2" diameter stock to make a 1.25" finished shaft means you're removing 60% of your material volume. At $8 per pound for steel, that's $4.80 wasted per pound of finished part.
Tolerance over-specification forces you into secondary operations and slower cutting speeds. When a print calls for ±0.001" on a non-critical dimension, you might spend an extra 15 minutes per part for grinding and inspection. Across 1,000 parts, that's 250 hours of machine time that adds zero functional value.
Tooling mismanagement shows up when you buy cheap inserts that need changing twice as often, or premium inserts you replace too early. Additionally, unplanned tool failures create scrap parts and emergency downtime that costs far more than the insert itself.
Scrap multiplication is the most deceptive cost killer. A scrapped part at 80% completion doesn't just waste material—it also wastes machine time, setup time, and the opportunity cost of capacity that could have produced a good part.
Why Traditional Quoting Misses These Costs
Standard cost estimation typically uses formulas like: (Material Cost + Setup Time + Cycle Time × Quantity) × Overhead Multiplier. This approach assumes perfect execution with no waste. In reality, real-world costs run 15-35% higher because the formula ignores material utilization, scrap rates, and tolerance-driven secondary operations.
Furthermore, when shops quote based on these incomplete calculations, they either lose money on the job or price themselves out of competitive bidding. The solution is building waste factors into your estimating process based on actual shop data, not theoretical ideal conditions.
How Can You Stop Throwing Away 30% of Your Material Budget?
The Shocking Truth About Material Utilization
Walk into any machine shop and look at the chip bins. Those piles of metal shavings represent 15-30% of what you paid for. In CNC machining operations, material typically accounts for 40-50% of total part cost, making it your single largest expense. Therefore, even a 10% improvement in material utilization drops 4-5% straight to your bottom line.
Three Immediate Actions to Reduce Turning Material Waste
1. Right-Size Your Stock Diameter
Stop using "standard" bar stock sizes by default. Instead, calculate the minimum diameter needed and order accordingly. For instance:
- Oversized approach: 2" stock for 1.375" finish diameter = 37% material waste
- Right-sized approach: 1.625" stock for 1.375" finish diameter = 16% material waste
- Savings: 21% material cost reduction per part
Many distributors now offer 1/16" increment sizing at minimal upcharge. The 2-3% extra cost per pound pays back immediately through reduced machining time and material savings.
2. Consider Near-Net-Shape Blanks
For production runs over 500 pieces, investigate casting, forging, or turned blanks from your material supplier. A cast blank might cost 20% more per pound but arrive at 85% of final geometry. Consequently, you're paying 20% more for 85% less machining work—a net savings of 60% on the manufacturing labor and time.
This strategy works especially well for complex shapes with multiple diameters or features that would require extensive roughing operations when starting from bar stock.
3. Maximize Chip Value Recovery
Most shops know to recycle chips, but few track the actual return. Steel chips typically fetch 30-40% of virgin material cost. However, mixed alloy chips might only get 15-20%. Therefore:
- Separate chip bins by material type (CNC metals and plastics require different handling)
- Negotiate better scrap rates with recyclers for sorted materials
- Track monthly scrap revenue as a percentage of material purchases

The Math Behind Material Optimization
Let's calculate a real example. You're making 1,000 pieces of a shaft:
- Finished diameter: 1.250"
- Length: 6"
- Material: 4140 steel at $7.50/lb
Traditional approach using 2" bar stock:
- Volume of 2" × 6" stock: 18.85 cubic inches
- Volume of 1.250" × 6" finished part: 7.36 cubic inches
- Material utilization: 39%
- Wasted material: 11.49 cubic inches × 0.283 lb/in³ = 3.25 lb per part
- Cost per part: $24.36 material, only $9.47 in finished part
Optimized approach using 1.5" bar stock:
- Volume of 1.5" × 6" stock: 10.60 cubic inches
- Material utilization: 69%
- Wasted material: 3.24 cubic inches = 0.92 lb per part
- Cost per part: $13.77 material, same $9.47 in finished part
Result: $10.59 savings per part × 1,000 parts = $10,590 saved just from smarter stock selection. Moreover, smaller stock diameter also reduces cycle time by 20-30% because you're removing less material.
Case Study: Automotive Supplier Saves $127K Annually
A tier-2 automotive parts manufacturer implemented systematic material optimization across their 12 most common turned components. By switching to right-sized stock and negotiating near-net-shape forgings for two high-volume parts, they achieved:
- 23% reduction in material costs
- 18% faster cycle times (less material to remove)
- $127,000 annual savings with $8,500 implementation cost
- 6-week payback period
The key was treating material selection as an engineering decision, not a purchasing convenience.
Is Tighter Tolerance Costing You Double on Every Part?
The Hidden Penalty of Unnecessary Precision
Every time you tighten a tolerance by 50%, you typically increase manufacturing cost by 30-50%. Yet many prints specify ±0.002" on dimensions that would function perfectly fine at ±0.010". This happens because designers often copy tolerance blocks from previous drawings or apply blanket tolerances "to be safe" without considering actual functional requirements.
The Tolerance-to-Cost Multiplier
Here's how tolerance affects your bottom line:
- ±0.010" = Baseline cost (single turning pass, standard tooling)
- ±0.005" = 1.2× cost (requires finishing pass, carbide tooling)
- ±0.002" = 1.4-1.6× cost (multiple finishing passes, premium inserts, slower feeds)
- ±0.001" = 2.0-2.5× cost (grinding required, specialized inspection equipment)
- ±0.0005" = 3.0-4.0× cost (precision grinding, climate-controlled inspection, high scrap rate)
Additionally, tighter tolerances increase scrap rates exponentially. Parts that fall outside specification at ±0.002" might have been perfectly acceptable at ±0.005", turning profitable work into expensive scrap.
When to Push Back on Customer Specs
Not all tight tolerances are necessary. Before programming a job, ask these questions:
-
Does this dimension interact with a mating part? If yes, tolerance matters. If it's a non-critical external diameter, it probably doesn't.
-
What's the functional requirement? A shaft in a bearing needs precision. A shaft that only needs to clear a hole by 0.125" doesn't need ±0.001".
-
Can we achieve this capability consistently? If the tolerance requires your process capability (Cpk) to be below 1.33, you'll scrap 5-10% of parts even with perfect setup.
Therefore, engage engineering early with data. Show them that loosening a tolerance from ±0.002" to ±0.005" on a non-critical feature cuts cost by 35% with zero functional impact. Most engineers will accommodate when presented with cost-benefit analysis rather than just complaints about difficulty.
The Secondary Operations Impact
Tight tolerances force you into additional surface finish operations that multiply costs:
Grinding: Adds $15-40 per part in labor and machine time, plus specialized equipment investment. Moreover, grinding generates heat that can distort thin-walled parts, creating new quality challenges.
Inspection time: Measuring to ±0.001" with micrometers takes 3-5 minutes per part. At ±0.005" you can use go/no-go gages in 30 seconds. Across 1,000 parts, that's 75 hours versus 8 hours of inspection labor.
Setup complexity: Achieving ±0.001" requires temperature stabilization, fixturing precision, and machine calibration that adds 45-60 minutes to setup time.
Real Example: Form-Fit-Function Analysis
A medical device component print specified ±0.0015" on a 2.500" diameter that only needed to fit inside a 2.600" housing. The actual functional requirement was ±0.025" to ensure clearance.
Original specification cost:
- Grinding required: $22 per part
- 100% CMM inspection: $8 per part
- 8% scrap rate from tight tolerance: $45 per scrapped part
- Total cost per part: $76
Revised specification (±0.005" after engineering review):
- Standard turning finish: $0 extra
- Go/no-go gage inspection: $0.50 per part
- 1% scrap rate: $6 per scrapped part
- Total cost per part: $48
Savings: $28 per part, or 37% cost reduction, achieved simply by having a conversation with the design engineer about actual requirements versus specification habit.
Are You Choosing Cutting Tools by Price or by Performance?
Why the Cheapest Insert Often Costs the Most
Most shops compare insert prices: $4.50 versus $7.20 per edge. The cheap option seems obvious. However, cutting tool cost management isn't about price per insert—it's about total cost per part produced. A premium insert that costs 60% more but lasts three times longer and cuts 25% faster actually costs less per part.
The Total Cost Per Part Formula
Here's how to calculate what your tooling really costs:
Cost Per Part = (Insert Cost ÷ Parts Per Edge) + (Changeover Time × Machine Rate ÷ Parts Per Change) + Scrap Risk Factor
Let's compare two inserts for making 10,000 parts:
Economy Insert ($4.50 per edge):
- Parts per edge: 180
- Changeover time: 4 minutes per change
- Machine rate: $75/hour
- Scrap risk: 2% (tools wearing unpredictably)
Calculation:
- Insert cost per part: $4.50 ÷ 180 = $0.025
- Changeover cost per part: (4 min × $75/hr ÷ 60 min) ÷ 180 = $0.028
- Scrap cost per part: 0.02 × $35 average part cost = $0.70
- Total tooling cost per part: $0.753
Premium Insert ($7.20 per edge):
- Parts per edge: 450 (better wear resistance)
- Changeover time: 4 minutes per change
- Machine rate: $75/hour
- Scrap risk: 0.5% (consistent, predictable wear)
Calculation:
- Insert cost per part: $7.20 ÷ 450 = $0.016
- Changeover cost per part: (4 min × $75/hr ÷ 60 min) ÷ 450 = $0.011
- Scrap cost per part: 0.005 × $35 = $0.175
- Total tooling cost per part: $0.202
Result: The "expensive" insert saves $0.551 per part, or $5,510 on a 10,000-piece run. Furthermore, fewer tool changes mean more production time and less operator intervention.
Feed Rate and Speed Optimization for Tool Life
Tool manufacturers publish recommended cutting parameters, but these are starting points. Your actual optimal parameters depend on your specific setup, material lot, and quality requirements. Therefore, conduct your own tool life studies:
- Baseline test: Run at manufacturer's recommended speed and feed
- Aggressive test: Increase feed rate by 20%, maintain same speed
- Conservative test: Reduce speed by 15%, increase feed by 10%
Track parts per edge, surface finish quality, and dimensional consistency. Often, you'll find that slightly slower speeds with higher feed rates extend tool life by 30-40% while maintaining quality. This is because higher feed rates reduce heat buildup per unit of material removed, which is the primary cause of tool wear.
When to Change Inserts: Before Failure vs. At Failure
Running tools to catastrophic failure creates scrap and potential machine damage. However, changing them too early wastes the remaining tool life. The optimal approach involves monitoring:
Tool life indicators:
- Consistent increase in surface roughness
- Growing cutting forces (listen for motor load changes)
- Chip color changes (darker chips = more heat = wear progression)
- Dimensional drift in the same direction (wear causing size growth or shrinkage)
For critical parts, implement a scheduled replacement strategy at 85-90% of expected tool life. For less critical work, push tools closer to their limits while monitoring first-piece inspection results after tool changes.
Carbide Grade Selection for Different Materials
Using the wrong carbide grade costs you in tool life and part quality. Here's a quick reference:
Carbon steels (1018, 1045, 4140): Medium toughness grades (C5-C6 coating)
- Run at 400-600 SFM for good balance of life and productivity
- Expected life: 300-500 parts per edge in roughing operations
Stainless steels (303, 316, 17-4): Tough grades with chip breakers (M15-M20)
- Lower speeds (250-350 SFM) due to work hardening
- Heavy feeds (0.015-0.025 IPR) to get under work-hardened layer
- Expected life: 150-250 parts per edge
Aluminum alloys: Polished, uncoated carbide or PCD for production
- High speeds (800-1200+ SFM)
- Light to moderate feeds to prevent built-up edge
- Expected life: 1,000+ parts per edge (carbide) or 10,000+ (PCD)
Matching grade to material characteristics for your industrial machinery applications prevents premature wear and delivers consistent results.
What Is Scrap Really Costing You Beyond the Material Price?
The Iceberg Effect of Scrapped Parts
When you scrap a part, you see the material cost. However, that's just 20-30% of the true loss. The real cost includes everything invested in that part up to the point of failure. Industry studies show that actual scrap costs run 3-5× the material value once you account for all factors.
Complete Scrap Cost Calculation
Here's the formula for turning scrap rate reduction into profit:
True Scrap Cost = Material + Labor Hours + Machine Time + Overhead Allocation + Lost Capacity + Customer Impact
Let's calculate a real example of a scrapped part caught at final inspection:
Part specifications:
- Material cost: $15
- Machine time invested: 22 minutes at $75/hour = $27.50
- Operator labor: 22 minutes at $35/hour = $12.83
- Overhead allocation: 150% of labor = $19.25
- Lost capacity: Could have made 1 good part = opportunity cost of $25 profit
- Total scrap cost: $99.58
That $15 part actually cost you nearly $100 when it failed. Moreover, if you're running at 5% scrap rate on 1,000 parts, you're losing $4,979 instead of the $750 material cost you see in your scrap bin.
Root Cause Analysis for Common Scrap Scenarios
Setup errors (40% of scrap): Wrong tool offset, incorrect fixture positioning, programming mistake. These typically happen on the first 1-3 parts of a new setup.
Prevention: Implement rigorous first-piece inspection with documented sign-off. Never run production until first piece is verified against print by someone other than the setup operator.
Tool wear progression (25% of scrap): Gradual dimensional drift as cutting edges wear, eventually falling outside tolerance.
Prevention: Plot key dimensions over tool life. When you see upward or downward trend, you're approaching tool change point. Replace before parts go out of spec.
Material defects (15% of scrap): Voids, inclusions, hard spots, or out-of-round bar stock cause unexpected machining issues.
Prevention: Inspect incoming material, especially for critical jobs. Ultrasonic testing can catch internal defects before machining begins.
Process instability (20% of scrap): Vibration, temperature variation, coolant inconsistency create random quality issues.
Prevention: Monitor environmental factors. Stabilize coolant temperature and concentration. Address vibration sources like worn spindle bearings or loose fixturing.
First-Piece Inspection Protocols
A documented first-piece inspection routine prevents 60-70% of setup-related scrap. Your protocol should include:
- Dimensional verification: Measure all critical dimensions with calibrated instruments
- Visual inspection: Check for tool marks, burrs, or surface defects
- Comparison to sample: If available, compare to golden sample or previous production
- Documentation: Record measurements and inspector signature before production release
Additionally, save first-piece inspection sheets in the job traveler. If issues arise during the run, you have baseline data for troubleshooting.
Statistical Process Control Basics for Turning
For production runs over 100 pieces, implement simple SPC monitoring. You don't need sophisticated software—a paper control chart works fine.
Process:
- Measure a key dimension every 25 parts (or every hour, whichever comes first)
- Plot the measurement on a chart with upper and lower control limits
- Look for trends: 7 consecutive points trending up or down signals process drift
- Take action before measurements reach specification limits
This early warning system catches tool wear, temperature drift, or fixturing issues before they create scrap. According to industry data, shops using basic SPC reduce scrap rates by 40-60% compared to final inspection-only approaches.
Prevention vs. Detection Strategies
Detection approach: Inspect finished parts, scrap what fails
- Typical scrap rate: 4-8%
- Cost: 3-5× material cost per scrapped part
- No improvement over time
Prevention approach: Monitor process, adjust before creating scrap
- Typical scrap rate: 1-2%
- Cost: Inspection time plus minor adjustment time
- Continuous improvement as root causes are eliminated
The shift from detection to prevention requires cultural change. Operators need authority to stop production when they see problems developing. However, the ROI is dramatic: reducing scrap from 5% to 1.5% on $500K annual production returns $17,500 directly to profit.
Furthermore, prevention builds quality into the process rather than inspecting it in. This aligns with modern CNC machining cost optimization practices that view quality as a manufacturing responsibility, not an inspection department function.
External Resource Links
[Reduce turning material waste][^1]
[CNC machining cost optimization][^2]
[Turning scrap rate reduction][^3]
[Cutting tool cost management][^4]
[CNC part cost calculation][^5]
---
[^1]: Exploring this resource will provide insights into minimizing waste, enhancing efficiency, and saving costs in CNC turning.
[^2]: Explore this link to discover effective strategies that can significantly reduce costs in CNC machining.
[^3]: This resource provides insights into techniques that can help minimize scrap rates, enhancing efficiency and profitability.
[^4]: Explore this link to learn effective strategies for managing cutting tool costs, optimizing your budget and improving efficiency.
[^5]: Discover detailed methods for CNC part cost calculation to enhance your pricing strategy and profitability.


