
How Do Precision CNC Turning Services Stop Coffee Grinder Burr Shaft Wobble at High Speed?
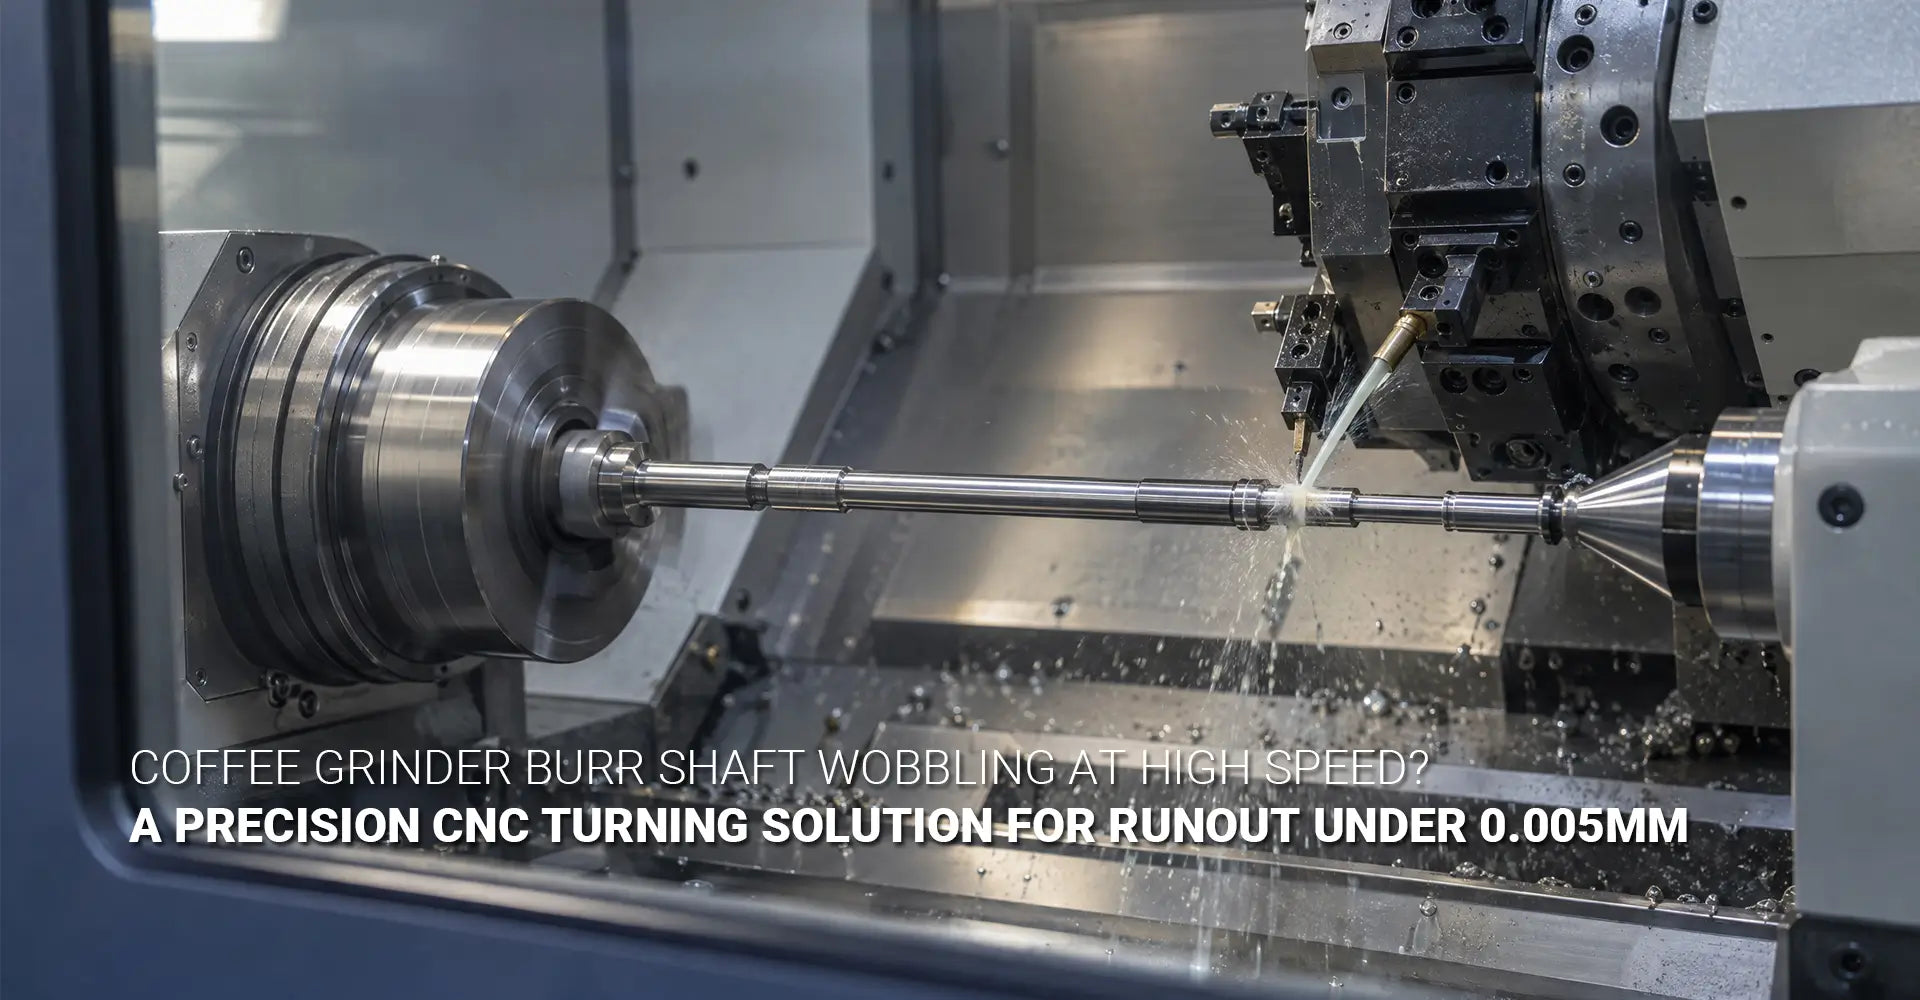
How Do Precision CNC Turning Services Stop Coffee Grinder Burr Shaft Wobble at High Speed?
A burr shaft that wobbles at high speed is a costly problem. First, it makes the grinder noisy. Next, it hurts grind size and wears out the bearings. Finally, it upsets the people who use the machine. If you are a buyer or an engineer at one of the many coffee equipment makers, you may have seen this before. The good news is that the cause is often the turning process, not the design. In this guide, you will learn how to fix a shaky coffee grinder burr drive shaft with the right support, the right cutting method, and the right checks.

Quick answer: Long burr shafts wobble because they bend while being cut and stay unbalanced after the cut. To stop this, support the shaft with a follower rest, use two-tool cutting for very thin parts, and balance the finished shaft. Then ask your supplier for real runout data.
Key Takeaways
| Problem | Fix | Target |
|---|---|---|
| Shaft bends away from the tool (L/D above 10:1) | Follower rest | Less bending, better finish |
| Very thin shaft (L/D above 15:1) | Two-tool cutting | Cutting forces cancel out |
| Vibration at 1,000+ RPM | Dynamic balancing | Smooth, quiet spin |
| Unproven supplier | Runout data check | Under 5 microns |
Now you have the short answer. However, a quick answer does not help much unless you know why it works. Therefore, the next sections explain the problem, the fixes, and the buying checks. Each section is short and easy to scan. So, you can read the whole guide or jump to the part you need.
Table of Contents
- Why Does a Long Burr Shaft Bend and Wobble During Turning?
- How Do Follower Rests and Two-Tool Cutting Stop a Long Shaft From Bending?
- Why Does a Burr Shaft Still Vibrate After Turning at 1,000+ RPM?
- What Should Buyers Check Before Ordering Burr Drive Shafts?
- Conclusion
Why Does a Long Burr Shaft Bend and Wobble During Turning?
Think about pushing on the middle of a long, thin ruler. It bends easily, right? A burr shaft acts the same way on the lathe. During slender shaft turning, the cutting tool pushes on the metal, and the shaft flexes away from the tool. As a result, the finished part is not perfectly round or straight.
The short answer: When the length is more than ten times the diameter, the shaft is too flexible to cut without help. The tool pushes it away, the shaft shakes, and the surface comes out rough and uneven. This matters most in high L/D ratio machining, where even a small push causes a big error.
The Cantilever Effect
Most burr shafts are held at one end by the chuck. The other end is free, or held only by a tailstock. So, when the tool pushes sideways, the shaft acts like a diving board. It bends the most in the middle of its length, where nothing holds it.
This bending has a real cost. If the shaft moves 10 microns away from the tool, the tool cuts 10 microns less than planned. Then the shaft springs back. Because of this, the diameter changes along the length, and the shaft ends up slightly tapered.
The Vicious Cycle of Deflection and Chatter
Bending is only the start. Once the shaft begins to shake, a bad loop follows:
- Step 1: The tool pushes and the shaft bends.
- Step 2: The shaft springs back and hits the tool again.
- Step 3: This repeated hitting causes chatter, which leaves wavy marks.
- Step 4: The wavy surface makes the next cut uneven, so the bending gets worse.
Because of this loop, small problems grow fast. Good chatter prevention CNC turning starts by breaking the loop early, before the shaft begins to shake. After that, the rest of the job is much easier.
Why a Tailstock Alone Is Not Enough
A tailstock holds the far end of the shaft. That helps a lot for short parts. However, it does not help the middle of a long shaft. At an L/D of 10:1 or more, the middle can still bend a great deal, even with a tailstock in place.
Here is a simple guide to keep in mind:
- L/D from 5:1 to 10:1: A tailstock may work for rough cuts.
- L/D above 10:1: Add a follower rest for finish cuts.
- L/D above 15:1: Use two-tool cutting, or combine a follower rest with balancing.
Why the Target Is So Tight
Premium grinders spin the burr at speed. At this speed, a tiny error becomes a big shake. A shaft that is off by 20 microns may feel fine in your hand. Yet in the grinder, it can cause uneven grinding and early bearing wear. For this reason, top brands ask for runout under 5 microns on the key surfaces.
How Do Follower Rests and Two-Tool Cutting Stop a Long Shaft From Bending?
Once you know why the shaft bends, the fix is simple to picture. You either hold the shaft up where the tool touches it, or you push on both sides so the forces cancel. Both ideas work well. In fact, good long shaft deflection control often uses one or both of them.
The short answer: A follower rest is a small support that travels right behind the cutting tool. Two-tool cutting places one tool on each side of the shaft, so the pushes cancel out. The first method holds the shaft still. The second method removes the sideways push.

How a Follower Rest Works
A follower rest bolts onto the lathe carriage. As a result, it moves along the shaft together with the tool. It has two or three contact points that touch the shaft just behind the cut. So, the shaft cannot bend away from the tool.
During follower rest turning, the support always sits where the shaft is most likely to flex. This is why it works so much better than a fixed steady rest. Also, it lets the tool cut the full length without stopping to move the support.
Follower rests come in three common types:
- Roller type: Small wheels roll along the shaft. They cause low friction and suit finish cuts.
- Bronze finger type: Soft bronze pads slide on the surface. They are simple, but they need good oil.
- Hydraulic type: Oil pressure keeps the contact force steady, even if the shaft size shifts a little.
Setup Tips That Make a Difference
A follower rest only works if it is set up well. Therefore, a good shop follows a few key rules:
- Pre-load: Set the contact force just right. If it is too light, the shaft still moves. If it is too tight, the rest pushes the shaft off line.
- Alignment: Line the rest up with the machine axis, so it does not add its own error.
- Lubrication: Keep the contact points oiled, so they do not scratch the surface or heat up.
Also, the first pass matters. A small "starter" diameter must be cut first so the rest has a true surface to ride on. Skipping this step is a common cause of trouble.
How Two-Tool Cutting Cancels the Push
Now think about pushing a swing from both sides at once. The swing stays in place. Two-tool cutting works the same way. This method is called balanced turning. One tool cuts from the front, and the other cuts from the back, at the same time. The two sideways pushes are equal, so they cancel out. Because of this, the net bending force on the shaft is close to zero.
This method needs the right machine. In particular, the lathe should have:
- Dual turrets, so two tools can work at once.
- Synchronized feed, so both tools move as a pair.
- Rigid tooling, so the tools do not flex themselves.
When to Pick Each Method
Both methods have a place. A follower rest is the usual choice for shafts with an L/D above 10:1. It is simple and it works on most lathes. Two-tool cutting is better for shafts above 15:1, or when the runout limit is very tight. In the hardest jobs, shops use both.
One more point is worth noting. A follower rest greatly reduces chatter, but it does not remove it completely. Tool shape, cutting speed, machine strength, and material also play a part. So, you get the best result from a sharp tool, well-tuned speeds and feeds, and a stiff setup.
Why Does a Burr Shaft Still Vibrate After Turning at 1,000+ RPM?
Here is a surprise for many buyers. A shaft can look perfect on the bench and still shake in the grinder. It may pass a low-speed check and then fail at full speed. Why does this happen? The answer lies in how the weight is spread along the shaft.
The short answer: Static runout is measured when the shaft turns slowly. It shows how round the shaft is. It does not show whether the weight is spread evenly. An uneven weight makes the shaft shake at high speed, even when it looks round.
Good burr shaft concentricity is the first goal. It means the journals and the burr seat share the same center line. However, even a shaft with excellent concentricity can have uneven mass. For example, a small keyway, a drilled hole, or a slight bend can shift the weight to one side. At 1,000 RPM or more, that shift pulls the shaft off center over and over.
This is where dynamic balancing shaft work comes in. The shaft is spun on a balancing machine, which finds the heavy spots. Then the shop removes a tiny amount of metal, or adds a small weight, until the shaft spins smoothly.
Balance Grades
Balance quality is rated by a grade. A lower "G" number means a finer balance. For example, many general-use rotors work well at G6.3, while precision rotors often call for G2.5. Your grinder maker should choose the grade based on speed and noise goals. Then, put that grade on the drawing, so nothing is left to chance.
Checking Runout the Right Way
Measurement proves that the fixes worked. Premium grinders often ask for runout 0.005mm or better on the bearing journals. To check this, a shop can use a dial indicator or a CMM (coordinate measuring machine). For best results, ask for the numbers from several points along the shaft, not only one.
A Five-Step Workflow That Works
Good shops follow a clear order of steps. Here is a simple version:
- Pick the material and relieve stress. Raw bar has hidden stress. If it is not relieved, the shaft can bend after cutting.
- Rough turn with a follower rest. This removes most of the metal while keeping the shaft straight.
- Relieve stress and straighten if needed. Rough cutting can add new stress, so this step resets the part.
- Finish turn. Use the follower rest, two-tool cutting, or both, based on the L/D.
- Balance and verify. Balance the shaft, then measure runout and record the data.
Notice that no step is random. Each one prepares the shaft for the next. Therefore, skipping even one step can undo the good work of the others.
Surface Finish and Materials
Surface finish also affects vibration. A rough journal creates friction and wear. So, aim for Ra 0.4 µm (16 µin) or better on bearing journals. For the burr mounting surface, Ra 0.8 µm (32 µin) is usually enough. Always write these numbers on the drawing.
Material choice matters too. Common options include:
- Stainless steel (303, 304, 316L): Resists rust and is good for food contact areas.
- Carbon steel (1045, 4140): Strong and wear resistant.
- Brass or bronze: Used in some bearing and wear cases.
You can see how each metal machines in this guide to stainless steel, carbon steel, and brass CNC options. Also, if you want to see how the mating parts are made, look at these CNC coffee grinder burrs. The shaft and the burr work as a pair, so both must be accurate.
What Should Buyers Check Before Ordering Burr Drive Shafts?
By now, you know what a good shaft needs. The next question is how to find a supplier who can make it. A clear drawing and a few smart questions save weeks of rework. In short, the right precision shaft turning service will welcome these checks, not avoid them.
The short answer: Ask four questions. Do you use a follower rest for L/D above 10:1? Can you cut with two tools at once? Do you balance shafts after turning? Can you show runout data from a similar shaft? A supplier who says yes to all four is likely ready for the job.
What to Put on the Drawing
A good drawing leaves little room for guesses. At a minimum, include:
- Length and diameter, so the L/D ratio is clear.
- Runout limit, with the exact surfaces and datums.
- Surface finish (Ra), for journals and the burr seat.
- Material and heat treatment, if any.
- Balance grade, and the speed it applies to.
- Inspection method, such as a dial indicator or CMM.
Also, tell the supplier the top running speed of the grinder. This helps them pick the right process from the start.
Warning Signs of a Tailstock-Only Shop
Some suppliers cannot handle long shafts, but they may not say so. Watch for these signs:
- They do not mention a follower rest when you give an L/D above 10:1.
- They cannot name the balance grade or the balancing method.
- They give no measurement report, only a "pass" note.
- They quote a price far below the others, with no clear reason.
Rule of thumb: If a supplier relies only on a tailstock and standard turning for an L/D above 10:1, expect vibration in the finished grinder.
A Real-World Style Example
Consider a typical case. A team receives shafts made with standard turning. The shafts show about 0.02 mm of runout, and the grinder hums at high speed. Users notice uneven grinds, and the bearings wear early.
Then the team changes the process. The new supplier adds a follower rest, uses two-tool cutting for the thin parts, and balances every shaft. After that, runout drops under 0.005 mm. The hum goes away, the grind becomes even, and the bearings last longer.
The lesson is simple. Better turning does not change the design, yet it changes the result. Still, results depend on the shop, so always ask for data.
Conclusion
Wobble in a burr shaft is not a mystery. It comes from bending during the cut and from uneven weight after the cut. Fortunately, each cause has a clear fix.
Contents of the Conclusion
Let us review the four key fixes:
- Follower rest: It supports the shaft right behind the tool and reduces bending.
- Two-tool cutting: It cancels the sideways push on very thin shafts.
- Dynamic balancing: It removes the uneven weight that causes high-speed shake.
- Runout data: It proves that the shaft meets the target.
Also remember the buyer's rule. Do not accept standard turning for shafts above 10:1 L/D. Put the runout, finish, and balance grade on the drawing. Then ask for measurement data with every batch.
If you need a partner for long, thin shafts, Hotean can help. Start by reviewing our CNC turning capabilities, or explore the full CNC machining service range. Send your drawing, and our team will review the L/D, runout, and balance needs with you.
External Links Recommendation
[high L/D ratio machining][^4]
[chatter prevention CNC turning][^5]