
Surface Finishing Quality Inspection: Are These 4 Checks Missing From Your First Article Report?
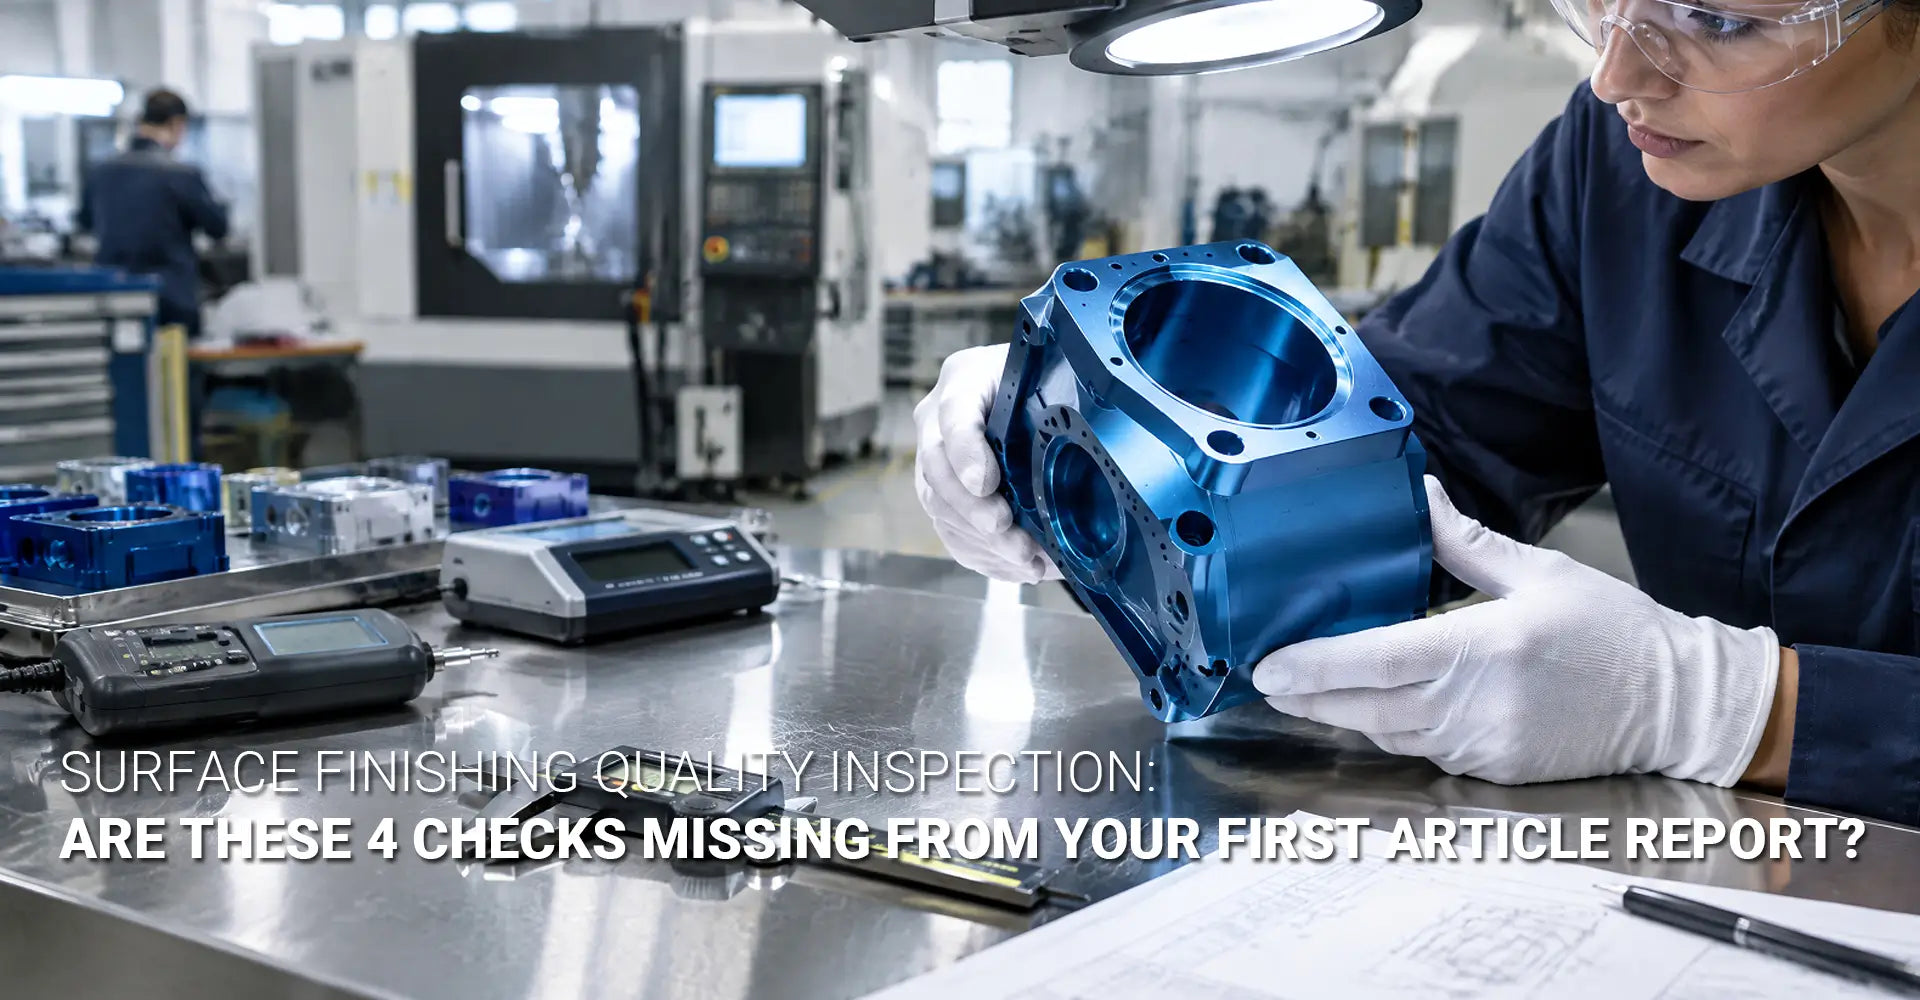
Surface Finishing Quality Inspection: Are These 4 Checks Missing From Your First Article Report?
A coated part can look perfect and still fail in the field. The color is right. The surface feels smooth. Then, six months later, rust spots appear on a batch of 5,000 parts. What went wrong?
The answer is usually simple: nobody ran a proper surface finishing quality inspection before mass production started. A first article inspection, or FAI, is your chance to catch problems on one sample before they spread across an entire batch. Skip it, and you risk warranty claims, rework costs, and a supplier relationship that never recovers.

Quick answer: Before you approve mass production of any coated, plated, or anodized part, check four things: coating thickness, adhesion strength, corrosion resistance, and dimensional fit. Miss any one of these, and the whole batch is at risk.
Procurement managers rarely have time to become finishing experts. But you don't need a lab degree to protect your production run. You just need to know which four checks matter most, and how to read the results. This guide walks through each one, step by step, so you can sign off with confidence instead of guesswork.
Table of Contents
- Does Coating Thickness Measurement Decide Pass or Fail?
- Will the Coating Stay On? What the Cross-Hatch Adhesion Test Reveals
- How Long Should Salt Spray Testing Run Before You Trust the Finish?
- Does the Part Still Fit After Roughness and Coating Build-Up?
Does Coating Thickness Measurement Decide Pass or Fail?
Coating thickness is the first thing to check, and for good reason. Too thin, and the part rusts early. Too thick, and it may not fit its mating parts anymore. Either way, thickness sets the tone for everything else in the inspection.
Quick answer: Use an X-ray fluorescence (XRF) gauge for coating thickness measurement X-ray testing. It is fast, accurate, and does not damage the part.

So how does this actually work? An XRF gauge sends a small beam of X-rays into the coated surface. The gauge reads how the material bounces the energy back, then calculates thickness in microns. Because the test is non-destructive, you can measure a real production part instead of a sacrificial sample.
A few tips make this check more reliable:
- Calibrate the gauge on a known standard before each session.
- Take readings on a flat, representative area. Curved edges give false results.
- Measure at least five spots and average them, since coating thickness naturally varies across a part.
- Compare results against the minimum and maximum values listed on your drawing or the relevant industry standard.
If the thickness falls outside that range, do not approve the batch yet. A part that is too thin will corrode faster than expected. A part that is too thick may crowd out clearance on a bore or shaft, and that problem often does not show up until final assembly. This is exactly why thickness comes first: it affects every check that follows.
Will the Coating Stay On? What the Cross-Hatch Adhesion Test Reveals
A coating that peels off in shipping or in the field is worse than no coating at all. It looks like a defect, and it often is one. That is why adhesion testing comes right after thickness in most procurement checklists.
Quick answer: The adhesion test cross-hatch method, defined in ASTM D3359, is the industry standard for checking whether a coating will hold up under stress.

Here is how the test works. A technician cuts a small grid pattern into the coating, down to the base metal. Then a strip of tape is pressed onto the grid and pulled off in one motion. The inspector checks how much coating comes off with the tape.
Results are graded on a simple scale, from 0B (major flaking, a clear failure) up to 5B (no flaking at all). For most industrial applications, a rating of 4B or 5B is required before a batch moves forward.
Common causes of poor adhesion include:
- Contaminated surfaces. Oil, dust, or oxide left before coating.
- Wrong surface preparation. Skipping a required pre-treatment step.
- Incompatible coating chemistry. Using a primer that does not bond well with the base metal.
If your supplier's samples fail the cross-hatch test, the fix usually lies in surface prep, not in the coating material itself. Ask for a root-cause explanation before you accept a re-test.
How Long Should Salt Spray Testing Run Before You Trust the Finish?
Adhesion tells you the coating will stay on. Salt spray testing tells you how long it will protect the part from rust. This step simulates months, or even years, of real-world exposure in a matter of days.
Quick answer: A salt spray test corrosion trial, run under ASTM B117 conditions, exposes coated parts to a continuous fog of 5% salt water at 35°C, and the results predict how the finish will hold up over time.

Duration expectations vary by finish type. As a general guide:
| Finish Type | Typical Hours to Failure |
|---|---|
| Zinc plating | 96–200 hours to white rust |
| Powder coating | 500–1,000 hours |
| Anodizing | 336–500 hours |
| E-coat | 500–1,000 hours |
If your drawing does not specify a required duration, 96–200 hours is a reasonable baseline for most industrial machinery components.
The inspector watches for signs of failure at set intervals: white rust, red rust, blistering, or exposure of the base metal underneath. A part that shows red rust well before its expected time frame signals a process problem, and that batch should not move to production.
Salt spray results also matter for parts destined for industrial machinery and automotive environments, where corrosion resistance protects both function and appearance over years of service. A finish that passes cross-hatch adhesion but fails salt spray early is a common trap. Never treat one test as a substitute for the other.
Does the Part Still Fit After Roughness and Coating Build-Up?
Here is a check that often gets forgotten until it is too late: does the part still fit after finishing? Coating adds material to every surface it touches, and that changes dimensions in ways a visual check will never catch.
Quick answer: Verify surface roughness Ra inspection results alongside dimensional fit after coating to confirm the part still meets tolerance for sealing, wear, and assembly.
Surface roughness, measured in Ra, matters for how a part seals and wears over time. A static seal, like an O-ring surface, typically needs Ra 0.8 µm or smoother. A dynamic seal may need Ra 0.4 µm. General industrial surfaces are usually fine at Ra 3.2 µm. Use a profilometer or surface roughness tester to confirm these numbers before sign-off, since a coating process can raise roughness beyond what the bare metal showed.
Dimensional fit is the second half of this check, and it is easy to miss. Coating adds thickness on every exposed surface:
- External dimensions, like shafts and outer diameters, grow by roughly twice the coating thickness.
- Internal dimensions, like bores and holes, shrink by roughly the same amount.
If your drawing calls for "finished dimensions after coating," the machinist must cut the part undersize or oversize ahead of time to compensate. If it calls for "machined dimensions before coating," then the finisher must control thickness tightly enough to keep the final part in tolerance. Either way, measure bores, shafts, threads, and mating surfaces with calipers or bore gauges before you approve the run. This kind of precision work often traces back to how the part was machined in the first place, whether through custom CNC milling, CNC turning, or another CNC machining process, so a finish problem sometimes points back to an earlier step in production.
Procurement's Quick-Reference Toolkit
Before you sign off on any coated or plated batch, a short list of coating inspection tools should already be in the room, or listed on your supplier's test report:
- XRF gauge for thickness
- Cross-hatch cutter and tape for adhesion
- Salt spray chamber (or a certified lab report) for corrosion resistance
- Profilometer for surface roughness
- Calipers, micrometers, or bore gauges for dimensional fit
You do not need to own all of this equipment yourself. Your supplier should. Your job is to confirm the results and ask for documentation you can keep on file.
Conclusion
Never approve a finished batch just because it "looks good." That single habit causes more field failures than almost any other procurement mistake. A proper first article inspection surface finishing review, covering thickness, adhesion, salt spray, roughness, and fit, gives you objective proof instead of a guess.
Think of your procurement FAI checklist as insurance. It costs a small amount of time up front and saves far more in returns, rework, and delayed shipments down the line. Use it for every new part, every new supplier, and every time a process changes. That single habit is what separates batch consistency verification done right from a costly surprise six months later.
When a supplier can show you clean, documented finish quality acceptance results across all four checks, you can sign off with confidence, not crossed fingers. Read more about how surface finishing fits into a broader quality process on our surface finish services page, or explore our full CNC machining service capabilities if you are sourcing both machining and finishing from a single supplier.
Recommended External Reading
- ASTM International: D3359 Standard Test Methods for Rating Adhesion by Tape Test
- ASTM International: B117 Standard Practice for Operating Salt Spray (Fog) Apparatus
[Surface finishing quality inspection][^1]
[first article inspection surface finishing][^2]
[coating thickness measurement X-ray][^3]
[adhesion test cross-hatch][^4]
[salt spray test corrosion][^5]
[surface roughness Ra inspection][^6]