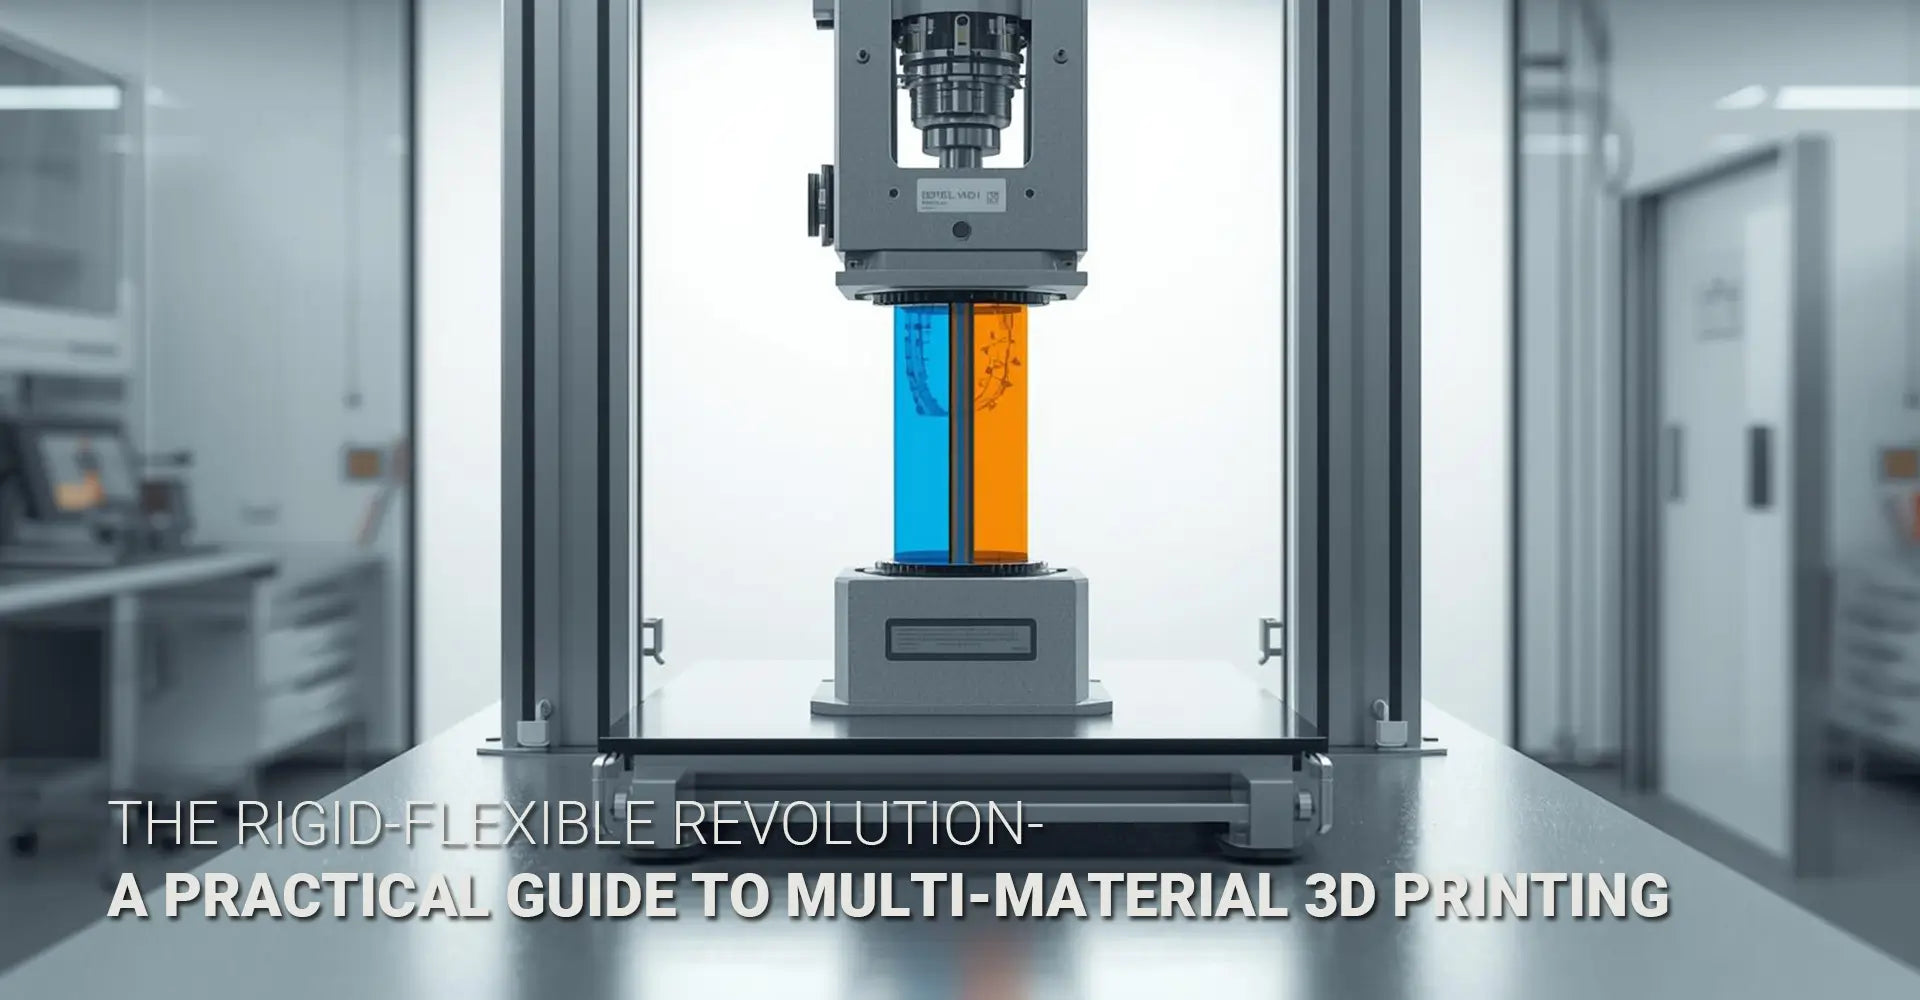
How Does Rigid-Flexible Multi-Material 3D Printing Actually Work?
How Does Rigid-Flexible Multi-Material 3D Printing Actually Work?

Have you ever printed a part that looked perfect but snapped at the first stress point? Or created a prototype that worked well until you needed it to bend without breaking? Single-material prints face a fundamental limitation: they can't provide both rigidity and flexibility where you need them. This is exactly why manufacturers and engineers are turning to rigid flexible multi material 3D printing. By combining hard materials like PLA with soft materials like TPU in a single print job, you can create parts that truly work in the real world. Moreover, this approach eliminates the need for assembly, reduces production time, and opens up possibilities that simply weren't available before.
Quick Answer: What You Need to Know Right Now
Key Takeaways About Rigid-Flexible 3D Printing:
| Aspect | Details |
|---|---|
| Core Concept | Combines materials like PLA (rigid) and TPU (flexible) in one continuous print |
| Main Technologies | Dual Extruder FFF, PolyJet Material Jetting, and Hybrid Systems |
| Bonding Solution | Material interlocking creates strong mechanical connections between incompatible materials |
| Primary Applications | Custom jigs, fixtures with soft contact points, integrated gaskets, and soft robotics |
| Validation Methods | Peel tests, tensile strength tests, and fatigue testing for long-term durability |
Why This Matters for Your Projects
Understanding how to combine stiff and flexible filaments changes everything about functional prototyping. Instead of designing around the limitations of a single material, you can now engineer parts that mimic the complexity of real-world products. Additionally, this knowledge helps you choose the right technology for your specific needs, whether you're creating rapid prototyping samples or end-use production parts. As a result, you'll spend less time on failed prints and more time delivering solutions that actually work.
Table of Contents
- What Technologies Can Print Rigid and Flexible Materials Together?
- Can PLA and TPU Actually Bond Without Separating?
- Which Real Applications Need Hard-Soft Material Combinations?
- How Do You Test if Your Hybrid Parts Are Strong Enough?
- Conclusion
What Technologies Can Print Rigid and Flexible Materials Together?
When it comes to combining different materials in a single print, you have three proven technological pathways. Each approach offers distinct advantages depending on your project requirements, budget, and desired material properties. Therefore, understanding these options helps you make informed decisions about which system best fits your workflow.
The Three Main Technology Categories
Here's a straightforward comparison of your options:
Dual Extruder FFF/FDM Systems:
- Use two independent print nozzles that work simultaneously
- Handle standard filaments like PLA, ABS, and TPU
- Offer cost-effective entry into multi-material 3D printer technology
- Work well for 3D printing plastics with distinct zones
PolyJet Material Jetting:
- Jet tiny droplets of liquid photopolymer that cure instantly
- Create incredibly smooth transitions between materials
- Enable complex geometries with varying shore hardness
- Deliver exceptional detail for intricate designs
Hybrid Systems:
- Combine Fused Filament Fabrication with Direct Ink Writing
- Allow specialized material deposition for unique properties
- Expand beyond traditional filament limitations
- Support experimental material combinations

Deep Dive into Each Technology
Let's explore how each system actually works in practice. Dual extruder 3D printing remains the most accessible option for most users because it builds on familiar FFF technology. Consequently, you can start with a machine that costs between $1,000 and $5,000 and still achieve professional results. The system switches between nozzles during printing, with one depositing rigid material for structural sections and the other adding flexible material where movement is needed.
In contrast, PolyJet printing operates at a higher price point but delivers unmatched precision. The print heads jet different photopolymers simultaneously, which means you can create gradual transitions rather than sharp material boundaries. This capability becomes invaluable when you need smooth mechanical performance across material interfaces. Furthermore, the technology supports multiple shore hardnesses in the same print, ranging from rubber-soft to rigid plastic.
Hybrid systems represent the cutting edge of material combination. By integrating different deposition methods, these machines can place specialized materials exactly where needed. For instance, you might use FFF for the bulk structure while employing Direct Ink Writing to add conductive traces for electronics manufacturing applications. As
Can PLA and TPU Actually Bond Without Separating?
The biggest concern most people have about hard soft material combination 3D printing is whether the materials will stay together under stress. After all, PLA and TPU are chemically incompatible, which means they don't naturally fuse like two layers of the same material would. However, recent advances in slicing software and printing techniques have largely solved this problem.
The Material Bonding Challenge and Solution
Why Standard Approaches Fail:
- PLA and TPU have different thermal properties and adhesion characteristics
- Simple layer stacking creates weak interfaces that peel apart easily
- Temperature differences during printing can cause warping at boundaries
- Without intervention, the bond relies solely on minimal surface adhesion
How Material Interlocking Works:
- Creates geometric patterns that physically lock materials together
- Functions like puzzle pieces that can't separate without breaking
- Gets automatically generated by compatible slicing software
- Significantly increases peel strength at material interfaces
Critical Design Factors:
- Transition zone width affects overall bond strength
- Clean nozzle switching prevents material contamination
- Proper temperature management ensures both materials flow correctly
- Interface geometry must accommodate different material shrinkage rates
Practical Bonding Strategies That Work
Now let's talk about what actually happens in your slicer and printer. Material interlocking 3D printing uses a specific technique where the slicer creates small geometric features that interweave the two materials. Think of it like Velcro at the microscopic level—each material has tiny protrusions that fit into recesses in the other material. When you try to pull them apart, the mechanical connection resists separation.
Beyond the interlocking feature, your transition zone design matters tremendously. Instead of a sharp boundary where PLA ends and TPU begins, you want a gradual interface zone spanning several layers. This approach distributes stress across a wider area, which prevents concentration points that could initiate failure. Additionally, this zone gives both materials room to accommodate their different thermal expansion behaviors.
Temperature control becomes critical during the actual printing process. Since PLA typically prints at 190-220°C while TPU prefers 220-250°C, you need to manage nozzle temperature carefully during material transitions. Most successful prints use a brief purge sequence when switching materials, ensuring no contamination occurs. Furthermore, maintaining consistent bed temperature helps both materials adhere properly to the build surface, which supports the overall structural integrity.
The relationship between print speed and bonding quality shouldn't be overlooked either. Slower printing at material interfaces gives each layer more time to properly fuse with the previous layer. While this extends total print time, the resulting bond strength makes the tradeoff worthwhile for functional 3D printed parts. I
Which Real Applications Need Hard-Soft Material Combinations?
Moving beyond theoretical possibilities, let's examine where hybrid 3D printing actually delivers value. The most compelling applications share a common thread: they require different material properties in specific locations within a single component. This capability transforms 3D printing from a prototyping tool into a production method for complex functional assemblies.
Four Proven Application Categories
Custom Jigs and Fixtures:
- Rigid frame provides structural support and mounting points
- Soft TPU contact surfaces prevent scratching or marking finished products
- Single-piece construction eliminates assembly time and potential misalignment
- Enables quick customization for different product geometries
Integrated Seals and Gaskets:
- Hard housing components with embedded flexible sealing surfaces
- Eliminates separate O-rings or gasket installation steps
- Ensures perfect alignment between sealing surfaces
- Reduces part count and potential leak paths
Soft Robotics Components:
- Structural skeleton provides mounting and load-bearing capability
- Flexible sections enable controlled bending and gripping
- Single-print construction simplifies manufacturing and reduces costs
- Allows precise control over flexibility zones
Ready-to-Use Multi-Material Products:
- Combines different shore hardnesses in ergonomic grips
- Creates living hinges with rigid mounting sections
- Produces wearable items with comfort zones and structural elements
- Delivers finished products without post-assembly

Detailed Application Analysis
Let's start with jigs and fixtures since they're often the first practical use case people encounter. In manufacturing environments, you frequently need to hold delicate parts during processing or assembly. Traditional metal or hard plastic fixtures risk scratching or denting the workpiece. By using 3D printing rigid core flexible shell design, you create a rigid structure that maintains dimensional accuracy while soft contact points protect the product. Moreover, when product dimensions change, you simply modify the CAD file and print a new fixture overnight.
Integrated sealing applications represent another area where this technology excels. Consider a valve housing that requires both structural strength and a flexible seal around the valve stem. Traditionally, you would machine the housing and install a separate rubber seal, which adds assembly steps and creates potential failure points. With multi-material printing, the seal becomes an integral part of the housing. Consequently, you eliminate assembly operations, reduce inventory complexity, and ensure perfect seal geometry every time.
Soft robotics represents perhaps the most innovative application space. Robot grippers, for instance, need rigid mounting brackets to attach to the robot arm while requiring soft, conformable fingers to grasp delicate objects. Creating such components through traditional manufacturing would involve molding flexible parts separately and assembling them to rigid structures. Instead, multi-material printing produces the entire gripper in one operation. Furthermore, you can tune the flexibility of different sections by adjusting material ratios and geometry.
The capability to produce ready-to-use products in a single automated process opens new business models. For small-batch production or mass customization, the elimination of assembly labor becomes economically significant. Tool handles with soft grip zones, custom medical devices with patient-specific soft interfaces, and protective cases with rigid shells and flexible impact zones all become viable products. This approach also supports better surface finish control since you're not introducing assembly marks or adhesive residue.
How Do You Test if Your Hybrid Parts Are Strong Enough?
Creating impressive-looking multi-material parts means nothing if they fail during actual use. Therefore, proper mechanical testing validates whether your bond strength and overall part integrity meet functional requirements. Professional validation follows established testing protocols that quantify performance in measurable terms.
Essential Testing Methods for Material Interfaces
Peel Test Protocol:
- Measures the force required to separate bonded materials
- Applies controlled tension perpendicular to the bond line
- Reports results in force per unit width (N/mm or lbf/in)
- Identifies weak bonding conditions that need adjustment
Tensile Strength Assessment:
- Evaluates how much load the bonded interface can withstand
- Pulls the specimen along the bond axis until failure occurs
- Determines whether failure happens at the interface or within materials
- Provides data for safe working load calculations
Durability and Fatigue Testing:
- Subjects parts to repeated flexing or loading cycles
- Simulates long-term use conditions
- Records the number of cycles before bond degradation
- Identifies design improvements needed for extended service life
Additional Performance Metrics:
- Shore hardness measurement across transition zones
- Dimensional stability under temperature cycling
- Chemical resistance when exposed to operating environment
- Impact resistance for protective applications

Implementing a Practical Testing Program
When you're ready to validate your designs, start with peel testing because it directly assesses bond quality. You can build a simple test specimen with a rigid section bonded to a flexible section, leaving a tab on each end for gripping. Mount one end in a fixed clamp and attach the other to a force gauge, then pull at a consistent rate while recording the force. Peak force before separation tells you the bond strength, while the failure mode reveals whether your interlocking worked properly.
Tensile testing provides complementary information about overall structural integrity. Instead of peeling the materials apart, you pull them in the same direction they're bonded. This test simulates applications where loads transfer through the interface, such as a flexible bellows attached to rigid end caps. Print several identical specimens and test them to establish average strength and consistency. If specimens consistently break in the base material rather than at the bond line, your interface design succeeds.
For parts that will experience repeated motion, fatigue testing becomes essential. Set up a fixture that flexes your part back and forth at a realistic rate and amplitude. Count the cycles until you observe any cracking, delamination, or performance degradation. Document the failure mode because it guides design improvements. For instance, if cracks initiate at sharp corners in the transition zone, adding fillets or increasing the transition zone width might solve the problem.
Don't overlook environmental testing if your parts will face challenging conditions. Temperature cycling between operating extremes reveals whether differential thermal expansion causes problems. Chemical exposure testing ensures that any solvents, oils, or cleaning agents won't attack the bond interface. Even humidity exposure matters for some applications since moisture absorption can affect material properties differently. Comprehensive testing like this builds confidence that your parts will perform reliably in the field.
Recording and analyzing your test data serves multiple purposes beyond immediate validation. First, it helps you optimize print parameters by correlating settings with performance outcomes. Second, it provides documentation for customers or stakeholders who need proof of capability. Third, it builds your knowledge base for future projects, allowing you to estimate performance for similar designs. Therefore, maintain detailed records including specimen geometry, print settings, material lots, and test conditions alongside the actual performance numbers.
Conclusion
Rigid-flexible multi-material 3D printing has evolved from an experimental novelty into a practical manufacturing method. You now have clear technology choices, from accessible dual extruder systems to high-precision PolyJet machines, each suited to different applications and budgets. The challenge of bonding incompatible materials like PLA and TPU has been largely solved through material interlocking techniques and proper transition zone design.
Real-world applications prove the value of this technology across diverse industries. Whether you're creating custom fixtures that protect delicate products, producing integrated seals that eliminate assembly steps, developing soft robotics components, or manufacturing ready-to-use multi-material products, the capability to combine rigid and flexible properties in specific locations opens new design possibilities. These aren't theoretical benefits—they're proven advantages that reduce production complexity and improve product performance.
Validation through proper mechanical testing ensures your designs meet functional requirements. Peel tests, tensile tests, and fatigue analysis provide quantifiable data about bond strength and durability. This testing not only proves current designs but also guides improvements for future projects.
As you move forward with your own projects, remember that successful multi-material printing combines the right technology selection, proper material bonding techniques, suitable applications, and thorough validation. Start with simpler designs to build experience, test your results systematically, and gradually tackle more complex challenges. The technology is ready—now it's your turn to put it to work.
Recommended Resources
[rigid flexible multi material 3D printing][^1]
[hybrid 3D printing][^2]
[Hard soft material combination 3D printing][^3]
[Multi-material 3D printer][^4]
[Functional 3D printed parts][^5]
[Material interlocking 3D printing][^6]
---
[^1]: Explore this link to understand how rigid flexible multi material 3D printing can enhance design versatility and functionality.
[^2]: Discover the innovative techniques behind hybrid 3D printing and its potential to revolutionize manufacturing processes.
[^3]: Explore this link to understand how combining hard and soft materials in 3D printing can enhance product functionality and design.
[^4]: Discover the capabilities of Multi-material 3D printers and how they can revolutionize your manufacturing processes.
[^5]: Discover how functional 3D printed parts can enhance product design and manufacturing efficiency.
[^6]: Learn about the innovative techniques in material interlocking 3D printing for creating complex structures.
