Why Does Your Commercial Coffee Machine Chassis Shake, and Can Precision Sheet Metal Fabrication Fix It?
Why Does Your Commercial Coffee Machine Chassis Shake, and Can Precision Sheet Metal Fabrication Fix It?
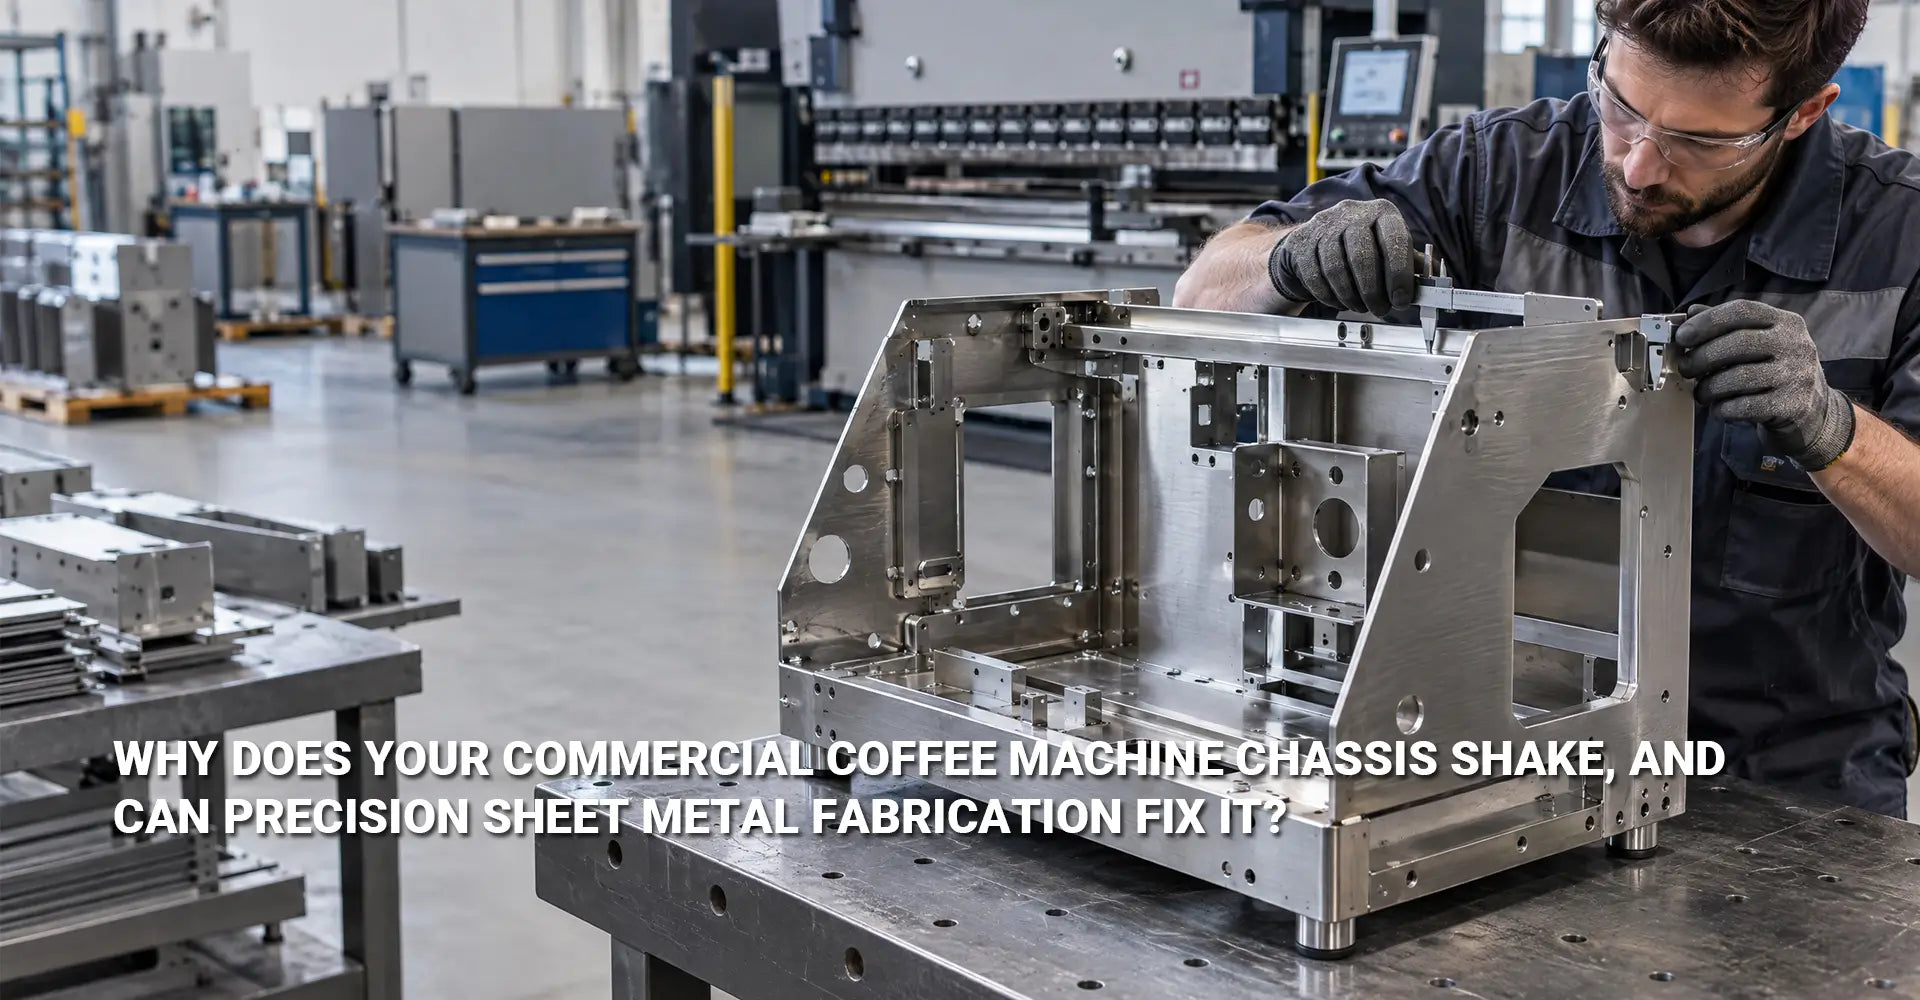
A customer starts a shot, and the whole machine begins to buzz. Panels rattle. The counter hums. Many buyers blame the pump first. However, the real problem is often the frame around it. Good sheet metal chassis design keeps the pump's pulses from turning into noise. Then precision sheet metal fabrication turns that plan into a quiet, solid part. In this guide, you will learn why the shake happens, how to stiffen thin panels, how to mount the pump, and how to check the result before you approve a supplier.
Key Takeaways at a Glance
| Problem | Likely Cause | Fast Fix |
|---|---|---|
| Panels rattle during extraction | Flat, thin panels that resonate | Add embossed ribs and folded edges |
| Whole machine hums | Pump bolted straight to the frame | Use flexible pump mounts |
| Noise is hard to prove | Only "listening" tests | Measure dB(A) and vibration |
| Ribs raise cost | Deep or tight rib shapes | Review the design with your fabricator early |

A commercial espresso machine frame shakes when the pump's pulses match the natural frequency of its thin panels. The panels then amplify the vibration. To fix it, stiffen the panels with embossed ribs and folded edges. Next, mount the pump on flexible isolators. Finally, confirm the result with sound and vibration tests.
Fixing noise after the first prototype is slow and costly. Noise reduction by design is cheaper, because you solve the problem on the drawing. Therefore, this article follows four clear steps. First, you will find the cause. Then, you will stiffen the panels. After that, you will isolate the pump. Finally, you will verify the result with real data.
Table of Contents
- Why Does a Chassis Resonate and Rattle During Extraction?
- How Do Embossed Ribs and Folded Edges Make a Chassis Stiffer?
- How Should You Mount the Pump to Stop Vibration at the Source?
- How Can Procurement Teams Verify Noise and Vibration Before Approval?
- Conclusion
Why Does a Chassis Resonate and Rattle During Extraction?
Listen closely to a shaking machine. You will often hear two different sounds. One is a low pump hum. The other is a sharp metallic buzz. To a customer, they sound alike. However, they come from different places. So, you must separate them before you fix anything.
A coffee machine chassis resonates when the pump's pulse rate matches the natural frequency of a panel. At that point, the panel moves far more than it should. It then acts like a drum skin and pushes noise into the air.
Every panel has a natural frequency. That is the speed at which it likes to shake. A large, thin, flat panel has a low natural frequency. Meanwhile, an espresso pump creates steady pressure pulses during extraction. When the two numbers get close, the panel starts to swing. This is called resonance.
The vibration follows a simple path:
- Pump creates the pulses.
- Mounting bracket carries them.
- Chassis panels pick them up and amplify them.
- Air carries the sound to the user's ear.
Good resonance control sheet metal work breaks this chain. First, you can raise the panel's natural frequency, so it sits above the pump's range. Second, you can keep the pump's vibration away from big panels. A vibration reduction sheet metal enclosure uses both ideas together.
Three things change how a panel behaves:
- Thickness: Thicker steel resists bending more.
- Shape: Ribs and folds add depth to the panel.
- Edge support: Tight, fastened edges act like clamps. Loose edges act like free flaps.
Procurement teams often miss this link. They check the pump rating, the water tank, and the brew group. Yet they skip the stiffness of the frame. As a result, two machines with the same pump can sound very different.
You can also run a simple test to find the true source:
- Run the pump outside the chassis. If it is quiet, the chassis is amplifying the noise.
- Run the pump on the chassis with the panels removed. If the noise drops, the panels are resonating.
- Touch a contact microphone or a stethoscope to each surface. The loudest spot is your target.
If the pump alone is loud, fix the pump. If the pump is quiet but the machine rattles, fix the chassis.
Many brewer makers also look for a partner who understands their parts. You can see how Hotean supports coffee equipment projects on its dedicated page.
How Do Embossed Ribs and Folded Edges Make a Chassis Stiffer?
Thin steel is light and low in cost. However, flat thin steel is floppy. You have two ways to fix that. You can add thickness, or you can add shape. Shape is usually cheaper. In fact, sheet metal stiffness optimization is mostly about putting the right shape in the right place.
Embossed ribs sheet metal features are raised shapes pressed into a panel. They add depth to the section, so the panel bends less. In many designs, well-placed ribs can raise stiffness by 2–5× with little added weight or cost.

Think of a sheet of paper. Held flat, it flops over. Fold it into an accordion, and it stands up. Ribs work in the same way. They break up large flat areas. As a result, the panel stops acting like a drum.
Where to Put the Ribs
Ribs must follow the load paths. A load path is the route that force takes through the frame. In a coffee machine, that route runs from the pump mounts to the feet. It also runs from the brew group to the frame. Random ribs add cost without adding stiffness.
Good places for ribs include:
- Around the pump mounting area to stiffen the nearby structure
- Across large flat side panels to stop drum-like motion
- Along the bottom panel to resist bending from pump weight
- Near the panel edges to raise boundary stiffness
Rib direction also matters:
| Rib Direction | Best Use |
|---|---|
| Long-way (longitudinal) | Resists bending along the longest span |
| Cross-way (transverse) | Stops a panel from folding across its width |
| Diagonal | Helps against twisting |
Rib depth, width, and spacing depend on the material and the tool. Therefore, set them together with your fabricator rather than guessing.
Folded Edges Stiffen the Perimeter
Folded edges, also called flanges, add depth at the edge of a panel. Ribs stiffen the middle of a panel. Flanges stiffen its border. Beaded ribs vs. folded edges is a common question. The honest answer is that you usually need both. A wider flange adds bending stiffness. A return flange, which is a second small fold, helps the panel resist twisting.
For the best result, fold the edges around the perimeter. Then add ribs across the field of the panel. Together, they give high stiffness at low weight.
Choosing the Right Thickness
Thickness still matters. Sheet metal gauge selection should happen at the same time as rib layout, not before it. For structural frames on commercial machines, 1.5 mm to 2.0 mm is a typical range. Thinner steel, around 1.0–1.2 mm, can work for non-structural covers. However, it needs more ribbing. Steel at 2.5 mm or more adds weight and cost, yet the stiffness gain gets smaller each time.
| Thickness | Typical Use | Watch Out For |
|---|---|---|
| 1.0–1.2 mm | Light covers | Needs more ribs |
| 1.5–2.0 mm | Structural chassis | Best balance for most frames |
| 2.5 mm and up | Heavy-duty parts | Weight, cost, small gains |
A good shop will test these choices before cutting any tools. If you want to see what a full-service shop can offer, review Hotean's sheet metal fabrication capabilities.
How Should You Mount the Pump to Stop Vibration at the Source?
Imagine pressing a buzzing phone against a table. The table turns into a speaker. A rigid pump mount does the same thing to your chassis. It sends every pulse straight into the frame. So, stiff panels help, but they are only half of the answer.
Pump mounting vibration isolation places a soft layer between the pump and the frame. A flexible mount can cut vibration transmission by 50–80%. That is a large drop for a small, low-cost part.
Rigid or Flexible: Which One Should You Choose?
Both styles have a place. However, the right choice depends on where the vibration goes next.
| Mount Type | Pros | Cons |
|---|---|---|
| Rigid | Simple, stable, low cost | Sends all vibration into the chassis |
| Flexible (rubber or pads) | Cuts transmitted vibration | Needs correct stiffness and placement |
For most commercial brewers, a flexible mount is the better starting point. It decouples the pump from the frame. As a result, the panels get much less energy to amplify.
Pick and Place the Isolators with Care
Not every rubber pad works. A pad that is too soft lets the pump sway. A pad that is too hard passes the vibration through. Therefore, match the isolator to the pump weight and its pulse rate. Also, place isolators so the load sits evenly. Uneven load causes tilt and wear.
Do not forget the bracket. Even with soft mounts, the bracket attaches to the frame. If that spot is thin and flat, it will still ring. So, add local stiffening at the bracket points. Then, run ribs away from the bracket to spread out the leftover vibration. Some brackets are also better made from solid stock for accuracy and strength. In that case, Hotean's CNC machining services can supply machined mounting blocks.
Why Adding Mass Is Not the Answer
Some teams try to solve the problem with heavier steel. This idea sounds simple. Yet extra mass only lowers the natural frequency. In some cases, it moves resonance right into the pump's working range. That can make the noise worse. In addition, mass adds cost and weight. Stiffness and damping almost always work better.
Keep the Vibration Away from Large Panels
Finally, think about the path. Place the pump on the stiffest part of the frame, such as the base, rather than on a tall side panel. Keep it away from the center of large flat covers. If the vibration has no easy route to a big panel, the panel has little to amplify.
How Can Procurement Teams Verify Noise and Vibration Before Approval?
"It looks strong enough" is not a specification. A frame can look solid and still rattle. Therefore, ask for numbers. Data protects your brand, and it also protects your supplier relationship, because everyone knows the target.
Use an acoustic testing enclosure or a quiet room, and run the same pump at the same pressure and the same distance, usually 1 meter. Then measure sound pressure in dB(A) and vibration with accelerometers. A 3–5 dB(A) drop is easy to hear. A 10 dB(A) drop sounds about half as loud.
Build a Fair Test
A good test compares two designs under the same conditions. To keep it fair, follow these rules:
- Same pump, same pressure, same flow rate
- Same mounting surface and same test distance
- Measure at idle and during extraction
- Place accelerometers on key panels
- Compare before and after under identical settings
Do not trust listening alone. Ears are useful, but they cannot give you a pass or fail number. Instead, combine rattle and buzz checks with measured data.
Use Modal Testing and Simulation
You can also predict trouble early. A modal analysis sheet metal study finds the natural frequencies of each panel, either by computer model or by tap testing. Then you can compare those numbers with the pump's pulse rate. If they are close, change the rib layout before tools are cut. This step is far cheaper than fixing a finished part.
Balance Stiffness with Cost
Stiffer parts must still be easy to make. Sheet metal DFM, or design for manufacturing, keeps the design buildable and affordable. Keep these trade-offs in mind:
- Formability: Deep ribs with tight radii can crack or spring back.
- Tooling cost: Simple ribs formed in the same die add little cost. Complex shapes may need extra die stations.
- Tool wear: Sharp features wear dies faster.
- Assembly fit: Ribs and flanges can shift hole positions and edge gaps.
Paint and powder coat also add thickness. Plan for that in your tolerances. For help with coatings and finishes, see Hotean's surface finish options.
Write the Rules into the Supplier SOW
Put your needs in writing. A strong statement of work (SOW) should list:
- Material and thickness
- Rib layout, including position, depth, width, and spacing, on the drawing or CAD model
- Flange and folded edge details
- Pump mounting dimensions and isolation needs
- The acoustic test method and pass criteria
- First article inspection with vibration and noise data
- Batch sampling rules for ongoing production
First article checks prove the design works. Batch sampling proves it keeps working. Both steps matter.
A Case Worth Noting
One reported case shows what these steps can do. The first design had flat panels, no ribs, and a rigid pump mount. The team then added an embossed rib layout, folded edges, and isolated pump mounts. As a result, chassis vibration fell by about 60%. Treat that figure as one example, not a promise. Your result will depend on your pump, frame, and test method.
Conclusion
A shaking coffee machine is rarely a mystery. Most of the time, a thin and flat frame is amplifying the pump. The good news is that you can fix it on the drawing, before the first prototype.
What to Remember
- Find the cause first. Check whether the pump or the chassis makes the noise.
- Stiffen the frame. Use embossed ribs that follow load paths, and add folded edges around the perimeter.
- Isolate the pump. Flexible mounts can cut vibration transmission by 50–80%.
- Skip the extra mass. Stiffness and damping work better than weight.
- Ask for proof. Require measured dB(A) and vibration data, not opinions.
- Review early. A design review with your fabricator balances stiffness, formability, and cost.
A chassis that rattles also signals weak structure and a higher fatigue risk. So, a quiet machine is both a comfort feature and a quality signal. If you are planning a new frame or fixing an old one, talk to the Hotean team about a design review before you cut tools.
External links recommendation
[precision sheet metal fabrication][^1]
[sheet metal chassis design][^2]
[sheet metal stiffness optimization][^3]
[vibration reduction sheet metal enclosure][^5]
[^3]: A 2018 peer-reviewed study published by Elsevier on ScienceDirect examining duplex embossed steel sheets. It finds that larger emboss height substantially increases bending rigidity, while the effect on tensile rigidity is more nuanced—preliminary tensile deformation can further raise both tensile and bending rigidity. The study is directly relevant to stiffness optimization through emboss geometry in automotive and architectural sheet metal applications.