Custom Sheet Metal Fabrication or Stamping Dies: Which Is Right for Your Coffee Machine at 10, 100, and 500 Units?
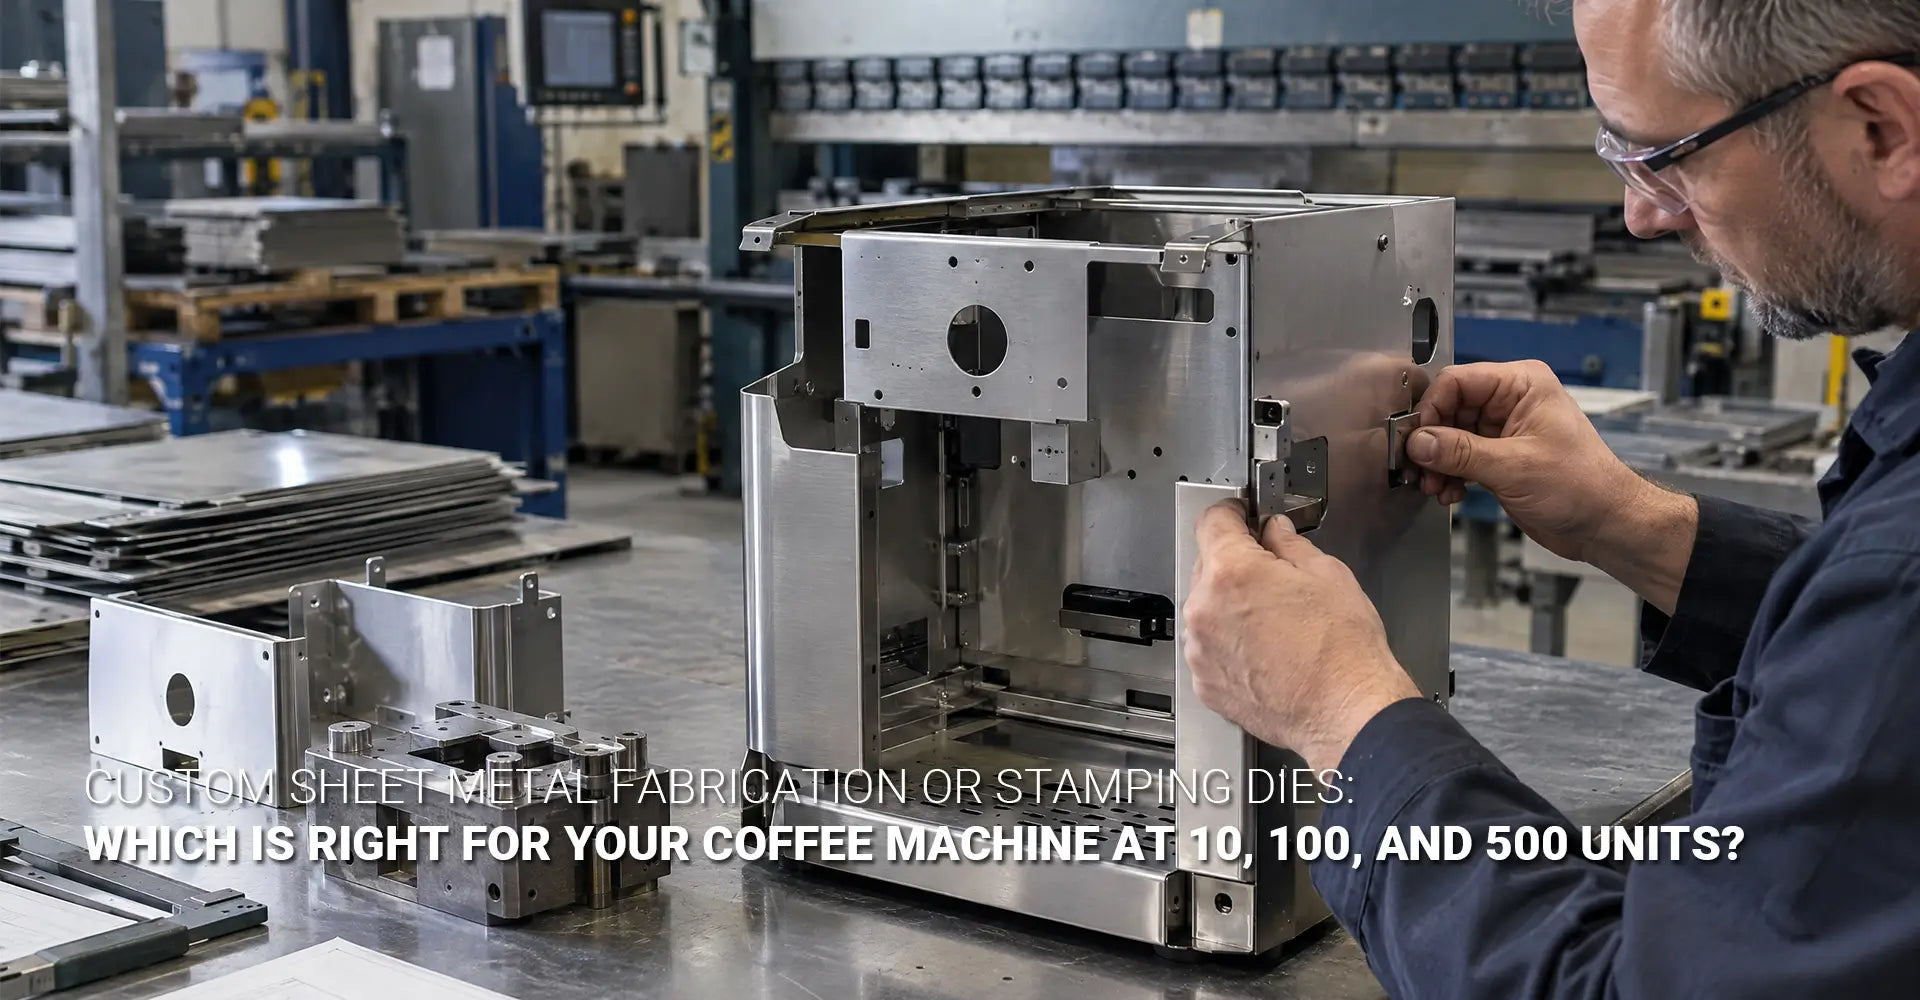
Custom Sheet Metal Fabrication or Stamping Dies: Which Is Right for Your Coffee Machine at 10, 100, and 500 Units?
Picture this. Your team finishes a new coffee machine design on Friday. By Monday, a manager asks for a stamping die quote. The die costs $20,000, and it feels smart to lock it in. Then testing finds a bent bracket, a misaligned hole, and a rattling panel. Now the die is wrong, and the money is gone.
This story is common in coffee machine prototype manufacturing. Buyers want a low piece price. Engineers, however, still need room to change the design. Both goals are fair, but they rarely fit together at the same time. In this guide, you will learn which process fits each stage. You will also see the math that shows when a die finally pays off. Whether you buy for a large coffee equipment brand or a small startup, these steps will protect your budget.
Quick answer: In new product introduction sheet metal projects, use laser-cut and bent parts for the first 100 units. Between 100 and 500 units, run a cost check before you order a die. At several thousand units, stamping almost always wins on price. Above all, never open a die before the design is frozen.
Here is the same advice in a simple table.
| Stage | Quantity | Best Process | Main Risk |
|---|---|---|---|
| Engineering prototypes | 1–10 | Laser cutting and bending | Skipping basic tests |
| Validation builds | 10–100 | Laser cutting and bending | Springback and weld distortion |
| Pilot production | 100–500 | Run the cost check; consider a bridge tool | Opening a die too early |
| Volume production | 5,000+ | Stamping die | Staying with slow methods too long |
Key numbers to remember:
- A stamping die often costs $10,000–$30,000.
- In our example, the break-even point is about 2,222 parts.
- Bridge tools often suit 500–2,000 units.
Now that you have the short answer, let's look at the details. Each stage has its own goals, checks, and costs. Moving through sheet metal prototyping to production in the right order protects both your schedule and your cash. Below, we answer four questions that buyers and engineers ask most often. First, we start with the earliest stage. Then, we move step by step toward the die decision.
[Table Of Contents]
- When Should You Use Laser Cutting and CNC Bending for Coffee Machine Prototypes?
- What Should You Check During 10–100 Unit Validation Builds?
- How Do You Compare Fabrication and Stamping Dies with a Total-Cost Model?
- Is Your Design Frozen Enough to Open a Stamping Die at 500 Units?
- Conclusion
When Should You Use Laser Cutting and CNC Bending for Coffee Machine Prototypes?
Early prototypes have one job: to teach you fast. At this stage, you need one to ten parts, and you need them quickly. Low volume sheet metal fabrication fits this need well. It starts from a digital file and uses standard machines. There is no tooling to build, so parts can ship in days instead of weeks.
Short answer: For 1–10 units, laser cutting and bending is the best fit. A stamping die often costs $15,000–$30,000. Spread over ten parts, that adds $1,500–$3,000 to every part. That is a poor trade while the design can still change. A typical coffee machine sheet metal enclosure also needs several small fixes before it is ready for tooling.
So why is this the default choice? First, a laser cuts flat shapes from sheet metal with high accuracy. Next, a press brake bends those flat shapes into boxes, brackets, and panels. Because no hard tool is involved, a design change only means editing the file. Therefore, you pay almost nothing for a revision.
Revision cost stays low. Imagine your team moves a water inlet by 8 mm. With flexible fabrication, you update the drawing and cut a new part. With a die, you may need to cut new steel, weld it, and re-machine it. As a result, the same small change could cost thousands of dollars.
At this stage, focus on three simple checks:
- Form: Does the part have the right shape and size?
- Fit: Do the panels, brackets, and frame line up?
- Function: Does the part hold the pump, boiler, and wiring as planned?
Speed also helps your whole team. Designers get real parts to hold in their hands. Test engineers can start their work sooner. Buyers can see early cost signals, too. Moreover, a quick first round often reveals small issues, such as a tight corner or a missing relief cut, long before they become costly.
Sometimes a soft tool or bridge tool makes sense even at 10 units. This is rare. It usually happens when the shape cannot be made any other way, such as a deep draw or a complex embossed form. In most cases, however, simple cutting and bending is faster and safer. Keep this rule in mind:
A die is a bet on your design. Do not place the bet until the design has earned it.
What Should You Check During 10–100 Unit Validation Builds?
Once the design works, you need more parts. Teams often build 10 to 100 units for testing, pilot lines, and early customers. In coffee machine enclosure manufacturing, this is the stage where small flaws show up. For example, a panel may fit one unit but not the next. Because of this, the goal shifts from speed to repeatable quality.
Short answer: Flexible sheet metal fabrication still wins in this range. A die saves little money at 100 units, but it adds a lot of risk. Use these builds to check springback, weld distortion, hole alignment, and surface finish. Then, fix every problem before you think about tooling.
Why does flexible fabrication still win here? The answer is risk. One large change can scrap a die or force a costly rework. Meanwhile, cutting and bending lets you adjust each batch. In short, you can learn and fix at the same time.
Use these builds to run four key checks:
- Bend springback. Press brake bending often uses air bending with a limited set of tool setups. As a result, bend angles can vary a little from part to part. Trial bends and angle correction fix most of this problem at low volume.
- Weld distortion. Thin panels can warp from heat. With flexible fabrication, you can fixture each part and change the weld order. This step builds a weld plan you can reuse later.
- Hole alignment. Holes placed too close to a bend can stretch or shift. Check the hole-to-bend distance on real parts, not only on screen. If a part needs tight bores or tapped features after bending, a CNC machining service can finish them with better accuracy.
- Surface finish and coating. Powder coat, paint, and brushed looks all behave differently on bent edges. Test your chosen surface finish on real parts early. Otherwise, color and texture surprises can appear late in the project.
Welding deserves a special warning. Many teams hope a die will fix distortion. It will not. Stamped parts are consistent, but welding after stamping can still warp thin panels. So, solve the weld problem now, while changes are cheap.
Keep good records during these builds. For each batch, write down the bend angles, the weld order, and any parts that failed inspection. Over time, this log shows which problems are gone and which keep coming back. It also gives a die builder real data, which makes the later quote more accurate. In other words, careful notes today save both time and money tomorrow.
Next comes the big question: are you ready to commit to tooling? Be honest with your team. Ask whether the dimensions are final. Ask whether the finish is approved. Also ask whether assembly fit has been proven on 10 to 100 units. If any answer is "no," wait.
Still, you can start the paperwork early. Ask for die quotes during this stage, even if you do not plan to order. A quote shows the tooling cost, lead time, and minimum order size. With this data, you can plan the next stage calmly. However, do not place an order until you have a firm forecast beyond 500–1,000 units.
How Do You Compare Fabrication and Stamping Dies with a Total-Cost Model?
Many buyers compare only the piece price. That is a mistake. A stamped part might cost $3, while a fabricated part costs $12. The stamped part looks like the clear winner. However, the sheet metal stamping tooling cost sits outside that piece price. Revision costs, extra inventory, and waiting time also sit outside it. If you ignore them, you can pick the wrong process and lose money.
Short answer: A sheet metal NPI cost model adds all costs together, not only the price on the quote. Use this formula:
Total Cost = Tooling + (Piece Price × Quantity) + Revision Cost + Inventory Cost + Lead-Time Cost
Run it at 10, 100, 500, and 5,000 units. The lowest total at your real volume is the right choice, even if its piece price looks higher.
Let's test the formula on a coffee machine side panel. Assume the die costs $20,000. Flexible fabrication costs $12 per part, and stamping costs $3 per part. For simplicity, the table below counts only tooling and piece price.
| Quantity | Flexible Total | Stamping Total | Lower Cost |
|---|---|---|---|
| 10 | $120 | $20,030 | Flexible |
| 100 | $1,200 | $20,300 | Flexible |
| 500 | $6,000 | $21,500 | Flexible |
| 5,000 | $60,000 | $35,000 | Stamping |
The pattern is clear. The die only wins after a large volume. To find the exact crossover, the stamping die break-even formula is short:
Break-even quantity = Tooling cost ÷ (Flexible piece price − Stamped piece price)
Using our numbers, $20,000 ÷ ($12 − $3) equals about 2,222 parts. Below that quantity, flexible fabrication costs less. Above it, stamping saves money. Keep in mind that this example is only an illustration. Your part, material, and quotes will give different numbers.
Next, add the costs that a simple formula can hide. These items often change the answer:
- Revision cost: How likely is a design change, and what would it cost after the die is cut?
- Inventory cost: Stamping often needs minimum order quantities. Extra parts sit on the shelf and tie up cash.
- Lead-time cost: Dies take weeks to build. Waiting can delay your launch.
You do not need a complex spreadsheet to start. Begin with three quotes: one for flexible fabrication, one for stamping, and one for the die itself. Then fill in your best guess for design changes and extra stock. After that, update the numbers at every stage gate. As your design settles, the guesses get smaller, and the answer gets clearer. This habit also gives your finance team a simple story to follow when they ask why you waited on tooling.
What about the hidden costs of flexible fabrication at 500 units? They are real, but they are mostly visible in the quote. You will see more labor, more operator-based variation, longer cycle times, and more deburring. In contrast, the hidden costs of a die opened too early are larger. They include stranded tooling money, schedule delays, and order commitments. For this reason, flexible fabrication at 500 units is often cheaper in total than a rushed die.
Is Your Design Frozen Enough to Open a Stamping Die at 500 Units?
The real decision happens between 100 and 500 units. This is where the prototype to production transition gets tricky. Parts still work with flexible fabrication, yet stamping starts to look attractive. Meanwhile, a wrong choice now can cost tens of thousands of dollars. Therefore, you need a clear test, not a guess.
Short answer: Open a die only when three things are true. First, the design freeze for tooling is complete. Second, your forecast clearly beats the break-even quantity. Third, the die lead time fits your launch plan. If one of these is missing, keep using flexible fabrication or consider a bridge tool.
At 100–500 units, four factors drive the choice:
- Design freeze: Are all dimensions, bends, and finishes final?
- Demand forecast: Will your volume pass the break-even point?
- Piece cost: How big is the price gap between the two processes?
- Tooling lead time: Can your schedule wait for the die?
What does "frozen" really mean? A frozen design is not just a design that feels done. It is a design that has been tested and approved. Use this tooling readiness checklist before you sign any die order:
- All critical dimensions and tolerances are defined.
- Bend radii and hole locations are proven on prototypes.
- Material and finish are final.
- Assembly fit is verified on 10–100 units.
- Internal or customer approval is in writing.
- Expected volume is above the break-even quantity.
- Everyone understands the cost of changes after tooling.
That last item matters a lot. After a die is cut, even a small change can mean welding, re-machining, or building a new tool. A $20,000 die scrapped by a late change is a direct loss. Moreover, the delay can push your launch back by weeks.
Sometimes the design is stable, but not fully proven. In that case, bridge tooling sheet metal options can help. Bridge tools are lower-cost tools with a shorter life, often made from aluminum or soft steel. They suit about 500–2,000 units. They give you stamped parts sooner and at a lower piece price than cutting and bending. Yet they avoid a full $30,000 commitment. Among low volume stamping alternatives, this is the most common middle path.
Now consider a sample project. A team builds 10 prototype side panels and changes the water inlet twice. Next, they build 100 validation units and fix the springback and weld order. At 500 units, they get a die quote and run the math. Flexible fabrication still costs less, so they continue. Later, a 3,000-unit forecast is confirmed, and the design stays unchanged for months. At that point, they approve the die. This order of events kept their risk low.
Also, remember that lead time has a price. A die may take several weeks to build, and then it still needs a trial run. If the die fails its first test, your team has no parts during that wait. Because of this, many buyers keep flexible fabrication running while the die is under construction. This simple step protects the launch date and gives you a backup supply.
Finally, watch out for two common mistakes:
- Opening a die before the design is frozen. This is the most expensive error in NPI.
- Refusing stamping when the case is clear. If the design is stable and the forecast is strong, a high piece price over thousands of units adds up fast.
Also, think about your supplier. A shop that offers laser cutting, bending, and die building can guide the whole process. As a result, there are fewer handoff errors, shorter lead times, and a clearer cost picture. Ask any supplier for a stage-gate plan before you start.
Conclusion
Choosing between flexible fabrication and a stamping die is a timing question, not a price question. The best process changes as your volume grows and your design settles. Because of this, you should review the decision at every stage gate.
Here is the full path in short:
- 1–10 units: Use laser cutting and bending. It keeps revision cost close to zero.
- 10–100 units: Stay flexible. Test springback, weld distortion, hole alignment, and finish.
- 100–500 units: Run the numbers. Quote a die, but order only when the design is frozen and the forecast is firm.
- 500–2,000 units: Consider a bridge tool if the design is stable but not fully proven.
- 5,000+ units: Stamping is almost always the right answer.
A simple sheet metal fabrication cost model, rerun at each gate, keeps your team honest. Let total cost decide, not habit and not piece price alone. If you want help with custom sheet metal fabrication for your next coffee machine, explore Hotean's sheet metal fabrication services or send your drawings for a review.
[External Links Recommendation]
[Coffee machine prototype manufacturing][^1]
[low volume sheet metal fabrication][^2]
[Sheet metal NPI cost model][^3]
[Prototype to production transition][^4]
[^4]: A practical engineering guide from Switzer (US-based precision metal manufacturer) covering the operational shift required when moving from a proven prototype to scalable production. It explains that early builds often validate geometry or function, but high-volume production demands a different level of process control, and outlines the specific steps—such as freezing the design, validating process routing, and establishing in-process quality checkpoints—that bridge the gap between a working prototype and a repeatable, production-ready part.
[^5]: Perry Tool & Die (US-based stamping die builder in Colorado) provides a practical guide that includes the explicit break-even formula for progressive die stamping: **Break-even quantity = Tooling cost ÷ Savings per part**. The page explains that progressive dies pay off when annual volume is high enough to recover the die investment through a lower piece price, and it walks through the variables that determine whether hard tooling makes economic sense—tooling cost, current piece price, and the per-part savings generated by the die.