What Is the Minimum Bend Radius for Sheet Metal to Prevent Cracking?

What Is the Minimum Bend Radius for Sheet Metal to Prevent Cracking?
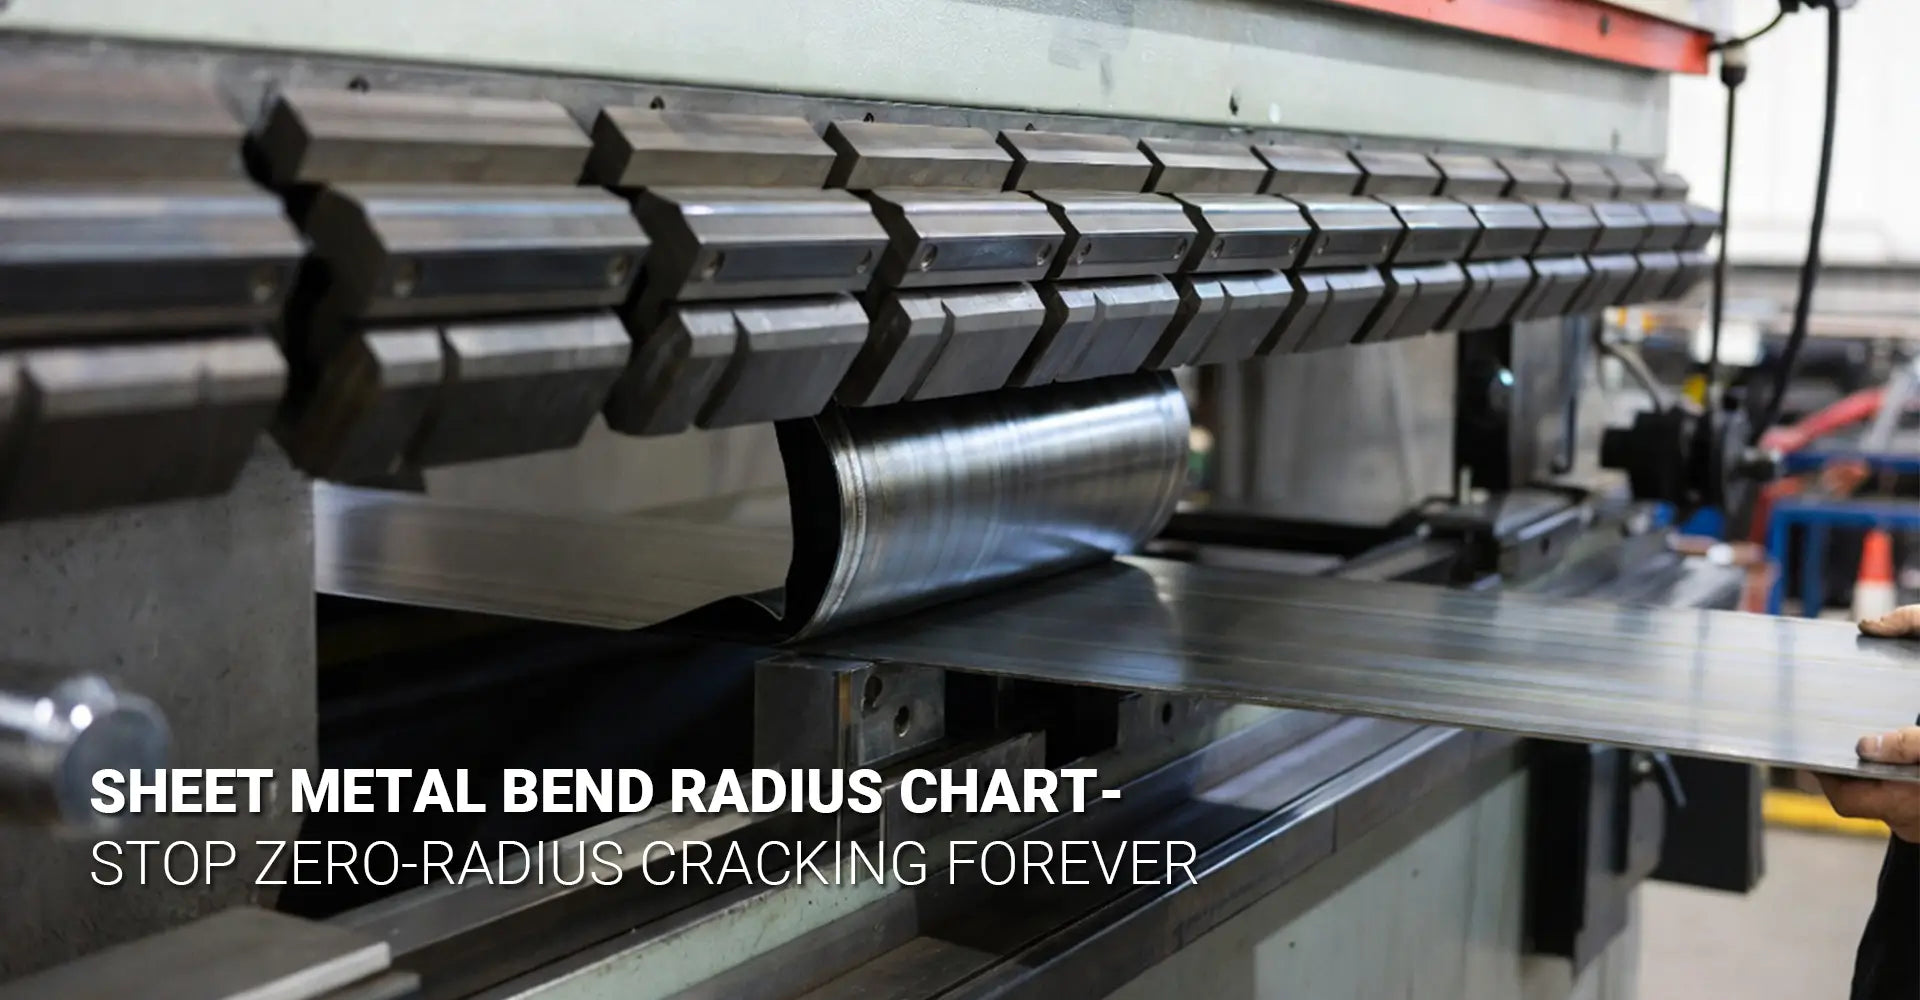
Every fabricator has seen it happen. A beautifully designed part comes off the press brake with hairline cracks along the bend line. Therefore, understanding the relationship between material thickness and bend radius can save thousands of dollars in scrapped parts. Moreover, choosing the correct minimum bend radius prevents structural failures in finished products. This guide will walk you through proven sheet metal bend radius guidelines that work in real-world manufacturing environments.
Quick Answer: Minimum Bend Radius Reference
Here's what you need to know right now:
| Material Type | 0.5-1mm Thickness | 1-3mm Thickness | 3-6mm Thickness | 6-12mm Thickness |
|---|---|---|---|---|
| Aluminum | 1t | 1-1.5t | 1.5-2t | 2-3t |
| Mild Steel | 0.8t | 1t | 1-1.5t | 1.5-2t |
| Stainless Steel | 1.5t | 2t | 2-2.5t | 3t |
Note: "t" represents the actual material thickness. For example, 1t on 2mm thick aluminum means a 2mm bend radius.
Key Takeaway: Never design bends below these values unless you have completed material testing with your specific tooling and sheet stock.
Why These Numbers Matter
The difference between a successful bend and a cracked part comes down to understanding how metal behaves under stress. Consequently, the numbers in the table above represent decades of manufacturing knowledge compiled into actionable data. In the following sections, we'll explore exactly why these minimum values exist and how to apply them to your sheet metal fabrication projects.
Table of Contents
- Why Do Tight Radius Bends Cause Cracking in Sheet Metal?
- What Are the Standard Minimum Bend Radius Guidelines for Different Materials?
- How Does Material Thickness Affect Your Minimum Bend Radius?
- What Design Rules and Manufacturing Factors Should You Consider?
- Conclusion
Why Do Tight Radius Bends Cause Cracking in Sheet Metal?
When you bend sheet metal, you're asking the material to stretch on the outside and compress on the inside. However, metal can only stretch so far before it fails.
The Physics Behind Bend Failures
Zero radius bend cracking occurs when the outer surface of the bend exceeds the material's natural elongation limit. Most common sheet metals can stretch between 10% and 25% before fracturing. Nevertheless, attempting a zero-radius bend creates outer fiber strain exceeding 50%, which guarantees immediate failure.
Understanding Material Behavior During Bending
The science behind bending involves three critical factors. First, sheet metal ductility bending characteristics determine how much a material can deform without breaking. Second, the grain structure of the metal influences its ability to withstand stretching forces. Third, the distribution of stress across the bend zone varies dramatically based on the radius you choose.
When fabricators push materials beyond their limits, the outer fibers experience tensile stress that exceeds the material's ultimate strength. As a result, microscopic cracks form at the grain boundaries. Subsequently, these cracks propagate through the material, creating visible fractures along the bend line.
Cold-rolled materials typically offer better ductility than hot-rolled alternatives. Furthermore, the manufacturing process affects the internal grain structure, which directly impacts bending performance. For instance, aluminum alloys processed through different temper treatments will exhibit vastly different minimum radius requirements, even at identical thicknesses.
What Are the Standard Minimum Bend Radius Guidelines for Different Materials?
Different metals have different personalities when it comes to bending. Therefore, understanding material-specific requirements prevents costly mistakes during the design phase.
Three Categories You Must Know
Aluminum: Generally requires 1t to 2t minimum radius depending on thickness and alloy
Mild Steel: The most forgiving option at 0.8t to 1.5t across common gauges
Stainless Steel: Demands the largest radii at 2t to 3t due to work-hardening characteristics
These categories represent starting points rather than absolute limits. However, they provide reliable guidance for 95% of standard fabrication work.

Material-Specific Deep Dive
Aluminum (6061-T6 and Common Alloys)
The popular 6061 aluminum alloy works beautifully at 1t radius for thicknesses up to 3mm. Beyond that range, designers should increase to 1.5t or 2t to maintain consistent results. Interestingly, bending aluminum parallel to the grain direction requires approximately 30% larger radii compared to perpendicular bending.
An aluminum steel bend radius chart reveals that 6061-T6 behaves differently than 5052-H32. Specifically, the T6 temper reduces ductility compared to softer tempers. Consequently, rapid prototyping projects often specify annealed aluminum grades when complex bending sequences are required.
Mild Steel (A36, 1018, and Low-Carbon Grades)
Mild steel represents the sweet spot for sheet metal bending. Most fabricators can reliably achieve 0.8t to 1t radii on material ranging from 0.5mm to 6mm thickness. Additionally, the material's natural ductility forgives minor variations in tooling and setup.
Cold-rolled steel allows tighter bends than hot-rolled material of equal thickness. Moreover, the surface finish on cold-rolled stock produces cleaner bend lines with fewer cosmetic defects. This makes it the preferred choice for automotive applications where appearance matters.
Stainless Steel (304, 316, and Austenitic Grades)
Stainless steel fights back during bending. The material work-hardens rapidly as it deforms, which means each bend makes the next one more difficult. Therefore, minimum radii start at 1.5t for thin gauges and increase to 3t for thicker sections.
Grade 304 stainless requires careful attention to springback compensation. In addition, the material's tendency to gall against tooling surfaces demands proper lubrication and die selection. Many industrial machinery applications specify larger radii than the technical minimum to ensure long-term durability under cyclic loading.
How Does Material Thickness Affect Your Minimum Bend Radius?
Thicker sheets need proportionally larger bend radii. This relationship isn't arbitrary—it's based on fundamental mechanical principles.
The Thickness-to-Radius Relationship
A material thickness bend radius table shows that strain is percentage-based rather than absolute. For example, a 0.5mm sheet bent at 0.5mm radius experiences the same outer fiber strain as a 6mm sheet bent at a 6mm radius. However, the thicker material contains more mass resisting deformation.
K-Factor and Bend Allowance Explained
The K factor bend allowance determines where the neutral axis sits within the material during bending. Typically, this value ranges from 0.3 to 0.5 depending on the radius-to-thickness ratio. Specifically, tighter bends push the neutral axis toward the inside surface, while larger radii keep it centered.
Engineers use the K-factor to calculate flat pattern lengths accurately. Furthermore, this value influences springback predictions and final part geometry. When working with a sheet metal bend radius chart, understanding K-factor relationships helps explain why certain thickness ranges require specific minimum radii.
As material thickness increases, the multiplier grows non-linearly. A 1mm aluminum sheet works fine at 1t radius (1mm). Meanwhile, a 10mm aluminum plate needs 20-30mm radius (2-3t) to avoid cracking. This happens because thicker materials distribute stress across a larger cross-section, creating higher absolute forces even when percentage strain remains constant.
The practical implication is clear: always verify your design against thickness-specific guidelines rather than assuming a universal rule applies across all gauges. Many failed parts result from designers applying thin-gauge rules to thick-gauge materials without adjustment.
What Design Rules and Manufacturing Factors Should You Consider?
Theory meets reality on the shop floor. Therefore, understanding practical manufacturing constraints saves time and money during production.
Universal Design Principles
Never go below 1t without physical testing. This rule applies regardless of material type or thickness. Even when theoretical calculations suggest tighter bends might work, real-world variables like material batch variations and tooling wear create unpredictable results.
The Grain Direction Factor
Bending perpendicular to the grain direction allows 20% to 30% tighter radii compared to parallel bending. This happens because the grain structure offers less resistance when deformation occurs across the grain lines. However, critical structural bends should still use published minimum values regardless of grain orientation.
Manufacturing Method Impact on Minimum Radius
Air Bending vs. Bottoming
Air bending creates the bend using punch force alone, without pressing the material fully into the die. Consequently, this method requires larger air bending minimum radius values—typically 1.2 to 1.5 times the theoretical minimum. Nevertheless, air bending offers flexibility for multiple angles using the same tooling.
Bottoming, where the punch forces material into the die cavity, allows slightly tighter radii. Additionally, this method produces more consistent bend angles with less springback variation. Many high-volume production runs use bottoming specifically to maintain tight tolerances across thousands of parts.
Tooling Constraints and V-Die Selection
The V-die width directly limits achievable bend radii. Standard practice dictates that V-die width should be 8 to 10 times the material thickness for mild steel and 10 to 12 times for stainless. Therefore, a 2mm stainless sheet requires a 20-24mm V-die opening, which physically prevents certain tight-radius designs.
Springback Compensation Strategy
All sheet metals spring back after bending. The amount varies based on material properties, bend angle, and radius. Interestingly, larger radii produce more springback than tighter bends relative to the final angle. Fabricators compensate by overbending, which sometimes conflicts with minimum radius requirements.
Stainless steel springs back 2 to 4 degrees more than mild steel at identical parameters. Furthermore, harder materials exhibit greater springback than annealed alternatives. Your sheet metal design bend radius must account for this phenomenon while respecting minimum radius limits.
When Designs Demand Sharp Corners
Some applications genuinely need crisp edges that standard bending cannot provide. In these cases, consider these alternatives:
Relief Notches: Small cuts at the bend line reduce stress concentration
Machined Features: CNC operations create sharp transitions without bending stress
Separate Components: Welding or fastening multiple pieces bypasses bending limitations
Specialized Tooling: Wiping dies and rotary benders can achieve tighter radii with proper setup
The worst approach is forcing standard minimum bend radius sheet metal equipment to perform beyond its capabilities. This generates scrap, damages tooling, and creates parts that fail prematurely in service.
Conclusion
Choosing the correct bend radius isn't about finding loopholes around the rules. Instead, it's about understanding why those rules exist and applying them intelligently to your specific situation.
Start with the reference charts provided in this guide. Then, consider your specific material grade, thickness, grain direction, and manufacturing method. Next, test critical applications before committing to production runs. Finally, design parts that respect the material's natural capabilities rather than fighting against them.
The fabricators who consistently produce quality parts understand one simple truth: the sheet metal bend radius chart represents accumulated knowledge from millions of bent parts. Therefore, use these guidelines as your foundation, adjust for your specific conditions, and always test when pushing boundaries.
Remember that larger radii often improve both strength and appearance. Additionally, they reduce manufacturing complications and extend tool life. When engineering teams collaborate with fabrication experts early in the design process, they create parts that are both functional and manufacturable.
Recommended Resources
[Sheet metal bend radius chart][^1]
[sheet metal bend radius guidelines][^2]
[zero radius bend cracking][^3]
----
[^1]: Protocase Technical Library: This page features a live, interactive bend radius chart specifically for precision electronics and industrial enclosures. It provides precise minimum radii for materials like Aluminum 5052-H32, Stainless Steel, and Cold Rolled Steel based on thickness and gauge.
[^2]: Fractory Engineering Hub: A comprehensive guide to sheet metal bending mechanics. It explains the relationship between the internal bend radius, material thickness, and the K-factor. It also provides design rules to prevent material fracturing and ensures accurate flat-pattern calculations.
[^3]: Datum Alloys Technical Study: This 2026 resource explains the metallurgical impact of sharp bends. It details how bending a "zero radius" (where the punch radius is significantly smaller than the material thickness) causes the outer grains to exceed their elongation limit, resulting in visible fractures and reduced structural strength.
[^4]: Protolabs Engineering Design Guide: An authoritative guide on calculating K-factor for different bending methods (air bending vs. bottoming). It provides the exact formulas used to determine bend allowance and explains why a consistent internal radius is critical for predictable part geometry.


