
Why Does Your Thin-Wall Aluminum Part Warp the Moment You Open the Vise?
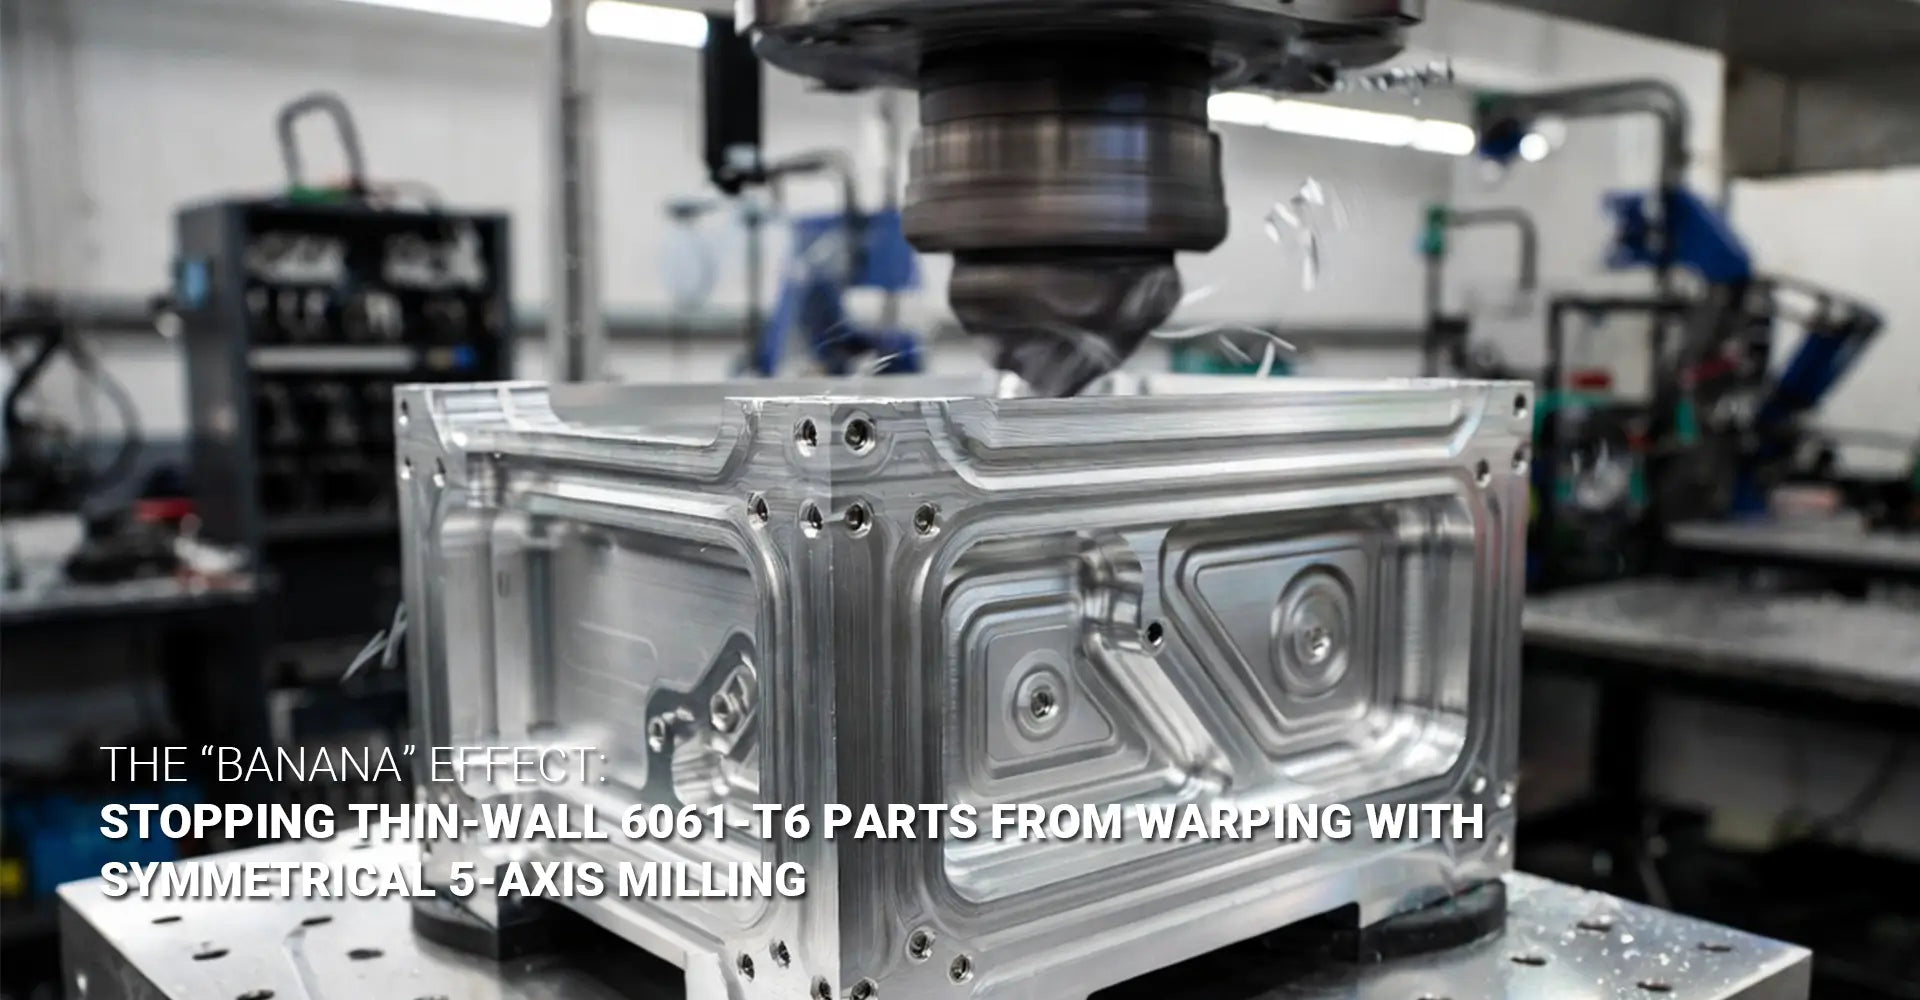
Why Does Your Thin-Wall Aluminum Part Warp the Moment You Open the Vise?
You spent hours setting up the job. The cuts looked clean. The part sat perfectly flat inside the fixture. Then you loosened the clamp — and watched a straight part turn into a banana.
This is the most common, most frustrating problem in milling thin wall aluminum parts. And it happens not because of bad tooling or wrong speeds. It happens because of invisible forces locked inside the metal itself.

Quick Answer (Snippet): Thin-wall aluminum parts warp after unclamping because of residual stress imbalance. When you remove more material from one side than the other, the internal stress in the aluminum becomes uneven. The part then distorts to find a new equilibrium. The fix is 5-axis balanced milling — a symmetrical toolpath that removes material from opposite sides in alternating passes. This keeps residual stress balanced throughout the cut, so the part stays straight when the vise opens.
So what exactly is happening inside your aluminum part? And how do machining strategies like symmetrical toolpaths actually solve the problem? Let us walk through it — step by step, from the metal level up to the shop floor result.
Table of Contents
- What Is Actually Happening Inside Your 6061-T6 Part When It Warps?
- How Does Symmetrical 5-Axis Milling Stop Thin-Wall Springback?
- What Advanced Dynamic Toolpath Strategies Minimize Thin-Wall Deflection?
- Does Workholding and Pre-Machining Stress Relief Really Make a Difference?
- Conclusion
What Is Actually Happening Inside Your 6061-T6 Part When It Warps?
Most machinists blame distortion on the wrong things — wrong feed rate, wrong coolant, wrong clamping pressure. But the real cause starts long before the part ever reaches your machine.
6061-T6 thin wall deformation is almost always a residual stress problem. The aluminum plate or bar stock you receive already contains internal stresses — invisible, locked-in forces that built up during the rolling or extrusion process at the mill. Your vise does not create stress. It simply hides the stress that was already there.
Key Point: The Part Was Already Bent — Your Vise Was Just Holding It Straight.
| Material Form | Stress Pattern | Typical Distortion Risk |
|---|---|---|
| Rolled plate (6061-T6) | Directional, layered through thickness | High — stress released layer by layer |
| Extruded bar | Longitudinal, along extrusion axis | Moderate — less severe than rolled plate |
| Cast billet | Isotropic, less directional | Lower — but still present |
Here is what makes this tricky. When you machine away material from one side of a plate, you remove the stressed layers on that side. If those layers were holding the part flat, removing them allows the remaining stressed material to move. The part bends toward the side that still has stressed material locked in. This is called residual stress release, and it is the root cause of aluminum part warpage in thin-wall machining.
The asymmetric cut trap is how conventional toolpaths make this worse. Standard 3-axis roughing often works like this: rough the outside face completely, then flip the part and rough the inside. By the time you flip, one side has already had its stressed layers removed. The other side still has all of its stress. The result? The part springs, warps, and sometimes twists. This is why climb milling vs conventional toolpath choice alone is not enough — sequence matters more than direction when dealing with residual stress in thin-wall aluminum.
For buyers working with precision enclosures, housings, and structural brackets, this kind of distortion means scrap. See how industrial machinery components demand tight distortion control across thin-section aluminum parts.
How Does Symmetrical 5-Axis Milling Stop Thin-Wall Springback?
Now that you understand the cause, the solution becomes logical. If unbalanced material removal creates stress imbalance, then the answer is balanced material removal. That is exactly what a symmetrical milling path delivers.
5-axis balanced milling solves the problem by allowing the machine to access opposite sides of the part in the same setup — without moving the workpiece to a new fixture. The key is alternating sides, not roughing one side completely before moving to the other.
Conventional 3-Axis Roughing vs. 5-Axis Balanced Sequence:
| Step | Conventional 3-Axis | 5-Axis Balanced |
|---|---|---|
| Pass 1 | Remove 5mm from outside face | Remove 1mm from outside face |
| Pass 2 | Remove 5mm from outside face | Remove 1mm from inside face |
| Pass 3 | Flip part — remove 5mm inside | Remove 1mm from outside face |
| Pass 4 | Finish | Remove 1mm from inside face |
| Result | Stress highly unbalanced after flip | Stress balanced at every stage |
| Distortion after unclamping | 0.3–0.5mm warp (often scrap) | 0.03–0.05mm warp (within spec) |
With a 5-axis machine, the tool can tilt and reach the inside wall of a pocket while still holding the outside. This allows alternating, shallow passes on opposite sides in rapid sequence. By the time the part reaches finish depth, both sides have been exposed symmetrically. The thin wall spring back effect is minimized because no single side ever accumulates a large stress imbalance.
Here is another important point: 5-axis simultaneous motion keeps the cutting tool engaged at consistent angles on thin walls. This reduces point loading on flexible features. A thin wall that deflects 0.1mm under a 3-axis side pass will deflect much less under a 5-axis simultaneous pass at a controlled engagement angle. The wall stays rigid during the cut, and stays straight after unclamping.
For automotive aluminum components — where thin-wall housings and brackets must hold tight tolerances — this level of distortion control is not optional. It is the baseline requirement.
If you need a machining partner with proven 5-axis capability for precision aluminum work, explore custom CNC milling services built specifically for thin-wall parts.
What Advanced Dynamic Toolpath Strategies Minimize Thin-Wall Deflection?
Symmetrical sequencing solves the stress imbalance problem. But what about cutting force during the pass itself? A thin wall is flexible. Even with balanced passes, aggressive radial engagement can push the wall away from the cutter — causing chatter, taper, or dimensional error on the finished surface.
This is where a dynamic milling strategy steps in as the second layer of control.
Dynamic milling uses high axial depth of cut combined with very low radial engagement — typically 5–15% of the tool diameter. The tool moves in a trochoidal (looping) path rather than a straight slot. This keeps chip load low and consistent, heat minimal, and cutting force direction predictable. The result is dramatically reduced thin wall deflection control problems during the cut itself.
Trochoidal + Alternating Depth Cuts: Key Parameters
| Parameter | Conventional Slotting | Dynamic Trochoidal |
|---|---|---|
| Radial engagement (ae) | 50–100% tool diameter | 5–15% tool diameter |
| Axial depth (ap) | 1–3mm | Up to 1× tool diameter |
| Cutting force on wall | High, variable | Low, consistent |
| Wall deflection risk | High | Low |
| Heat generation | High | Low |
| Suitable for thin walls | Poor | Excellent |
The advanced sequence that experienced shops use is: Rough → Flip → Rough. This means roughing both sides in alternating depth increments, flipping the part mid-sequence to maintain symmetry, then repeating. Each roughing pass removes a small, equal amount from each side before moving to the next depth level. By the time the part is at near-finish size, stress has been released progressively and evenly — not all at once.
A stress relief toolpath does not just mean "go slowly." It means designing the removal sequence so that stress is never allowed to accumulate on one side of the part. Dynamic trochoidal paths combined with alternating depth increments achieve both goals simultaneously — low cutting force and balanced stress release.
For high-precision components used in surface finish-critical applications, controlling wall deflection during the cut also directly determines the final surface quality. A wall that deflects 0.05mm during a finish pass will show measurable deviation in both dimension and texture.
Does Workholding and Pre-Machining Stress Relief Really Make a Difference?
Toolpaths are the primary driver of distortion control. But they are not the only lever. Workholding and pre-machining treatment are the supporting layer — and in demanding applications, they can mean the difference between 0.05mm distortion and 0.02mm.
Low-force fixturing matters because standard vise jaws apply concentrated clamping force at two points. For a thin-wall aluminum part, that force alone can deform the part before a single cut is made. When you release the vise, the part springs back — adding distortion that looks like a machining error but is actually a fixturing error.
Thin-Wall Aluminum Workholding Checklist:
- ✅ Use soft jaws machined to match the part's profile — distribute clamping force over a larger area
- ✅ Use vacuum fixtures for flat-plate thin-wall parts where face contact is accessible
- ✅ Apply minimal clamping force — only enough to prevent movement, not to "squeeze" the part
- ✅ Use low-profile clamps that do not block 5-axis tool access
- ✅ Check for part lift-off on opposite end when clamping asymmetric parts
Pre-machining stress relief is the other tool in this layer. Baking 6061-T6 at approximately 350°F (175°C) for 3–4 hours before machining allows the internal residual stresses from rolling or extrusion to relax partially. The part goes into the machine with lower baseline stress — which means less stress to release during cutting, and less distortion overall.

Vibratory stress relief (VSR) is the alternative to thermal treatment. A vibration system excites the part at its natural frequency for 20–60 minutes. This has similar results to thermal treatment but is faster, cheaper per cycle, and does not risk dimensional change from thermal expansion. For shops running high volumes of thin-wall 6061-T6, VSR is often the practical choice.
When all three layers work together — balanced 5-axis toolpath, low-force fixturing, and pre-machining stress relief — distortion on a 300mm thin-wall aluminum enclosure can be held below 0.05mm after unclamping. That is the benchmark for parts that stay in spec.
For full-service CNC machining that combines these techniques, make sure your supplier documents their process — not just their machine specs.
Conclusion
Thin-wall aluminum distortion is not a mystery. It is a predictable, controllable result of how material stress is managed during machining. Here is what we covered:
Root cause: Residual stress locked inside 6061-T6 from rolling or extrusion. Asymmetric material removal unlocks this stress unevenly, and the part bends to find equilibrium.
Primary solution — 5-axis balanced milling: Alternate material removal from opposite sides in small, equal increments. Never rough one side completely before touching the other.
Secondary solution — dynamic toolpath: Use trochoidal paths with low radial engagement to keep cutting forces low and consistent on thin walls. Combine with the Rough → Flip → Rough sequence for progressive stress release.
Supporting layer — workholding and pre-machining stress relief: Soft jaws, vacuum fixtures, and thermal or vibratory stress relief reduce the baseline stress before the first cut.
The benchmark: With the right strategy, a 300mm thin-wall 6061-T6 enclosure can achieve under 0.05mm distortion after unclamping. Without it, 0.3–0.5mm warp is common — and most of those parts are scrap.
For procurement managers: Before placing an order for thin-wall aluminum parts, ask your supplier three questions:
- "Do you use alternating, symmetrical roughing passes on thin-wall aluminum?"
- "What is your stock-removal sequence for 6061-T6 to control warp?"
- "Can you show measurement data before and after unclamping on a similar part?"
A supplier who describes a single-flip roughing sequence is using a distortion-prone method. A supplier who explains alternating, multi-axis balanced sequences understands the problem — and can solve it.
External Links: Recommended Resources
[Milling thin wall aluminum parts][^1]
[6061‑T6 thin wall deformation][^2]
[symmetrical milling path][^6]