How Do You Stop Vibration When Milling Thin-Walled Aluminum Parts?
How Do You Stop Vibration When Milling Thin-Walled Aluminum Parts?

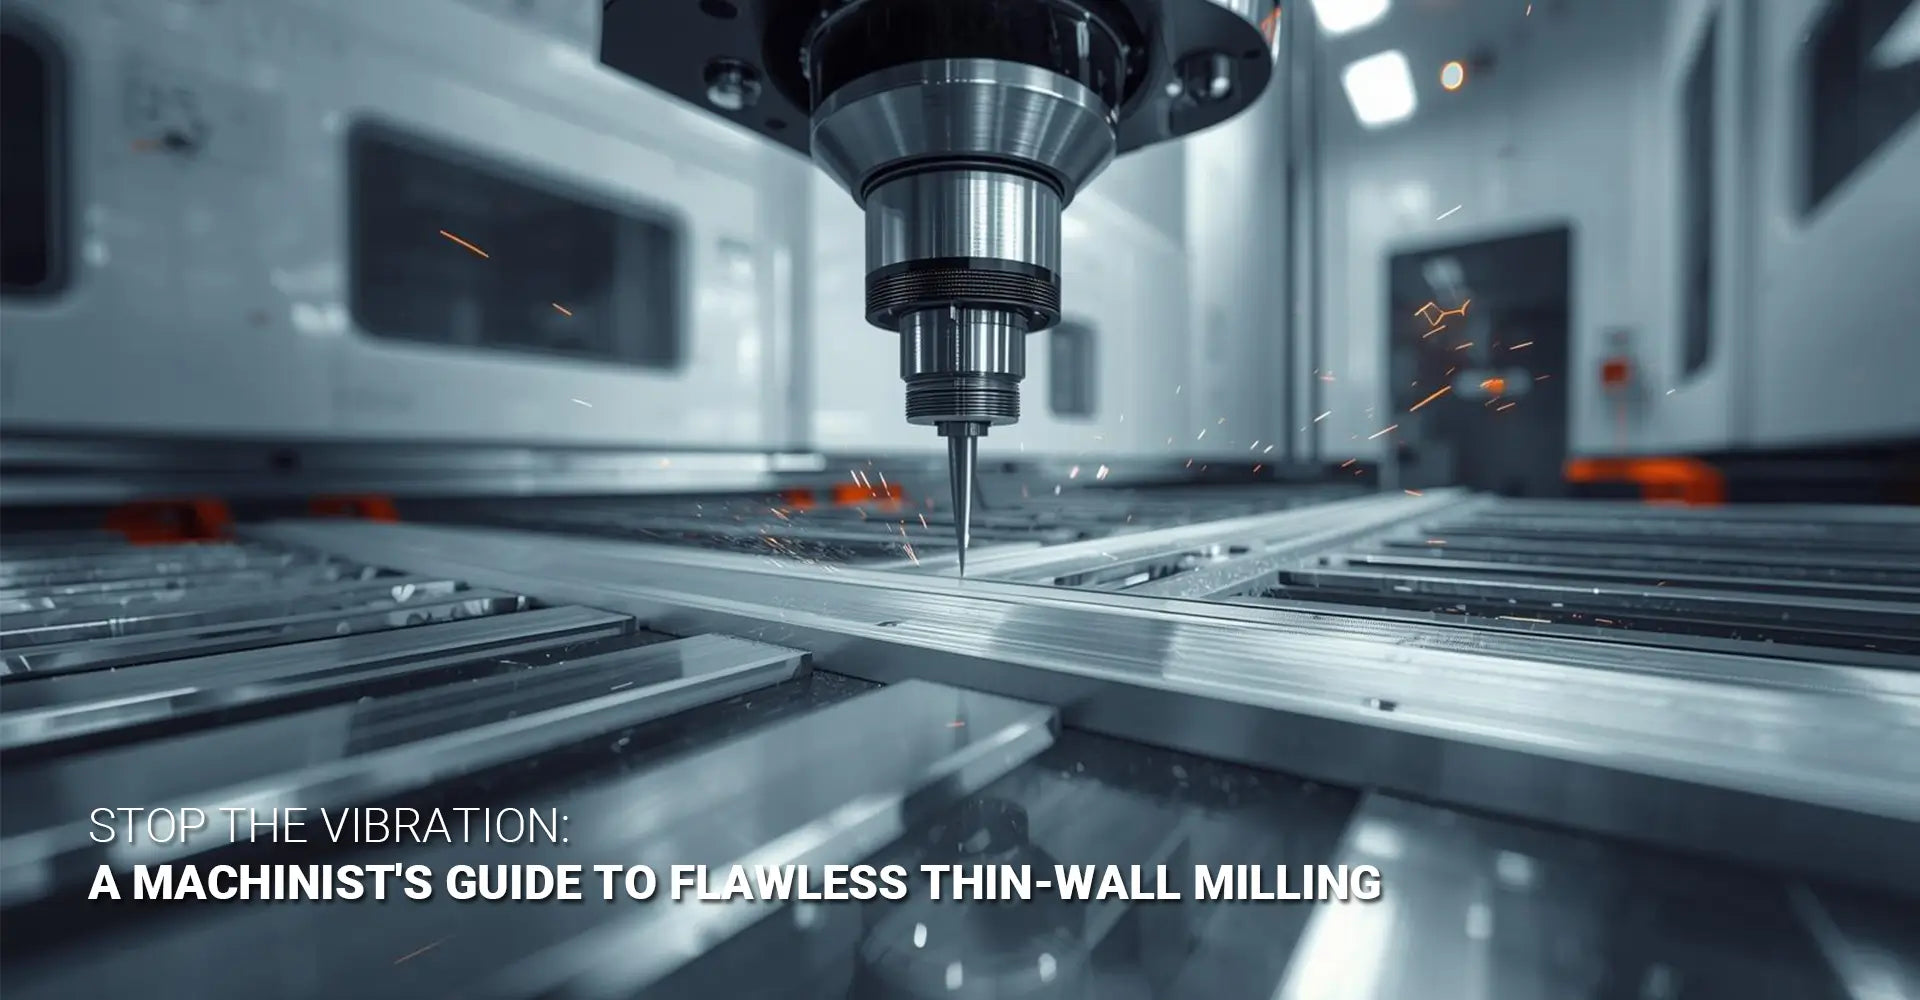
Every machinist knows the frustration. You're halfway through milling a thin-walled aluminum component when the dreaded chatter starts. The surface finish turns into a wavy mess, your part tolerance goes out the window, and you're left wondering if you just wasted hours of work. Vibration during CNC milling thin wall operations remains one of the most challenging issues in precision manufacturing. However, the good news is that this problem can be solved with the right approach.
Quick Answer: What You Need to Know Right Now
The Core Problem: Lack of rigidity creates a chatter feedback loop that ruins your cut.
Your Action Plan:
- Best Fixture Solution: Low-melt alloy or vacuum chuck provides full surface support
- Right Tool Choice: Use 3+ flute variable helix end mills designed for aluminum
- Winning Parameters: Apply light radial engagement (5-10%) with deeper axial cuts
- Game-Changing Strategy: Trochoidal toolpaths reduce side forces by 60-70%
- Material Consideration: Wall thickness below 0.080" requires special attention
Why This Guide Works
Solving thin-wall vibration isn't about finding one magic setting or buying the most expensive tool. Instead, success comes from understanding why chatter happens and then addressing four critical areas: workholding, tooling, cutting parameters, and toolpath strategies. This guide combines proven techniques from experienced machinists with practical solutions you can implement immediately.
Table of Contents
- What Causes Vibration and Chatter When Machining Thin Walls?
- Which Workholding Methods Prevent Thin-Wall Deflection?
- What Tool Features Reduce Vibration in Thin-Wall Milling?
- What Cutting Parameters Actually Work for Thin Walls?
- How Do Advanced Toolpaths Eliminate Chatter?
- Conclusion
What Causes Vibration and Chatter When Machining Thin Walls?
Understanding the root cause helps you prevent the problem before it starts. Chatter isn't random—it follows predictable physics that you can control.
The Simple Answer
When you're machining thin walls aluminum, three things happen simultaneously. First, the thin wall deflects under cutting pressure because it lacks rigidity. Second, this deflection causes your tool to take an uneven cut. Third, the uneven cut makes your tool vibrate, which pushes the wall even more. This creates a feedback loop where each vibration makes the next one worse.
The Deeper Story
Think of a thin wall like a diving board. When you apply force to the end, it flexes and bounces back. During milling operations, your cutting tool applies force hundreds of times per second. Each time the wall flexes away from the tool, the cutting depth changes. When the wall bounces back, suddenly there's too much material for the tool to remove, which creates a spike in cutting force.
Material properties matter significantly here. Aluminum, while softer than steel, has a lower damping coefficient. This means vibrations continue longer once they start. When your wall thickness drops below 0.080 inches, the stiffness decreases exponentially. A wall that's 0.040 inches thick has only one-quarter the rigidity of an 0.080-inch wall, making it four times more prone to deflection.
The frequency of chatter also tells you something important. Low-frequency chatter (under 100 Hz) typically indicates workholding problems or overall machine rigidity issues. High-frequency chatter (over 500 Hz) usually points to tool problems or incorrect spindle speeds. Understanding this distinction helps you diagnose issues faster.
Which Workholding Methods Prevent Thin-Wall Deflection?
Your fixture matters more than any other single factor. Even the best tool with perfect parameters will fail if your part can move.
Four Proven Solutions
Standard vises work great for thick, rigid parts. However, they concentrate clamping force on small areas, which can actually distort thin walls. You need workholding that supports the entire surface area. Here are your best options:
Low-Melt Alloy Fixtures: This approach provides 100% surface support by encasing your part in fusible metal. Materials like Cerrobend melt at just 158°F (70°C), making them easy to pour and remove.
Vacuum Chucks: These distribute clamping pressure evenly across large flat surfaces. They work exceptionally well for plate-style parts with one flat reference surface.
Custom Wax Beds: A budget-friendly alternative where you embed your part in machinable wax that provides support during cutting.
Temporary Rib Support: You design support ribs into your part geometry, machine with these supports in place, then remove them in a final operation.
How to Use Low-Melt Alloy Fixturing
This technique works brilliantly for one-off parts or prototypes where building a permanent fixture design for thin wall milling operations isn't cost-effective. Here's your step-by-step process:
Start by machining a pocket in a fixture plate that matches your part's outer dimensions. Leave about 0.125 inches of clearance around all sides. Place your raw material block into this pocket, making sure it's level and positioned correctly. Heat your low-melt alloy to about 180°F—just above its melting point. Pour the liquid alloy slowly into the pocket until it completely surrounds your part, filling all gaps underneath and around the sides.
Allow the alloy to cool completely. This typically takes 20-30 minutes depending on the volume. Once solid, the alloy becomes your support structure. Now you can machine your part with confidence, knowing every surface has backing support. The thin walls you create are fully supported from behind, preventing deflection.
After machining, removal is straightforward. Heat the entire fixture to 160-170°F using a hot plate or heat gun. The alloy melts back to liquid form, and your finished part lifts out cleanly. The best part? You can reuse the alloy indefinitely for future jobs.
What Tool Features Reduce Vibration in Thin-Wall Milling?
The right end mill can cut your vibration problems in half before you even write a program. Conversely, the wrong tool makes success nearly impossible.
Three Critical Features
When selecting tools for electronics manufacturing and precision thin-wall work, focus on these characteristics:
Flute Count (3-4 Flutes): More cutting edges mean each tooth removes less material per revolution, distributing the load more evenly. This creates a smoother cutting action with less instantaneous force on the wall.
Variable Helix Angles: Tools with uneven helix spacing disrupt harmonic vibration before it builds. The varying angles change the frequency at which each flute enters the cut, preventing resonance.
Sharp, Polished Geometry: A sharp cutting edge requires less force to shear material. Polished flutes reduce friction and prevent chip welding, which can cause sudden force spikes.
Proper Coatings: For aluminum work, ZrN (Zirconium Nitride) or AlTiN (Aluminum Titanium Nitride) coatings prevent built-up edge while maintaining sharpness longer than uncoated tools.

Choosing the Right Tool for Your Application
Tool selection for vibration involves matching your tool's characteristics to your specific situation. For general thin-wall roughing, a 3-flute variable helix carbide end mill with a 35-40 degree helix angle provides the best balance. The relatively low helix angle directs cutting forces more downward into the rigid part of your workpiece rather than sideways against the wall.
For finishing passes, switch to a 4-flute tool with a tighter helix (38-45 degrees). The additional flute improves surface finish, while the higher helix angle creates more of a shearing action that leaves a better surface. Make sure your finishing tool has a sharp, polished edge—this isn't the place to use a worn roughing tool.
Specialty tools solve specific problems. O-flute end mills, which have a single flute with an exceptionally sharp edge, excel at salvaging parts that already have chatter marks. Running these at high RPMs with very light finishing passes can often clean up surface defects that would otherwise scrap a part. For aerospace and automotive applications requiring the highest quality, consider compression-style end mills that combine upcut and downcut geometries to prevent edge tearing.
What Cutting Parameters Actually Work for Thin Walls?
Here's where theory meets practice. These parameters come from real machinists solving real problems, not from textbook formulas.
The Parameter Strategy That Works
Most machining advice tells you to take lighter cuts when working with delicate parts. However, this approach often makes thin-wall vibration worse. The key isn't cutting lighter—it's cutting smarter by redirecting forces.
Your Starting Parameters:
- Radial Engagement: 5-10% of your tool diameter (for a 0.500" tool, that's 0.025-0.050" stepover)
- Axial Depth of Cut: 2-3 times your tool diameter (go deep, not wide)
- Feed Per Tooth (Finishing): 0.003-0.005 inches
- Feed Per Tooth (Roughing): 0.006-0.008 inches
- Spindle Speed: 15,000-20,000 RPM for tools under 0.500" diameter
- Cutting Direction: Always use climb milling
Why These Thin Wall Machining Parameters Work
The science behind these numbers reveals why this approach succeeds. When you take a shallow radial cut with deep axial engagement, you're directing cutting forces straight down through the tool into the solid material below your thin wall. This is the stiffest path for force transmission. Conversely, taking a deep radial cut with shallow axial engagement pushes forces horizontally against your thin wall—exactly what you want to avoid.
Think about it like pushing a door. Pushing near the hinges (like radial force on a thin wall) requires much more force and causes more deflection than pushing at the handle (like downward force through the solid base). Your goal is to keep forces directed through the stiff parts of your workpiece.
Feed per tooth matters more than many machinists realize. Cutting too lightly causes rubbing rather than shearing, which generates heat and can actually increase vibration. A slightly more aggressive feed creates a proper chip formation where the material shears cleanly. This is especially true for aluminum, which can gum up tools when feeds are too light.
Spindle speed selection involves balancing several factors. Higher speeds generally reduce cutting forces per tooth, which helps with thin walls. However, running above your tool's balanced speed rating introduces vibration from the tool itself. For small diameter tools (under 0.375"), aim for 18,000-20,000 RPM. For larger tools (0.500-0.750"), 12,000-15,000 RPM typically provides the best results.
Climb milling is non-negotiable for thin walls. In conventional milling, the tool impacts the material at zero chip thickness and builds up to maximum thickness, creating a spike in cutting force. Climb milling does the opposite—starting at maximum thickness and reducing to zero, which produces a smoother force curve that's much kinder to delicate walls.
How Do Advanced Toolpaths Eliminate Chatter?
Your CAM strategy can be the difference between success and scrap. These techniques to eliminate chatter thin parts experience during machining have transformed how professional shops handle difficult work.
Four Toolpath Strategies That Stop Vibration
Modern CAM software offers sophisticated strategies specifically designed for difficult-to-machine geometries. Understanding when and how to use each one multiplies your success rate.
Trochoidal Milling: This technique uses continuous circular motions with very small stepovers instead of linear back-and-forth passes. The tool never fully engages the wall, maintaining consistent radial chip load throughout the cut.
High-Efficiency Milling (HEM): Similar to trochoidal but optimized for material removal rate. The software calculates toolpaths that maintain constant tool engagement angle, eliminating the sudden load changes that trigger vibration.
Adaptive Clearing: The intelligence here lies in variable stepover based on geometry. In open areas, the toolpath spaces out for faster cutting. Near thin features, it automatically tightens up for better control.
Pencil Finishing: For final passes, this strategy uses the tool's corner radius or a ball end mill to contact only a tiny portion of the wall at once, minimizing contact pressure.
Implementing High-Speed Machining Thin Walls Strategies
Setting up trochoidal milling in your CAM software delivers immediate improvements. Start by defining your thin-wall features so the software knows where to apply special strategies. Most CAM packages have a feature recognition tool that can identify thin walls automatically based on thickness thresholds you specify.
For the trochoidal operation itself, begin with conservative settings. Set your radial width of cut to 8-10% of tool diameter and your optimal load to 15-20% of diameter. These light engagements mean you can increase your feed rate dramatically—often 3-4 times your normal feed for conventional toolpaths. The continuous motion and light engagement keep cutting forces low and constant.
A rib support machining strategy involves intentionally leaving material connected to your thin walls during roughing operations, then removing these supports in finishing passes. In your CAM programming, create stock boundaries that preserve ribs of material at regular intervals along your thin walls. Machine everything else away first, leaving your walls fully supported. Only in your final operation do you remove these temporary ribs, and by then, most of the cutting stress is gone.
The results speak for themselves. Shops report reducing cycle time by 30-40% while simultaneously improving surface finish from 125 Ra to 32 Ra or better. The constant engagement also extends tool life because wear is distributed evenly rather than concentrated in a few stress points.
Conclusion
Conquering vibration when milling thin-walled aluminum parts comes down to mastering four interconnected pillars that work together.
Your Success Formula
First, workholding eliminates deflection by providing comprehensive support that prevents movement before it starts. Whether you choose low-melt alloy fixturing, vacuum chucks, or temporary rib supports, the principle remains the same—support every surface that needs machining.
Second, tooling reduces cutting forces through smart geometry selection. Variable helix angles disrupt vibration, multiple flutes distribute loads, and sharp edges slice cleanly with minimal pressure. Invest in quality tools designed specifically for aluminum, and you'll see the payoff immediately.
Third, parameters direct force away from vulnerable walls by using light radial engagement combined with aggressive axial depth. This counterintuitive approach keeps forces flowing through the stiff portions of your workpiece rather than pushing against thin walls.
Fourth, toolpaths maintain consistent engagement through intelligent motion strategies. Trochoidal milling, adaptive clearing, and high-efficiency toolpaths eliminate the sudden load changes that trigger chatter, while dramatically improving both speed and surface quality.
Start with your workholding. This provides the foundation that makes everything else possible. Even perfect tools, parameters, and toolpaths cannot overcome inadequate part support. Once your fixture is solid, move to tooling selection, then refine your parameters, and finally implement advanced toolpaths. Each improvement builds on the previous one, creating a complete system that delivers consistent results.
The techniques in this guide come from thousands of hours of real-world machining experience across industries from aerospace to electronics. They work because they address the fundamental physics of cutting rather than fighting against it. Your next thin-wall part doesn't have to be a gamble—it can be a predictable, repeatable success.
External Resources
[CNC milling thin wall vibration][^1]
[Machining thin walls aluminum][^2]
[Rib support machining strategy][^3]
[High-speed machining thin walls][^4]
[Thin wall machining parameters][^5]
[Tool selection for vibration][^6]
---
[^1]: Understanding best practices can help you minimize vibration and improve the quality of your CNC milling projects.
[^2]: Exploring effective techniques can enhance your machining efficiency and product quality when working with aluminum.
[^3]: Understanding rib support machining strategy can enhance your manufacturing processes and improve product quality.
[^4]: Exploring high-speed machining for thin walls can lead to better efficiency and precision in your machining projects.
[^5]: Understanding these parameters can significantly enhance machining efficiency and product quality.
[^6]: Selecting the right tools can reduce vibration, leading to better precision and longer tool life.


