How Do You Stop Blistering When Powder Coating Aluminum Castings?
How Do You Stop Blistering When Powder Coating Aluminum Castings?

If you've ever pulled a freshly coated aluminum part from the curing oven only to find tiny bubbles, pinholes, or raised blisters ruining the finish, you're not alone. This frustrating defect affects manufacturers across industries, from automotive components to electronics manufacturing parts. The good news is that this problem has a clear cause and proven solutions. Moreover, understanding the science behind these defects will save you time, money, and countless rejected parts.
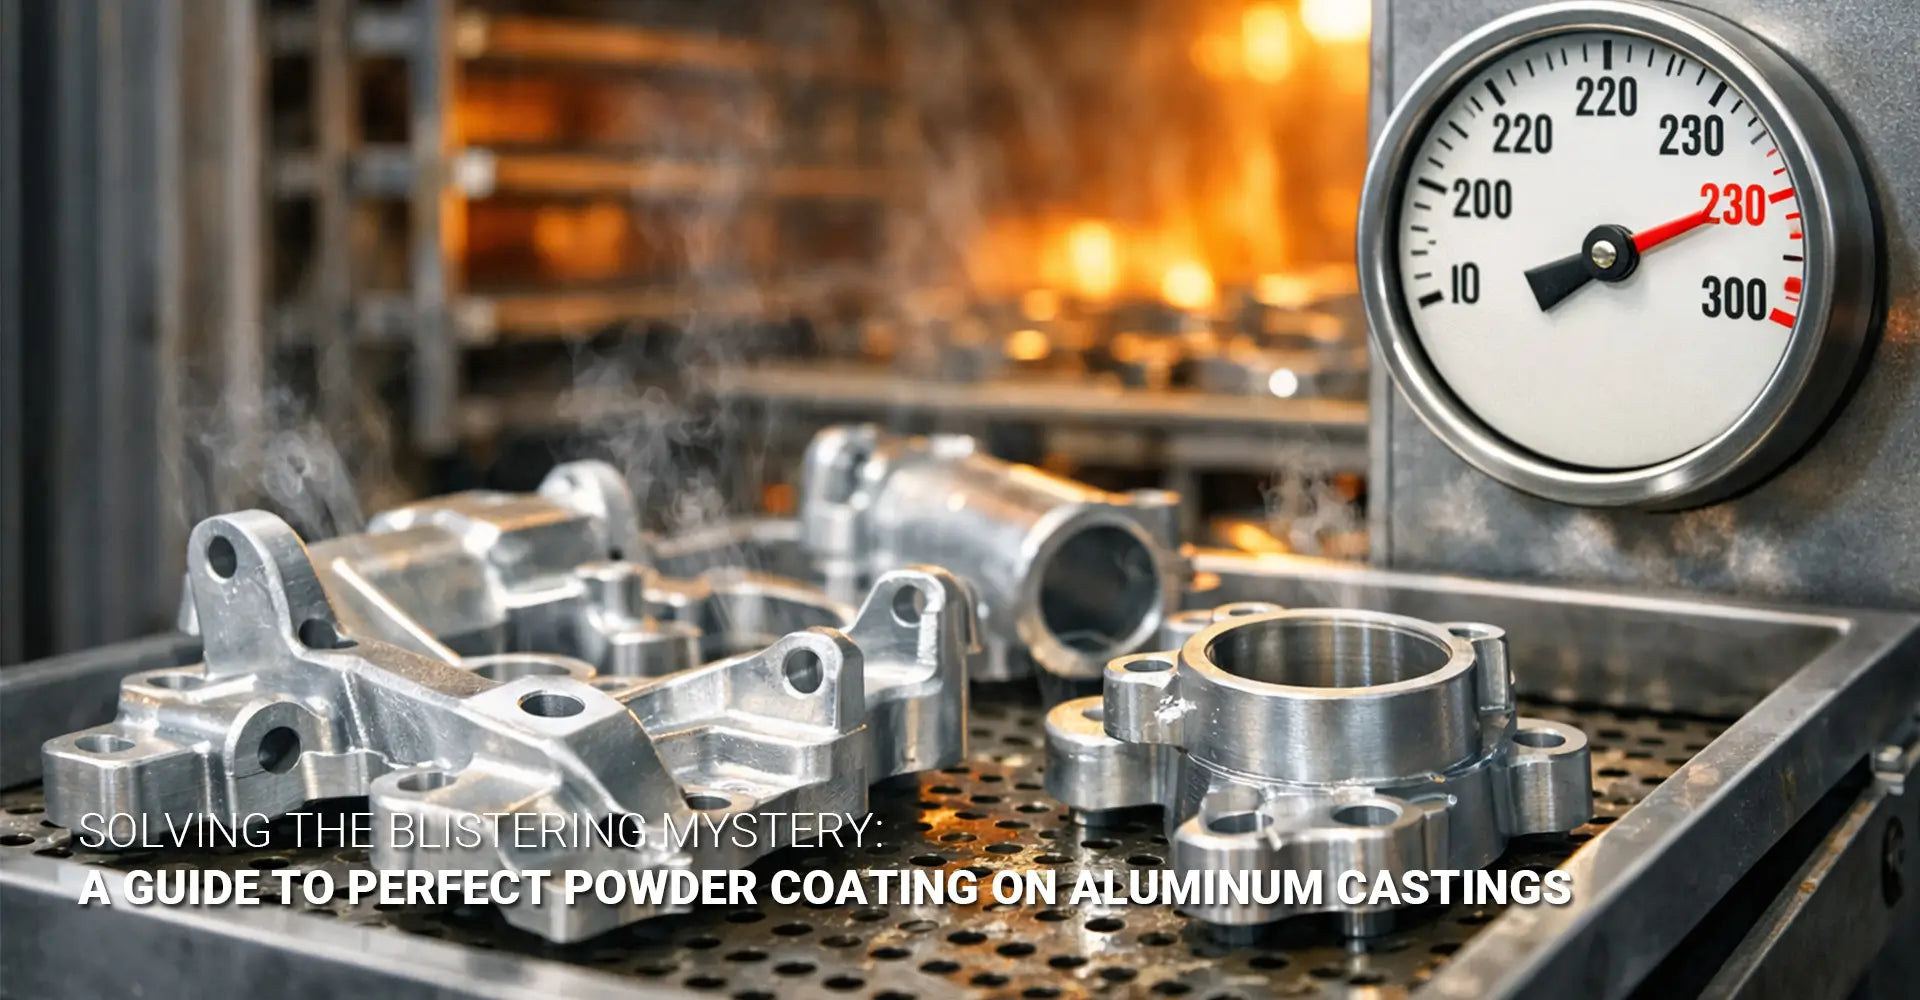
Quick Answer: Blistering happens when trapped gas inside aluminum castings expands during the high-heat curing process. The gas pushes through the coating layer, creating bubbles or pinholes. A pre-coating bake-out at 220°C-230°C (428°F-446°F) releases these gases before coating, preventing defects.
Critical Steps to Prevent Blistering:
- Pre-heat castings above cure temperature (bake-out)
- Allow proper cooling after degassing
- Clean surfaces thoroughly for adhesion
- Control oven ramp-up rates during curing
- Inspect parts with thick walls or complex geometry more carefully
Throughout this guide, we'll break down exactly why blistering in powder coating occurs and walk you through each prevention step. Additionally, you'll learn which casting characteristics make parts more vulnerable and how to adjust your process accordingly. By the end, you'll have a complete action plan to eliminate these defects from your production line.
Table of Contents
- What Causes Bubbles and Pinholes in Your Powder Coated Parts?
- What Is the Bake-Out Process and Why Does It Work?
- Which Pre-Treatment Steps Actually Matter for Die Castings?
- How Should You Control Temperature and Time During Coating?
- Conclusion
What Causes Bubbles and Pinholes in Your Powder Coated Parts?
The root cause of coating defects lies beneath the surface of your aluminum parts. During the die casting process, microscopic pores and trapped gases become embedded in the metal structure. These invisible imperfections stay dormant until heat is applied. Consequently, when your parts enter the powder coating oven, these hidden problems suddenly become very visible.
The Science Behind Outgassing Aluminum Die Casting:
- Aluminum solidifies rapidly during casting, trapping air pockets
- Microscopic porosity in aluminum castings can contain hydrogen gas, air, or moisture
- When heated to 180°C-200°C (356°F-392°F) during curing, gases expand dramatically
- The expanding gas forces its way through the semi-liquid powder coating
- As the coating cures, these escape routes remain as permanent defects
Understanding outgassing requires looking at what happens during the casting process itself. When molten aluminum is poured into a mold, it cools from the outside in. As the metal solidifies, dissolved gases have less space and can become trapped within the crystalline structure. Furthermore, turbulence during pouring can introduce air bubbles that get sealed inside. These gas pockets may be invisible to the naked eye, measuring just a few microns across. However, they become problematic when exposed to the high temperatures required for powder coating aluminum casting applications. The gas inside these pores obeys basic physics: as temperature increases, pressure increases. If the powder coating has already begun to gel and form a sealed layer, the pressure has only one way to escape—upward through the coating. This creates the characteristic "fish eyes," pinholes, or raised blisters that ruin the finish. In severe cases, entire sections of coating may lift away from the substrate. The problem is particularly common in industrial machinery components where thick-walled castings are frequently used. These thick sections take longer to cool during casting, which increases the likelihood of internal porosity formation.
What Is the Bake-Out Process and Why Does It Work?
The most reliable solution for preventing powder coating defects is the bake-out cycle, also known as thermal deburring for coatings. This preventive step happens before any coating is applied. In essence, you're deliberately causing the outgassing to occur in a controlled way, when it can't damage your finish. Therefore, the bake-out process has become the industry standard for high-quality coating operations.
How the Bake-Out Cycle Works:
- Pre-heat raw castings to 220°C-230°C (428°F-446°F)
- Hold at temperature for 30-60 minutes minimum
- Allow trapped gases and moisture to escape freely
- Cool parts to room temperature gradually
- Proceed to cleaning and coating without gas concerns
The key is heating parts to a temperature higher than the powder coating cure temperature. This ensures complete degassing before coating begins.
The bake-out process is scientifically straightforward yet highly effective. By heating the bare aluminum casting above the powder coating cure temperature, you force any trapped gases to expand and escape through the metal's open surface. At this stage, there's no coating to block their exit, so the gases simply dissipate into the atmosphere. The duration of the bake-out cycle depends on the part's mass and wall thickness. Thin-walled castings may only need 30 minutes, while thick sections might require 60-90 minutes to ensure complete heat penetration. After the bake-out, cooling is equally important. Parts should cool gradually to room temperature to prevent thermal shock, which could introduce new stresses. Once cooled, the parts are ready for standard pre-treatment for die castings, including cleaning and chemical treatment. At this point, the castings are "stable" and won't release gases during subsequent heating. Some manufacturers worry about the added cost and time of a bake-out cycle. However, this investment is minimal compared to the cost of rejected parts, rework, and damaged customer relationships. Additionally, the bake-out can be batched efficiently, processing multiple parts simultaneously. For applications requiring exceptional surface finish quality, the bake-out step is simply non-negotiable.
Which Pre-Treatment Steps Actually Matter for Die Castings?
Many manufacturers assume that thorough cleaning will solve blistering problems. They invest in multi-stage wash systems, use aggressive degreasers, and apply conversion coatings. Despite these efforts, bubbles in powder coat finish still appear. The reason is simple: cleaning addresses surface contamination, not subsurface trapped gases. Therefore, a complete pre-treatment program must include both cleaning AND degassing.
The Complete Pre-Treatment Sequence:
- Bake-out (220°C-230°C for 30-60 min) - removes trapped gases
- Cool down (gradual return to room temperature)
- Alkaline cleaning (removes oils, dirt, oxidation)
- Rinsing (removes cleaning residues)
- Conversion coating (optional - enhances adhesion and corrosion resistance)
- Final rinse (deionized water preferred)
- Drying (120°C-150°C to remove all moisture)
- Powder coating (within 24 hours for best results)
The confusion between cleaning and degassing is understandable because both are preparation steps. However, they target completely different issues. Cleaning focuses on the part's surface—removing manufacturing oils, fingerprints, oxidation, and other contaminants that would prevent the powder from adhering properly. This is absolutely necessary for adhesion, and skipping it will cause the coating to peel away. Nevertheless, even the most aggressive chemical cleaning cannot reach the gas trapped within the metal's internal structure. Think of it like washing the outside of a sealed bottle: you can make the exterior spotless, but you cannot remove what's sealed inside. Some manufacturers try to compensate by extending their cleaning cycles or using stronger chemicals. Unfortunately, this wastes time and resources without addressing the actual cause of blistering. The trapped gases simply don't care how clean the surface is—they'll still expand and push through the coating when heated. The proper sequence always starts with the bake-out to address subsurface issues, followed by surface preparation to ensure adhesion. After cleaning, proper drying is critical. Any residual water will also convert to steam during the powder cure cycle, potentially causing similar defects. For this reason, a post-wash drying step at 120°C-150°C for 10-20 minutes is recommended, especially for parts with complex geometries where water can collect.
How Should You Control Temperature and Time During Coating?
Even with perfect pre-treatment, your powder coating process parameters matter significantly. The way you ramp up temperature and manage cure time can mean the difference between a flawless finish and unexpected defects. While a proper bake-out should eliminate most outgassing concerns, process control provides an additional safety margin and ensures consistent results across production batches.
Critical Process Parameters:
- Ramp rate: 2-3°C per minute (slow ramp allows early gas escape)
- Peak metal temperature: 180°C-200°C (356°F-392°F) for most powders
- Cure time: 10-15 minutes at peak temperature (follow powder manufacturer specs)
- Oven airflow: Adequate circulation without direct blasts on parts
- Batch loading: Avoid overcrowding that creates temperature variations
Warning: Never extend cure time at lower temperatures to "save energy." This prevents proper cross-linking and creates soft, under-cured finishes.
Temperature control during powder coating is both art and science. A slower ramp-up rate (2-3°C per minute) gives any residual gases a chance to escape before the powder fully gels. As the powder heats, it goes through distinct phases: first it softens, then it flows and levels, and finally it cross-links and cures. If gases try to escape during the flowing phase, they can still work their way out without leaving major defects. However, once the coating begins cross-linking and forming a rigid structure, any gas movement will create permanent blisters. The peak metal temperature—not the oven air temperature—is what matters. Parts must reach the manufacturer's specified cure temperature for the specified duration. Using a thermocouple or infrared thermometer to verify actual part temperature is essential, especially for thick or massive castings that heat slowly. Some operators mistakenly try to "bake out" parts during the coating cure cycle by extending time at temperature. This approach is problematic for two reasons. First, it may cause the coating to over-cure, becoming brittle or discolored. Second, it's simply less effective than a proper pre-bake because the coating is already in place, trapping gases beneath it. For automotive and electronics manufacturing applications where cosmetic appearance is critical, strict process control with documented time-temperature profiles is mandatory. Regular oven calibration and temperature mapping ensure consistency across all parts of the oven chamber.
Conclusion
Preventing blistering in powder coating comes down to understanding one fundamental principle: you must remove trapped gases before coating, not during. The bake-out cycle is your most powerful tool, forcing gases out when they can't cause damage. Combined with proper surface cleaning, controlled curing parameters, and attention to casting design factors, you can achieve consistently flawless finishes. Remember that thick-walled castings, complex geometries, and certain alloy compositions increase your risk. For these challenging parts, the bake-out step transitions from "recommended" to "absolutely required." While it adds time to your process, the investment pays for itself many times over through reduced rejection rates and improved customer satisfaction.
Start by implementing the bake-out cycle on your most problematic parts. Document your parameters and results carefully. As you gain confidence, you can extend the practice across your entire production line. The difference in quality will be immediately visible—and your customers will notice too. If you're working with die casting components that require exceptional surface finish quality, don't gamble with shortcuts. Follow the complete pre-treatment sequence, control your process parameters, and you'll eliminate the frustration of blistered finishes once and for all.
External Links Recommendation
[Powder coating aluminum casting][^1]
[Prevent Blistering in Powder Coating][^2]
[Bake-Out Process for Powder Coating][^3]
[Outgassing in Aluminum Castings][^4]
[Pre-treatment for die castings][^5]
[High-Temperature Powder Coating Process][^6]
---
[^1]: Explore this link to learn essential techniques and tips for achieving a flawless powder coating finish on aluminum castings.
[^2]: Discover effective methods to avoid blistering in powder coating, ensuring a smooth and durable finish for your projects.
[^3]: Understanding the Bake-Out Process is crucial for achieving high-quality powder coating finishes. Explore this link to enhance your knowledge.
[^4]: Learn about outgassing to prevent defects in aluminum castings. This resource will provide valuable insights for better manufacturing practices.
[^5]: Understanding pre-treatment can enhance the quality and durability of die castings, making this resource essential for manufacturers.
[^6]: Exploring this process can reveal advantages in durability and finish quality, crucial for industries relying on robust coatings.


